How Viking 1700 Jump Starter Air Compressor How to Use
A dead battery on a cold morning is one of those headaches you don't see coming, and figuring out how to actually use a viking 1700 jump starter air compressor is half the battle when you're standing next to a car that won't turn over. Most owners only crack open the manual after something has gone sideways, which is exactly when small mistakes (like leaving the compressor in jump mode or crossing the clamps) cost you the most.
The Viking 1700 pairs a 1700-peak-amp booster with a built-in 100 to 150 PSI air compressor, so it's genuinely a two-in-one emergency unit rather than a jump starter that happens to have a pump. Manufacturer specifications indicate the sealed lead-acid version weighs roughly 15 to 20 lbs, runs a 12V output, and recharges over AC in about 24 hours. Knowing the layout before you need it turns a stressful roadside moment into a five-minute fix.
Quick Answer
To use the Viking 1700, charge it fully before storage. Set the mode switch to jump start. Connect red to positive, black to negative.
Crank for no more than 5 seconds. Then toggle to inflate, attach to the valve, set PSI, and run in short cycles.
Why a Visual Walkthrough of the Viking 1700 Matters
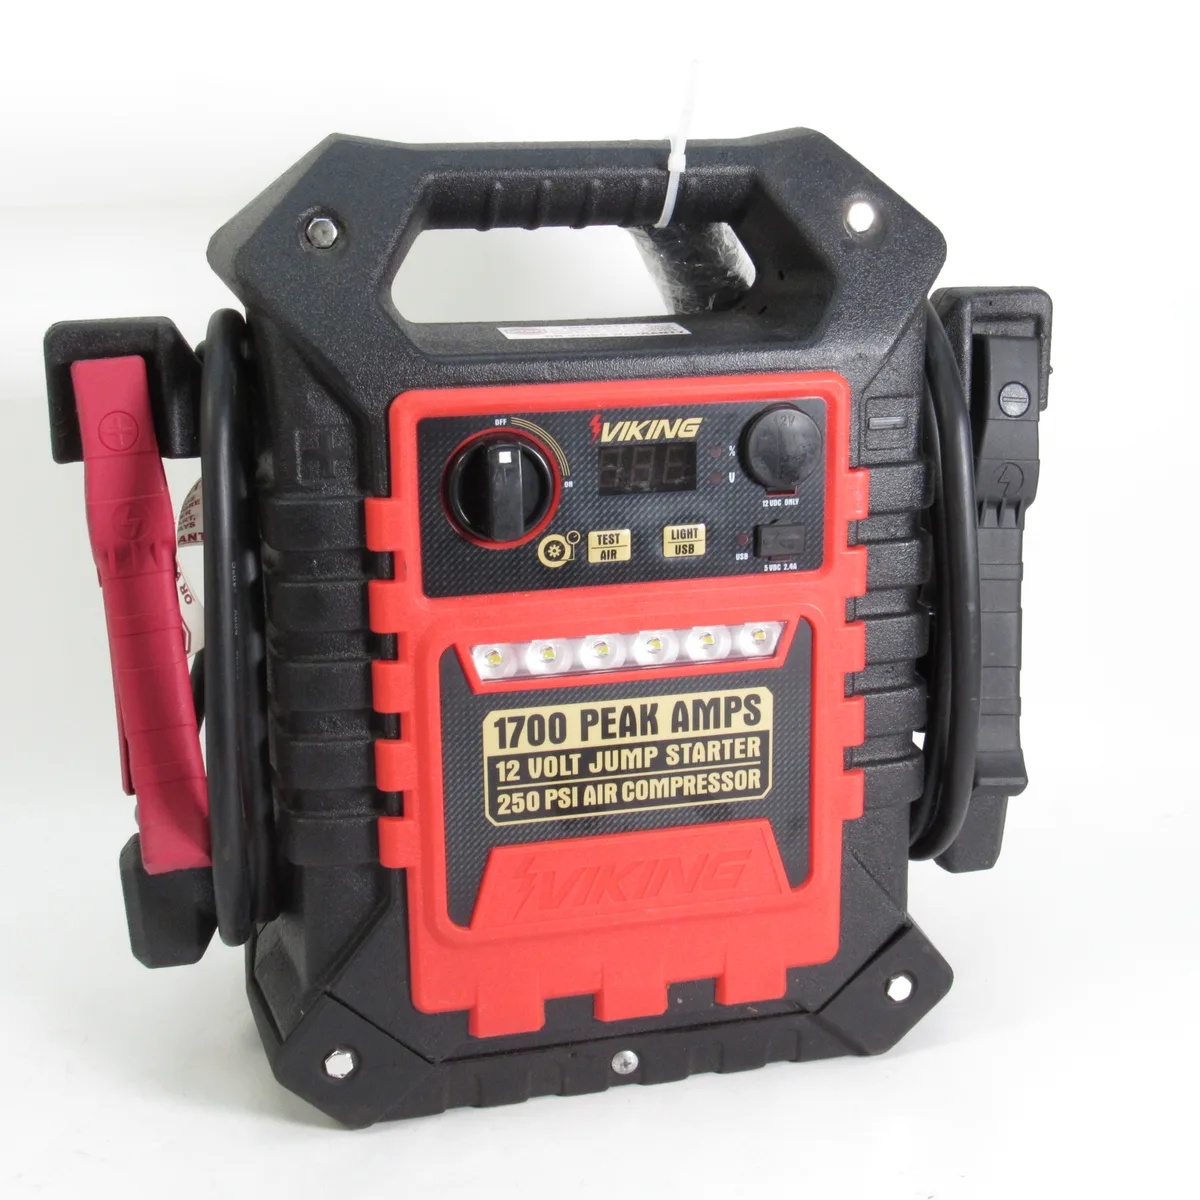
This is one of those tools where the manual assumes you already know where everything is. The mode switch, the pressure gauge, the hose port, and the clamp polarity are all packed into one box, and if you guess wrong on which port is which, you'll either waste ten minutes or trigger a safety alarm.
A picture-based walkthrough solves that in seconds. It lets you match the knobs and ports on your unit to a labeled reference, so you're not fumbling with a dead phone flashlight in the rain. Manufacturer documentation confirms the panel layout includes a jump/inflate selector, a digital pressure readout, and a sealed compressor hose port, all of which are easier to identify visually than from a parts list.
If you've ever borrowed a multi-function unit from a friend and couldn't remember which button does what, you're not the only one. Aggregate reviews of similar Viking models show that reverse-polarity alarms and confused mode-switch positions are the two most common first-time-user complaints. A quick visual check up front prevents both.
What's in the Box: Getting to Know Your Viking 1700
Before you touch a single cable, take ten minutes to lay everything out and identify the parts. Most frustration with these units comes from trying to operate a component you can't locate, not from a malfunction.
The Core Components
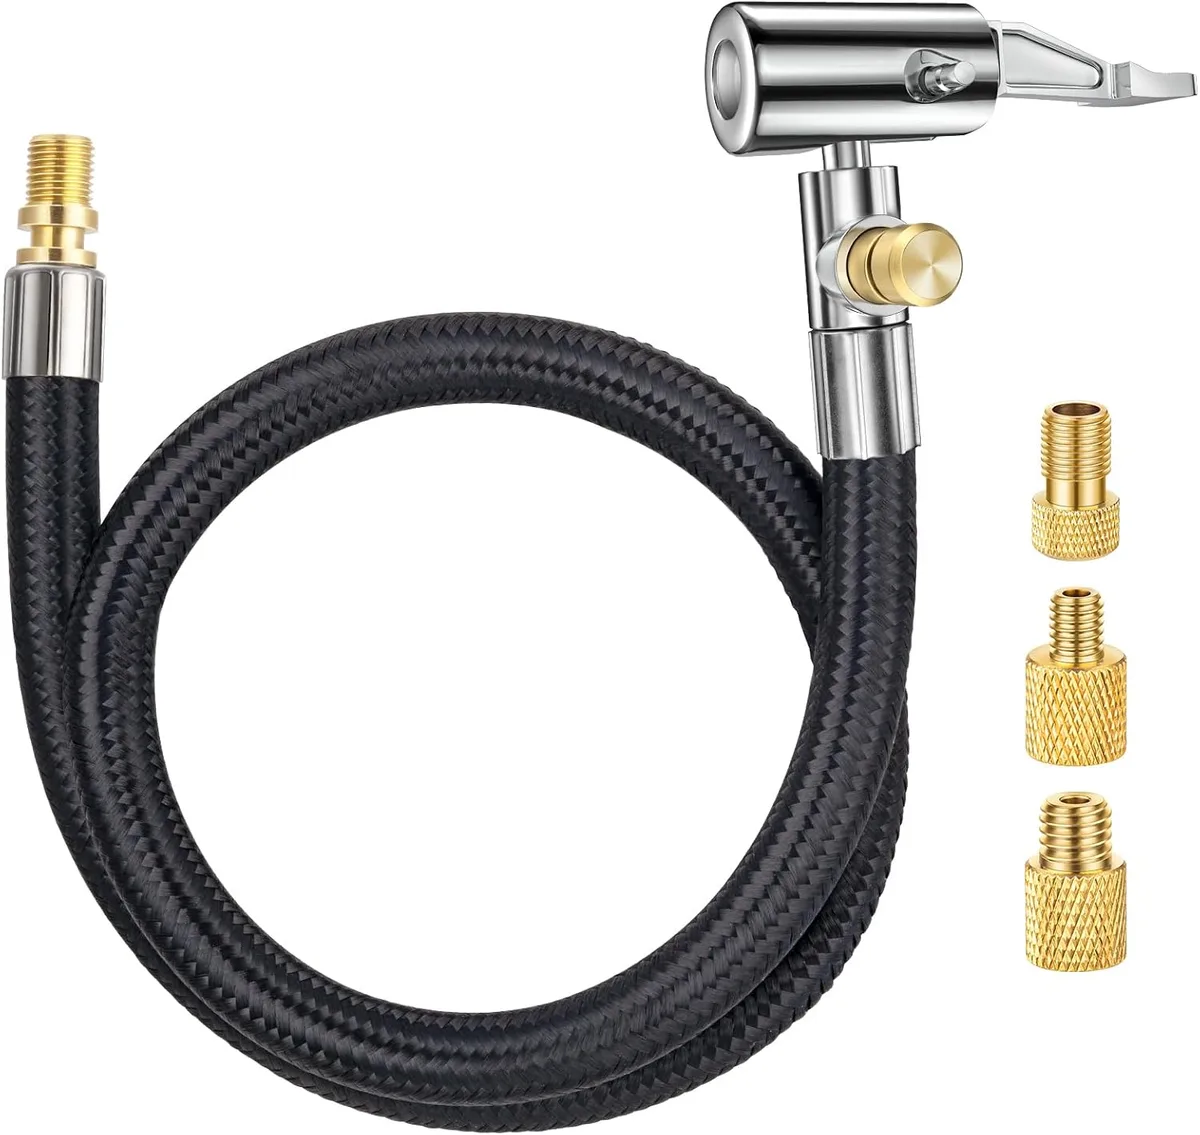
The body of the unit houses the battery, the compressor pump, and the control panel. On top of that you'll find a red jump-start clamp and a black jump-start clamp, both with thick insulated cables. There's also a coiled air hose with a screw-on chuck that locks onto tire valves, a pressure gauge (analog dial or digital depending on production year), a mode switch that toggles between jump start, off, and inflate, plus a 12V DC outlet, a USB port, and an LED work light on most variants.
Accessories and Attachments
Standard kits include a needle adapter for sports balls, a cone adapter for pool floats, and an AC charging cable. Some retailers also bundle a 12V car charger for recharging from your running vehicle, which is genuinely useful if the unit sits in a trunk for months.
The Control Panel at a Glance
The two controls that matter most are the mode switch and the pressure setting. The mode switch selects which internal system is powered (booster or compressor), and the pressure setting on the gauge is what tells the compressor when to stop. As of 2026, current production runs use a digital PSI readout rather than the older analog dial, but the function is identical.
Key Specs Worth Knowing Before You Start
Specs matter because they tell you what the unit can and cannot handle. Pushing a jump starter past its rated engine size is the fastest route to a no-start scenario of your own.
| Spec | Viking 1700 (Lead-Acid) | What It Means for You |
|---|---|---|
| Peak amps | 1700A | Maximum burst on first crank |
| Cranking amps | ~300–400A | Sustained power during engine turnover |
| Compressor max PSI | 100–150 PSI | Enough for passenger car and light truck tires |
| Battery type | Sealed lead-acid (AGM) | Tolerates storage better than flooded cells |
| Weight | 15–20 lbs | Heavier than lithium, but more durable in cold |
| Recharge time | ~24 hours AC | Plan a day ahead if it's been sitting |
Manufacturer-published data puts the unit's effective jump range at roughly 4 to 6 cylinder gasoline engines, with diesel support depending on ambient temperature. Cold cranking performance drops sharply below freezing, which is standard AGM behavior, not a defect.
What About Lithium Versions?
If you bought a newer Viking-branded unit in the last few years, you may have a lithium-ion variant on your hands. Those typically weigh 5 to 8 lbs, recharge in 4 to 6 hours, and handle cold weather slightly worse than AGM. The operating procedure is identical; the only real difference is storage temperature limits (avoid leaving lithium units in a freezing car overnight if you can help it).
Preparing the Unit for First-Time Use
First-time prep is the step most people skip, then wonder about six months later when the unit won't hold a charge. A few minutes here saves hours later.
Step 1: Do an Initial Full Charge
Plug the AC adapter into a wall outlet and the charging port on the unit. The charge light will glow red or amber, then turn green (or stop flashing on digital models) when full. Manufacturer specs suggest a first charge of at least 24 hours, even if the indicator says "ready" before then.
This conditions the battery and extends its usable life.
Step 2: Inspect the Clamps and Hose
Look at the clamp teeth for corrosion or bending. Spread them and release to confirm they spring shut firmly. Run your hand along the air hose looking for cracks or soft spots.
A worn chuck won't hold pressure on a tire valve, and you'll lose 2 to 3 PSI just to leaks before the gauge even registers.
Step 3: Test the Switches
With the unit unplugged, toggle the mode switch between off, jump, and inflate. You should hear a faint click and see the indicator lights respond. This isn't a full functional test, but it confirms the switch isn't stuck mid-position.
A switch that lands between modes can disable both functions at once.
Step 4: Find a Storage Spot
Choose a dry, room-temperature location. A garage shelf beats a hot attic or a freezing trunk. Temperature swings are the single biggest factor in standby battery life, and per OSHA battery handling guidance, sealed lead-acid batteries degrade fastest when stored above 100°F or below 32°F for extended periods.
How to Jump Start a Car with the Viking 1700
This is the core reason most people buy the unit in the first place, so let's walk through it in the order it actually happens on a cold shoulder or dark driveway. The whole process takes under five minutes once you've done it a couple of times.
Step 1: Switch Off the Vehicle and All Accessories
Turn off the ignition, headlights, radio, climate control, and any plugged-in phone chargers. A dead battery is at its weakest, and any in-rush current from accessories can fry a fuse or confuse the jump sequence. Pop the hood and prop it open before you reach for the unit.
Step 2: Confirm the Mode Switch Is Set to Off
Before clamping anything, make sure the unit is in the OFF position. If the unit has been sitting in a hot trunk, give it 60 seconds to acclimate; lithium-ion cells in particular can throw false readings if cold-soaked. The indicator lights should be dark.
Step 3: Identify Positive and Negative Terminals
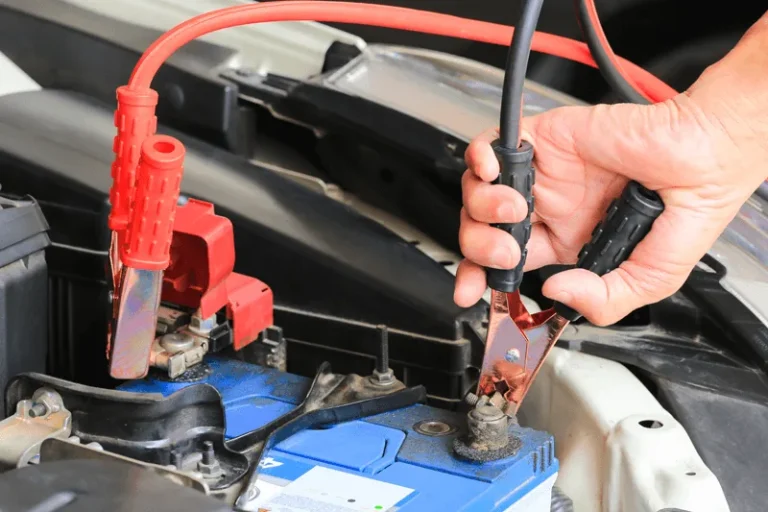
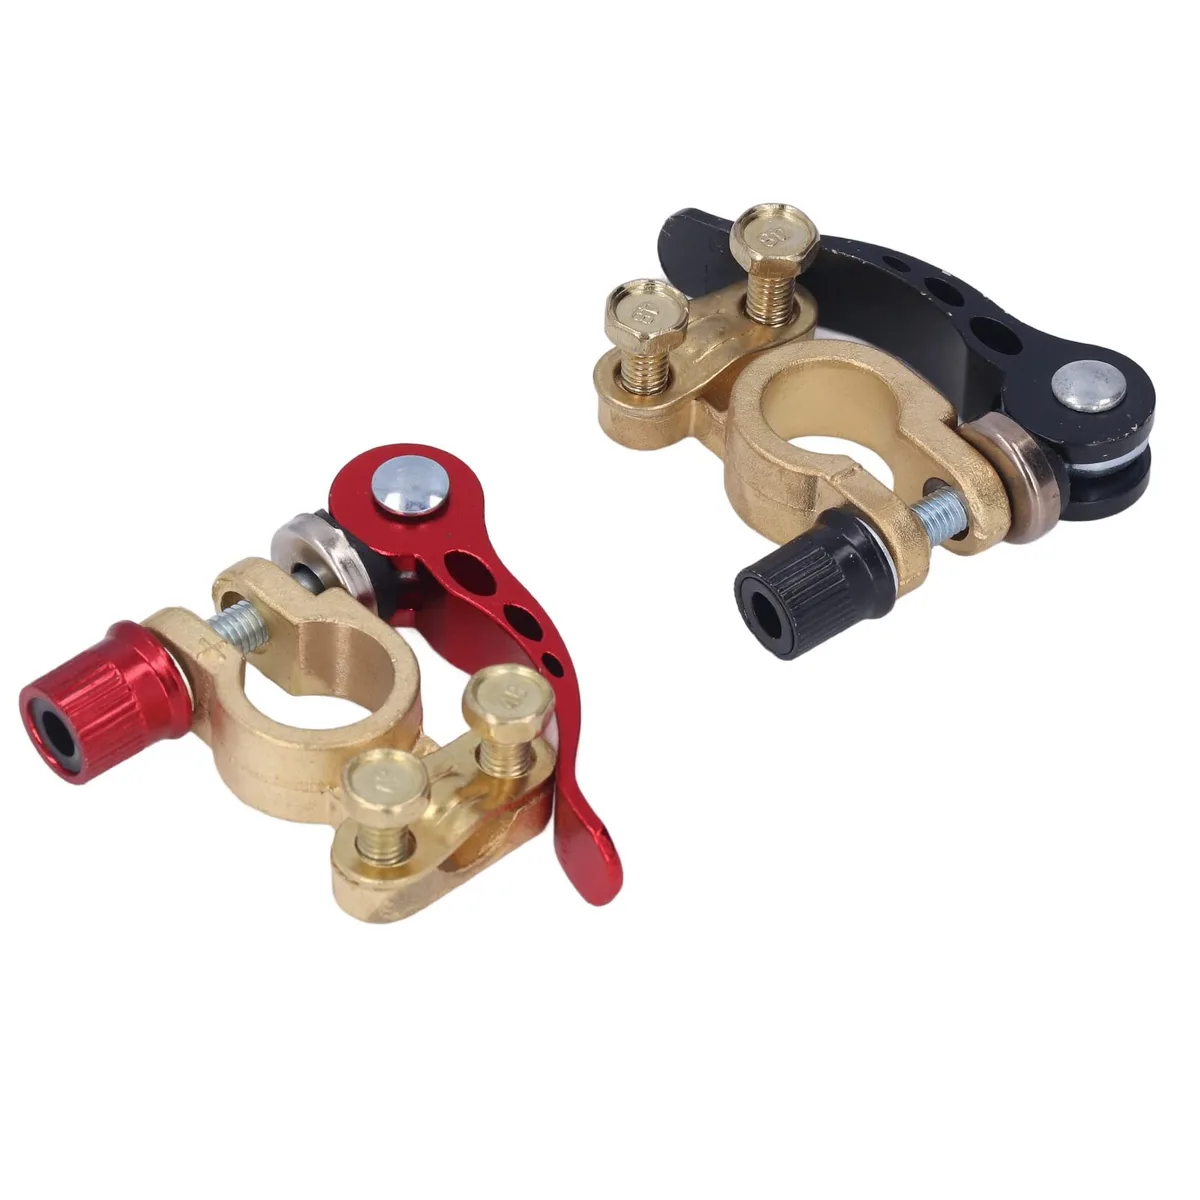
The positive terminal is marked with a "+" or a red cap, and is usually slightly larger. The negative terminal is marked "-" and is usually black. If the markings are worn off, follow the thicker cable, which is almost always positive on modern vehicles.
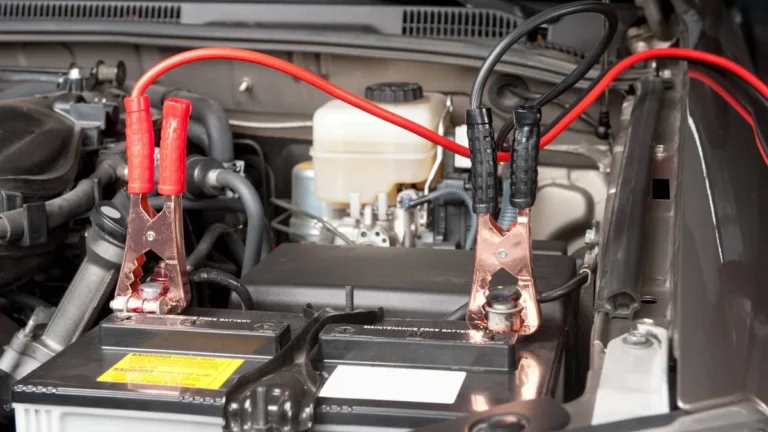
Step 4: Connect Red to Positive, Black to Negative
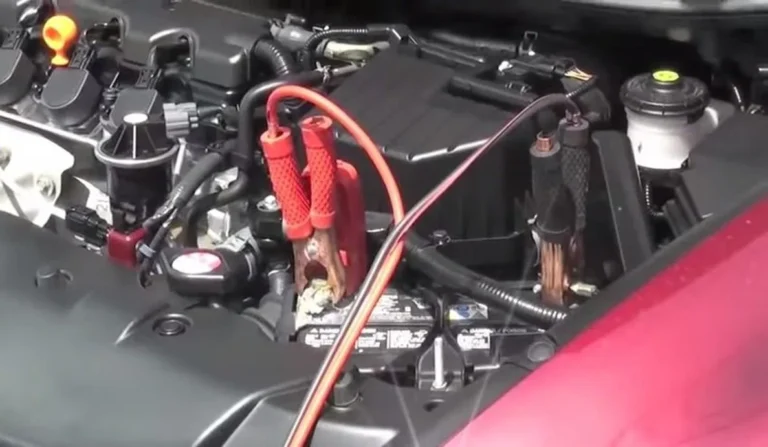
Clip the red clamp to the positive terminal first, then the black clamp to the negative terminal (or a clean, unpainted chassis ground point away from the battery). Wiggle each clamp to confirm a metal-to-metal bite. A loose clamp will arc, spark, and refuse to crank.
Step 5: Switch to Jump Mode and Crank
Flip the mode switch to the jump-start position. Get back in the vehicle, turn the key, and crank for no more than 5 seconds. If the engine doesn't fire, wait 30 to 60 seconds before trying again.
Three attempts is the practical limit before you risk overheating the booster cables.
Step 6: Disconnect in Reverse
Turn the unit to off. Remove the black clamp first, then the red. Let the vehicle idle for at least 10 minutes before shutting it off, and ideally drive for 20+ minutes to top off the alternator charge.
If the car won't start after three attempts, the battery is likely too far gone to accept a jump, and you're looking at a replacement.
What If the Unit Beeps or Flashes Red
That's the reverse-polarity alarm. It means you crossed the clamps or there's a poor ground. Switch the unit off, disconnect both clamps, and re-seat them carefully.
Do not try to crank the engine with the alarm active; the unit will not deliver power and you'll just drain the internal battery.
What If Nothing Happens at All
Nine times out of ten, the unit itself is depleted. Check the charge indicator. If it reads low, you can't jump a battery with a battery that's also dead.
Try recharging the unit from AC for at least 20 minutes before another attempt, or swap to a backup power source.
Switching to Compressor Mode: What Changes on the Unit
The Viking 1700 uses one mode selector for both functions, which is convenient but also where users mix things up. Here's what actually changes when you toggle from jump to inflate.
The Mode Switch Position
Move the switch from jump to inflate. On most units, the switch has a center OFF detent, then click left for jump and right for inflate. The indicator LED will change color (usually from red to green or blue) to confirm you're in compressor mode.
The Pressure Gauge Powers Up
The digital readout on the panel is only active in inflate mode. In jump mode, the gauge is off and the screen is dark. If you're trying to set a target PSI and the screen is blank, the switch isn't fully turned to inflate.
The Compressor Hose Port Is Now Live
The chuck at the end of the coiled hose is what delivers air. The compressor itself stays silent until you press the trigger or open the chuck valve onto a tire. The unit is intentionally designed this way so that a sealed chuck doesn't accidentally bleed pressure.
What Stays Off
The booster cables are dead in this mode. Even if you accidentally touch them to a battery post, no current flows. This is a deliberate safety feature; trying to both jump-start and inflate simultaneously is a great way to over-draw the unit and trip its internal breaker.
How to Inflate Car, SUV, and Truck Tires
Most owners use the compressor side more often than the jump side, because tires lose a pound or two of pressure every month in normal driving. Here's how to get a tire from soft to spec in a single short session.
Step 1: Check Your Target PSI First
The correct tire pressure is on the door-jamb placard, not on the tire sidewall. The sidewall number is the maximum, not the recommended figure. For most sedans, you're looking at 32 to 35 PSI; SUVs run 35 to 40 PSI; light trucks can hit 40 to 80 PSI depending on load range.
Step 2: Remove the Valve Cap and Pre-Check
Unscrew the valve cap and tuck it somewhere safe (a pocket works). Press the chuck firmly onto the valve stem and engage the lock lever. You should hear a brief hiss as the chuck seats, then silence.
A continuous hiss means a poor connection; reseat and try again.
Step 3: Set Your Target PSI
Most Viking 1700 units don't auto-stop, so you'll watch the gauge and shut off manually. Start with the target PSI you noted from the door jamb. Add 1 to 2 PSI above target to account for the small pressure loss when you remove the chuck.
Step 4: Run the Compressor in Short Cycles
Don't run the compressor continuously for more than 5 minutes at a time. The little pump inside generates real heat, and overheating is the top cause of compressor failure on multi-function units. Cycle 5 minutes on, 5 minutes off, until you hit your target.
Step 5: Shut Off, Disconnect, and Recap
Switch back to OFF before you remove the chuck. Pull the chuck straight off the valve (do not twist) and listen for any air bleed. A quick hiss is normal as the internal valve closes; a sustained hiss means you lost pressure during disconnect and need to add more.
Screw the valve cap back on.
How Long Should a Single Tire Take
A completely flat passenger tire from 0 to 35 PSI runs about 6 to 8 minutes with this unit. SUV tires take 8 to 10 minutes. Truck tires (especially load-range E) can run 15+ minutes, which is exactly when you need the 5-on/5-off cycling rule.
Inflating Bikes, Balls, and Other Small Items
The compressor side is also handy beyond tires, and the included nozzle kit covers most small inflatables. The process is similar but the pressure ranges are way lower, so pay attention.
Bicycle Tires
Road bike tires run 80 to 130 PSI, which is at or above the unit's max output. Mountain bike tires run 25 to 50 PSI. Use the needle adapter if your valve is Presta, not Schrader.
A 700c road tire from flat to 100 PSI takes roughly 4 minutes.
Sports Balls
Basketballs, soccer balls, and footballs all use the needle adapter. Target pressure is usually printed near the valve. Standard balls run 8 to 12 PSI, which is well within the unit's range.
Don't over-inflate; the bladder can rupture.
Pool Floats and Air Mattresses
These use the wide cone adapter. Set the unit to inflate, press the cone firmly over the valve, and let it run. These items have no pressure feedback, so you stop by feel and time rather than a gauge.
Why You Shouldn't Try to Inflate Truck Tires to 100 PSI
It can do it, technically, but you'll be cycling the compressor for 30+ minutes, which is a great way to burn out the motor. If you need high-volume inflation for larger tires, a dedicated 12V inflator or a shop compressor is the right tool.
Reading the Built-In Pressure Gauge Correctly
The digital gauge is simple but easy to misread in the heat of the moment, especially if you're staring at it while cranking a stubborn engine.
The PSI Number Is Live
The number updates in real time as the compressor runs. Watch the climb, and shut off when you reach target. If you're inflating a bicycle tire, the gauge reads to the nearest 0.5 PSI, which is plenty for most uses.
The Gauge Won't Read Below ~5 PSI Without a Load
If the chuck isn't connected to a valve, the gauge reads atmospheric pressure (0 PSI relative). That's not a malfunction. Press the chuck onto a tire to get a real reading.
Auto Shutoff Behavior
Some Viking 1700 units (mostly newer revisions) include an auto-shutoff feature that stops the compressor at a set PSI. To use it, dial in the target on the gauge before pressing the chuck onto the valve. If your unit doesn't have this, you shut off manually.
Common Mistakes That Damage the Unit or Your Vehicle
A few common patterns show up over and over in aggregate user feedback. Skip these and you'll get years of reliable service.
- Leaving the unit in jump mode after cranking and forgetting to switch off. This drains the internal battery in 24 to 72 hours.
- Cranking for more than 5 seconds at a time. This overheats the booster cables and trips internal breakers.
- Crossing the clamps and ignoring the alarm. The unit will refuse to deliver current, and you'll wear out the buzzer.
- Inflating tires without checking the door-jamb PSI first. You end up over- or under-inflated without realizing it.
- Running the compressor continuously for 10+ minutes. Burnout risk goes up sharply past the 5-minute mark.
- Storing the unit in a freezing or hot vehicle. Battery lifespan drops 30% to 50% in temperature extremes.
- Skipping the recharge cycle for months. Sealed lead-acid batteries sulfate if stored below full charge.
Troubleshooting: Beeping, No Start, or Compressor Not Running
Even with careful use, things go wrong. Here's a quick reference for the most common issues and what to try first.
The Unit Beeps When You Connect the Clamps
That's the reverse-polarity alarm. Disconnect both clamps, confirm positive and negative, and reseat. If it keeps beeping with the clamps correctly placed, your battery terminals may be reversed or the unit's alarm sensor is stuck.
A reset (switch off, unplug, wait 60 seconds) usually clears it.
Nothing Happens When You Crank the Engine
Most often, the unit itself is too depleted. Check the charge indicator. If it's full, the clamps may not be biting the terminals.
Sand off corrosion with a wire brush and retry. If still nothing, the vehicle's starter may be drawing more amps than the unit can deliver, and you're looking at a deeper problem.
The Compressor Runs but Pressure Doesn't Climb
You have a leak. Most often, the chuck isn't fully seated on the valve stem. Other possibilities include a cracked hose (rare) or a faulty gauge.
Reseat the chuck and listen carefully; hissing is the giveaway.
The Gauge Reads Zero Even With the Chuck On
The mode switch may not be fully in the inflate position. Toggle it firmly and watch the screen power up. If still nothing, the gauge may have failed; the compressor itself can still run, but you'll need to estimate pressure by feel or use an external gauge.
Safety Warnings You Should Actually Pay Attention To
This is a 12V battery with enough stored energy to weld metal, plus an air compressor that can rupture a tire if misused. Treat it with the respect those specs demand.
- Don't connect to a 24V system (dual-battery diesel trucks). The unit is 12V only; connecting to 24V will short the internal battery.
- Don't crank in an enclosed space with the engine running for extended periods. Carbon monoxide builds up quickly.
- Don't inflate beyond the tire's rated PSI. Over-inflation can cause a blowout, especially on warm days.
- Don't store the unit in a hot car in summer. Battery venting is a real risk above 130°F internal temperatures.
- Don't charge the unit in sub-freezing temperatures. Lithium variants in particular can be damaged if charged below 32°F.
- Don't let the clamps touch each other when the unit is on. The spark can weld them together and trip the breaker.
Charging and Storing the Viking 1700 Between Uses
Long-term storage habits determine whether this unit lasts two years or ten. A few simple rules get you to the longer end.
The Once-a-Month Top-Up
Sealed lead-acid batteries self-discharge at roughly 3% to 5% per month. If the unit sits unused, plug it in for 12 to 24 hours once a month. Lithium variants can sit for 3 to 6 months between charges with no harm.
Storage Temperature Matters Most
A climate-controlled garage or closet is ideal. Basements work if they're dry. Avoid uninsulated sheds and trunk storage if you live anywhere with hot summers or freezing winters.
Annual Inspection
Once a year, check the clamps for corrosion, the hose for cracks, and the unit's charge level. A 30-second visual inspection catches 90% of the problems that lead to roadside failure.
Viking 1700 vs. a Standalone Jump Starter and Air Compressor
If you're deciding whether the multi-function route makes sense for you, here's the honest comparison.
| Feature | Viking 1700 (Multi-Function) | Separate Jump Starter + Compressor |
|---|---|---|
| Cost | Lower single purchase | Higher total cost |
| Storage | One unit in one spot | Two units, twice the cables |
| Specialization | Jack-of-all-trades | Each tool excels at one job |
| Failure risk | One failure takes out both | One failure leaves the other usable |
| Capacity | Mid-range on both | Can mix a high-end jump + budget inflator |
If you want a single emergency unit that handles both jobs adequately, the Viking 1700 fits. If you want maximum cranking power and fastest inflation, separate dedicated units will outperform it.
Who This Is Best For
The Viking 1700 isn't for everyone. Here's who actually benefits from it: rural drivers with longer response times where a roadside service call isn't practical, fleet drivers who need a single rugged unit for both tire checks and dead batteries, and camping enthusiasts who want one multi-purpose tool. Homeowners with older vehicles and anyone who wants emergency backup for both jump-starting and tire inflation without buying two tools also fit the profile.
If you primarily drive a new vehicle with roadside assistance and a tire pressure monitoring system, you may not need this unit at all.
How Often Should You Test the Unit?
A quick monthly check is enough. Toggle the switches, watch the indicator lights, and confirm the battery indicator still reads full. Once a year, do a real test: inflate a tire or briefly crank an engine you know works.
Testing is what separates an emergency tool you trust from one that fails when you need it.
The Three-Month Mark: A Quick Pressure-Top-Up Check
Park the unit next to a tire. Hook up the chuck and add 1 to 2 PSI. This both tests the compressor and reminds you how the process feels.
If the gauge or compressor struggles here, you'll have time to service the unit before a real roadside emergency.
When to Replace Instead of Recharge
Batteries have a service life, and pushing past it costs you reliability. Once your Viking 1700 crosses certain thresholds, replacement is the safer call.
Reduced Cranking Power
If the unit once started a 4-cylinder engine in three seconds but now takes six, the internal cells have degraded. AGM batteries typically last 3 to 5 years in standby service. Lithium variants can stretch to 5 to 7 years with proper storage.
Won't Hold a Charge
A full charge that drops to 50% in a week means a sulfated or shorted cell. No amount of trickle-charging brings it back. Replace the unit or the internal battery pack if your model supports service swap.
Compressor Runs Hot or Stalls
If the pump motor overheats after just a minute of use, the bearings or windings are wearing out. Continued use can damage other components. Time to retire or service the unit.
Physical Damage
A cracked case, frayed cables, or a leaky chuck are safety hazards. Even if the unit still works, the risk of failure under load (which can damage a vehicle's electrical system) isn't worth keeping it in service.
What to Keep in Your Emergency Kit Alongside It
The Viking 1700 covers battery and tire failures, but a complete roadside kit adds a few cheap items that solve the rest. A reflective vest, a basic tool kit, a flashlight, and a first-aid kit round out the package. Gloves matter more than people think; battery acid and greasy engines are both reasons to keep a pair in the kit.
Optional but Useful
Jumper cable backups (yes, even with a jump starter on board), a tire plug kit for puncture repairs, and a small fire extinguisher rated for electrical fires. None of these add much weight, and all of them address problems the Viking 1700 can't.
Can You Take It on a Plane or Ship It?
Lithium-ion variants under 100Wh are sometimes allowed in carry-on luggage with airline approval. Sealed lead-acid units are almost universally prohibited in both carry-on and checked bags due to spill and venting risks. For shipping, ground freight via a carrier that handles hazmat is the legal route for lead-acid versions.
Where to Buy Replacement Parts
Clamps, hoses, chargers, and adapters are available through the manufacturer's parts portal and authorized service centers. Third-party replacements exist, but spec-matching matters; an undersized clamp cable can melt under cranking load.
When to Call Customer Service Instead
If the unit is under warranty and you've already ruled out user error (charge level, mode switch, clamp polarity), contact Viking support before attempting any disassembly. Opening the case typically voids warranty and exposes you to battery acid.
Frequently Asked Questions
How long does the Viking 1700 hold its charge when stored?
Sealed lead-acid versions self-discharge at 3% to 5% per month, so a full charge lasts 4 to 6 months before needing a top-up. Lithium variants hold 6 to 12 months in storage. A monthly quick-charge is the simplest way to keep it ready.
Can the Viking 1700 jump start a diesel truck?
It depends on engine size. The unit handles 4 to 6 cylinder gasoline engines reliably and 4-cylinder diesels in moderate weather. Larger diesel engines (especially those with dual batteries or 24V systems) exceed its capacity.
Check your vehicle's battery spec before relying on it for diesel.
Is it okay to leave the unit plugged in all the time?
Most modern units include overcharge protection, so a continuous AC trickle is technically fine. For longest battery life, unplug once the indicator shows full and top up monthly. Continuous float-charging can shorten AGM lifespan over years.
How do I know if my Viking 1700 battery is dead?
If it won't hold a charge past a few days, won't deliver power to clamps even when full, or the charge indicator behaves erratically, the battery has likely sulfated or shorted. Replacements are available through Viking service channels and authorized retailers.
Can I take the Viking 1700 on a plane?
Lead-acid units are generally not allowed in checked or carry-on luggage due to battery regulations. Lithium variants under 100Wh may be permitted with airline approval. Check current TSA and FAA guidelines before flying with one.
What PSI should I inflate my car tires to?
The correct PSI is on the driver's-side door placard, not the tire sidewall. Most passenger cars run 32 to 35 PSI. SUVs run 35 to 40 PSI.
Light trucks range from 40 to 80 PSI depending on load. Always use the door-jamb figure.