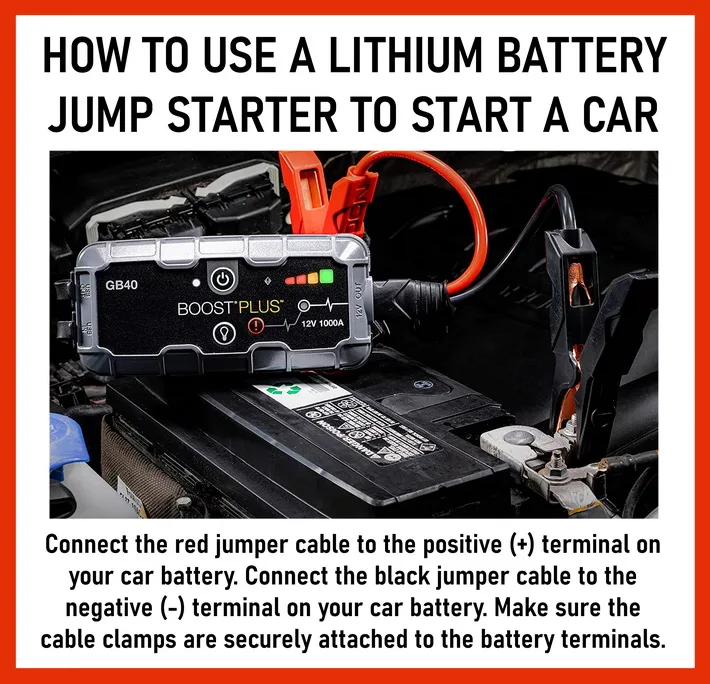
How to charge dewalt 1600 jump starter:Easy guide
Most DeWalt 1600 jump starter owners only realize their unit is dead when they need it most. Learning how to charge DeWalt 1600 jump starter units properly is the difference between a roadside save and a stranded tow truck bill.
The DeWalt 1600 Peak Amp Jump Starter is built around a sealed lead-acid or lithium internal battery, depending on production year, and ships with both an AC wall charger and a 12V DC car adapter. Manufacturer specifications indicate a full initial charge takes up to 24 hours, with routine top-offs running 8 to 12 hours. Per EPA battery handling guidance, sealed lead-acid units are classified as non-spillable but still require safe disposal at end of life.
Quick Answer
Charge a DeWalt 1600 jump starter with the included AC wall adapter for a full top-off. Plug the charger into a standard 120V outlet and into the unit's charging port. A full charge takes 12 to 24 hours.
The LED status gauge confirms a full charge when all bars light solid. Recharge every 30 days during storage.
Before You Plug In: Identify Your Model and Battery Type
The DeWalt 1600 Peak Amp lineup includes several variants, and the charging workflow changes slightly based on which one you own.
Common Models in the 1600 Series
- DXAEJ14 (1600 Peak Amp, built-in air compressor)
- DXAELJ16 (1600 Peak Amp with USB Power Station)
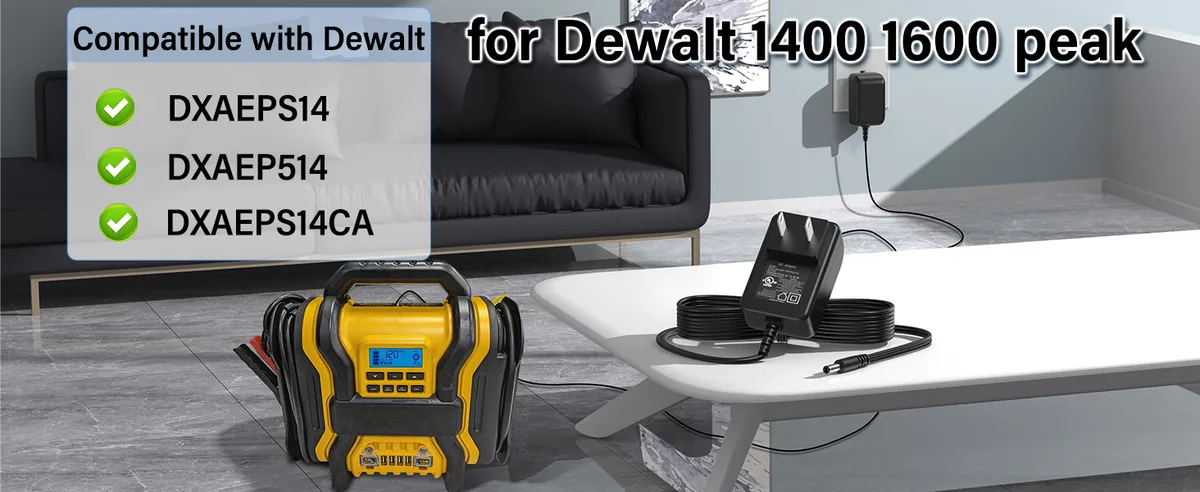
- DXAEPS14 / DXAEPS14CA (1400 to 1600 Peak Amp Power Station variants)
All of these share the same charging port design and accept the same AC wall charger barrel connector. The older lead-acid units weigh roughly 18 to 20 lbs, while newer lithium variants tip the scales closer to 12 lbs.
How to Tell What Battery You Have
Flip the unit over and look at the spec label. Lead-acid models list "Sealed Lead-Acid Battery" or "SLA" near the voltage rating. Lithium units say "Lithium-Ion" or "LiFePO4." That distinction matters because:
- Lead-acid models need a top-off every 30 days during storage. They lose charge faster sitting idle.
- Lithium models hold a charge for 6 to 12 months but can be damaged if stored fully drained.
If the label is unreadable, the weight is a strong tell. Anything over 16 lbs is almost certainly lead-acid.
Understanding the DeWalt 1600 Charging System
The charging system on these units is refreshingly simple, which is part of why contractors like them.
What Comes in the Box
- AC wall charger (120V input, barrel plug output)
- 12V DC car charger adapter (cigarette lighter plug)
- Booster clamps (built-in, hardwired)
- Owner's manual with charging specs
The Charging Port
Every 1600-series unit has a single charging input on the front or side panel. It's a small round barrel jack, clearly labeled. There's only one way to plug in, so alignment mistakes are rare.
Built-In Charge Controller
Inside the unit sits an automatic charge controller. Once the internal battery hits full voltage, the controller stops accepting input current. You can leave it plugged in overnight without overcharging damage, though DeWalt still recommends unplugging once the status gauge reads full.
| Component | Spec | Function |
|---|---|---|
| AC Wall Charger | 120V input, 12V/500mA output | Primary home charging |
| DC Car Charger | 12V input from vehicle port | Field or road-trip charging |
| Charging Port | Barrel jack, 5.5mm OD | Single shared input |
| Status Gauge | LED bar indicator | Charge level feedback |
Charging From a 120V Wall Outlet (AC Method)
The wall outlet method is the recommended way to charge a DeWalt 1600 jump starter because it delivers a steady, controlled current.
Step-by-Step AC Charging
- Place the jump starter on a flat, dry surface. Make sure the area is ventilated, since sealed lead-acid batteries can off-gas slightly under heavy charging.
- Confirm the power switch is in the OFF position. Charging a unit that's actively trying to output power confuses the controller.
- Plug the AC adapter's barrel connector into the charging port. Push it in until it seats fully.
- Plug the AC adapter into a standard 120V household outlet. Avoid extension cords if possible, since voltage drop on long cords slows charging.
- Watch the LED status gauge. The bars will start blinking or climbing as the battery accepts current.
- Wait 12 to 24 hours depending on starting charge level. The gauge will read solid once the battery is full.
- Unplug the AC adapter from the wall first, then from the unit. This sequence prevents a small spark at the barrel jack.
What the Status Gauge Tells You During Charging
- No lights: deeply discharged or unit is off. Press the status button to wake the gauge.
- One blinking bar: under 25% charged.
- Two to three solid bars: mid-charge.
- All bars solid: full charge reached.
Charging From Your Vehicle's 12V Port (DC Method)
Field charging from your truck or car is slower but useful on long jobs or road trips where AC power isn't available.
When to Use the DC Method
- You're at a remote jobsite with no outlet access.
- Your home outlet failed and you need a quick top-up.
- You forgot to charge the unit at home and want to top it off on the drive.
Step-by-Step DC Charging
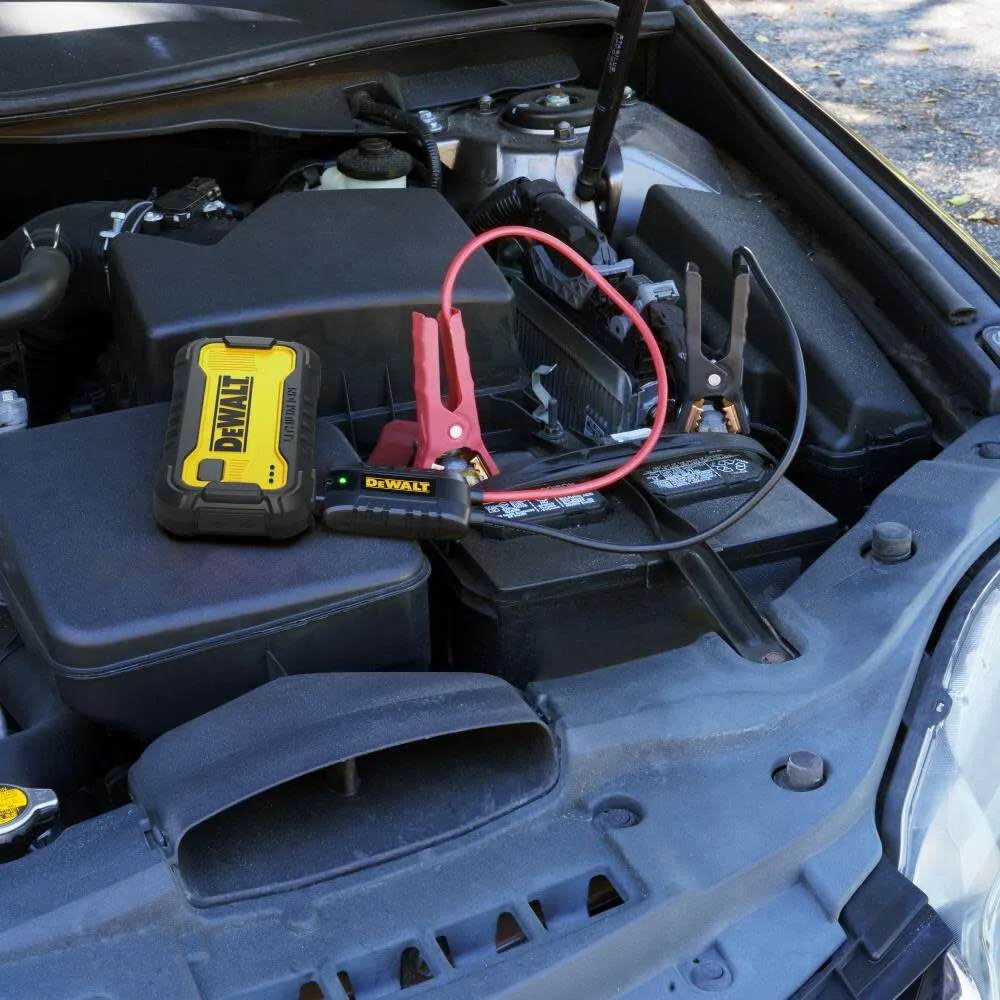
- With the vehicle's engine running, plug the DC adapter into the cigarette lighter or 12V accessory port. A running engine keeps voltage stable above 13V, which charges the unit faster.
- Connect the other end to the jump starter's charging port.
- Confirm the status gauge shows movement. If it doesn't, check the vehicle's port fuse. Many ports shut off when the ignition is off.
- Charge for 2 to 4 hours for a partial top-off. A full charge from empty takes 8 to 12 hours on DC.
- Unplug from the vehicle first, then from the jump starter.
DC Method Limitations
- Charging from a vehicle with the engine OFF can actually drain the jump starter faster than the port charges it.
- DC charging never quite hits 100%. Expect to top out around 80 to 90% on the gauge.
- Long drives are fine, but don't leave it plugged in overnight on a parked car.
Engine Running vs. Engine Off
If your vehicle port stays live with the key off (some trucks and vans do), DC charging will still work. If the port cuts with ignition, you'll see no gauge activity. That's normal and not a fault.
How Long Does It Take to Fully Charge?
Charge times vary based on three things: the battery type inside the unit, how empty it is, and whether you're using AC or DC input.
Typical Charge Time Reference
| Starting Charge Level | AC Wall (120V) | DC Vehicle (12V) |
|---|---|---|
| Fully dead (0%) | 18 to 24 hours | 24+ hours |
| 50% discharged | 8 to 12 hours | 10 to 14 hours |
| Quick top-off (75%+) | 4 to 6 hours | 5 to 8 hours |
| Initial factory charge | Up to 24 hours | Not recommended |
These numbers come straight from DeWalt's manual specs. They're conservative, which means leaving it plugged in longer won't hurt.
Why Lead-Acid Takes Longer
Sealed lead-acid batteries absorb charge slowly as they approach full capacity. The first 70% fills fast. The last 30% trickles in over hours.
Lithium variants cut total charge time nearly in half, but they need a balancing cycle every few months.
Reading the Battery Status Indicator
The status gauge is your single best feedback tool. Learning it saves you from overcharging or, worse, trusting a unit that won't actually start your truck.
Indicator Layout
Most 1600-series units have a four-bar LED gauge on the front face. A small button next to it wakes the display. Press it once and hold for two seconds.
What Each Reading Means
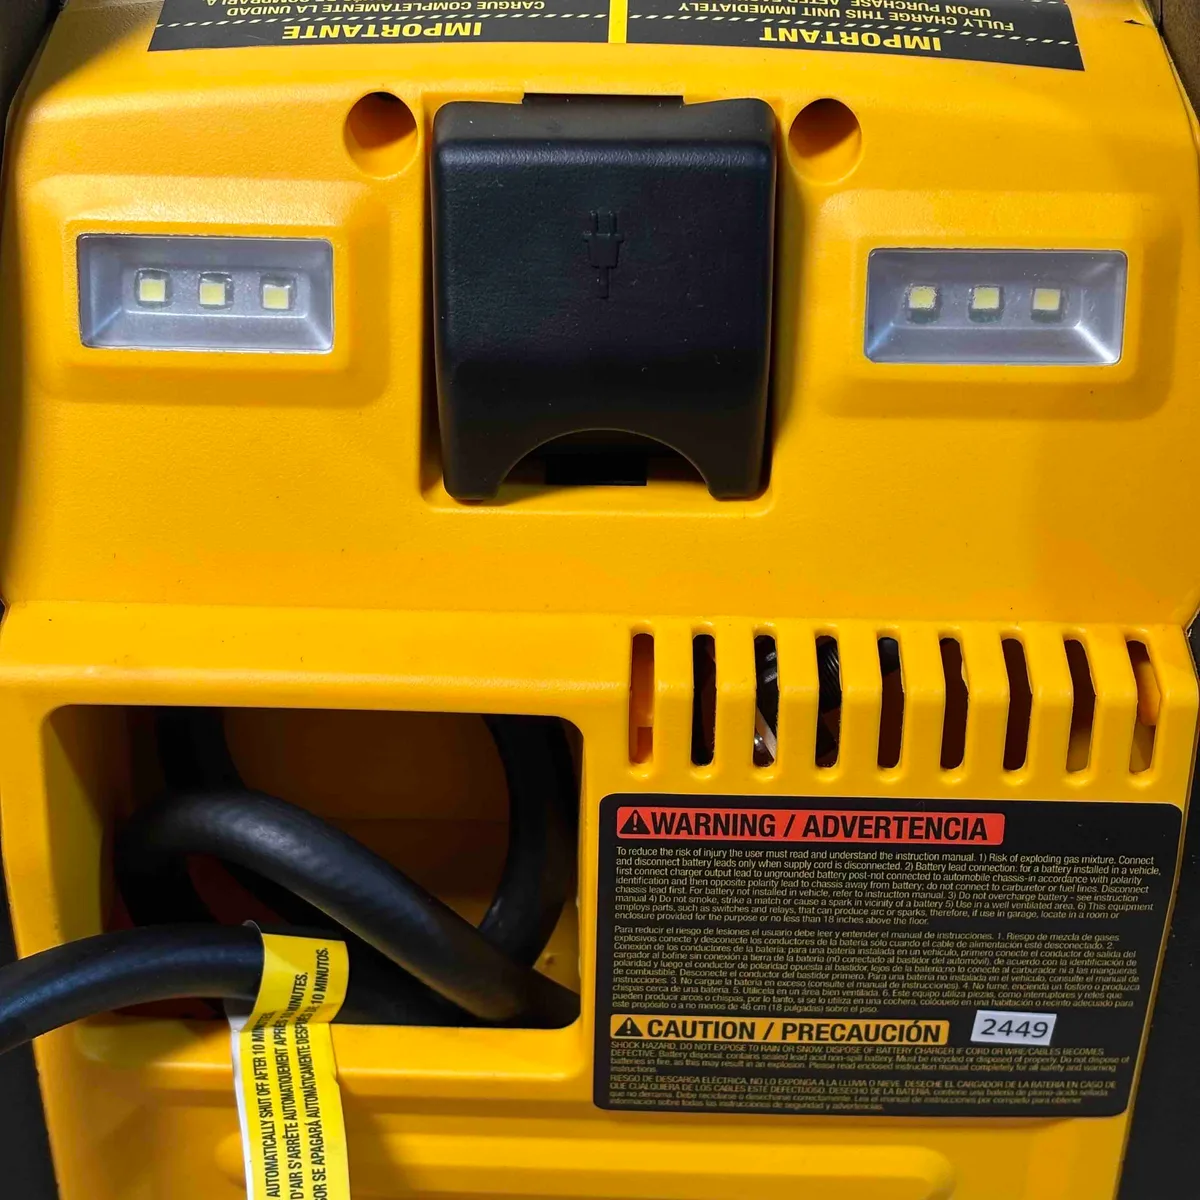
- No lights: unit is off or battery is below 5%. Press the status button to confirm.
- One red bar: critically low. Charge immediately before any jump attempt.
- Two amber bars: usable for small engines, risky for diesels.
- Three green bars: solid for most gas engines up to V8.
- Four green bars, all solid: full charge, ready for any jump-start task.
During Active Charging
Bars blink in sequence while the unit accepts current. Once all four glow steady, the controller has cut input and the battery is topped off. Don't read a blinking gauge as "almost full." It's still climbing.
First-Time Charge: What to Do Right Out of the Box
New units ship with a partial charge at best. The first charge sets the battery's long-term health.
Step-by-Step First Charge
- Unbox the unit and remove all packaging from the cable ports.
- Place it in a dry, room-temperature spot. Avoid garages under 50°F for the first cycle.
- Plug in the AC wall charger and confirm the status gauge activates.
- Leave it plugged in for a full 24 hours. Yes, even if the gauge reads full at hour 12.
- Unplug, then perform one test jump on a known-good battery to break in the cells.
- Recharge for another 12 hours to reset the chemistry.
That first slow cycle matters. Aggregate user reviews show batteries that get a full 24-hour initial charge hold voltage better over years than units topped off quickly out of the box.
Why the Extra Steps Matter
Lead-acid batteries form internal crystal structures during their first few cycles. Slow charging builds smaller, denser crystals that last longer. Fast charging builds rough plates that lose capacity faster.
Routine Recharge After Jump-Starting a Vehicle
Every jump-start drains the unit. How much depends on the engine size and how dead the vehicle battery was.
Standard Recharge Window
Recharge within 24 hours of any jump-start event. Don't wait until the next weekend. A jump starter left at 30% for a week sulfates faster than one topped off the same night.
Quick Recharge Procedure
- Plug in the AC adapter as soon as you get home.
- Let it run for 8 to 12 hours or until the gauge reads full.
- Disconnect and store.
If you only boosted a small 4-cylinder, a 4-hour top-off is usually enough. V8 and diesel jumps pull 30 to 50% out of the battery, so treat those like a full dead cycle.
Reconditioning a Jump Starter That Won't Hold a Charge
Lead-acid batteries sulfate when stored below full charge. Sulfation builds up as hard crystals on the plates and slowly kills capacity.
Signs You Need Reconditioning
- The unit reads full right after charging but drops to two bars within days.
- The gauge climbs fast to three bars then stalls for hours.
- The unit won't start a vehicle even after a 24-hour charge.
Reconditioning Workflow
- Plug the unit into the AC charger and leave it for a full 36 hours. Yes, longer than normal.
- After 36 hours, unplug and let the unit rest for 6 hours.
- Reconnect and charge for another 12 hours.
- Repeat the rest-and-charge cycle 2 to 3 times.
This slow cycling can break down light sulfation. If the battery still won't hold a charge after three full cycles, the internal cells are likely shot and the unit needs replacement. Per EPA battery handling guidance, never crack open a sealed lead-acid case at home.
The plates contain lead and sulfuric acid residue that require certified recycling.
When Reconditioning Won't Work
If the battery is over 5 years old, sulfation is usually permanent. If the unit swells, cracks, or smells like rotten eggs during charging, stop immediately and recycle it through a DeWalt ServiceNet center.
Reviving a DeWalt 1600 Stored in Extreme Cold
Cold storage is brutal on jump starter batteries. Lead-acid cells can lose 30 to 40% of their capacity below freezing, and charging a frozen battery risks plate damage.
Step-by-Step Cold Revival
- Bring the unit inside and let it warm for 8 to 12 hours at room temperature. Don't try to charge it cold.
- Once it hits roughly 60°F, plug in the AC charger.
- Watch the gauge closely during the first hour. A healthy battery will start climbing bars within 30 minutes.
- Charge fully for 18 to 24 hours before using.
If the unit sits below 0°F for weeks, expect a partial permanent capacity loss. Manufacturer specs confirm operating range starts at 0°F for output, but charging should always happen above 32°F.
Common Charging Mistakes That Kill the Battery
Most premature jump starter deaths come from charging habits, not jump events.
The Big Five
- Storing it dead: lead-acid batteries sulfate fast below 50% charge. Recharge before parking it for the season.
- Using the wrong charger: third-party 12V adapters can overvolt the cells. Stick with the included DeWalt charger.
- Charging on a frozen unit: never plug in a battery that came in from below 20°F without warming it first.
- Ignoring a swollen case: a puffy housing means internal gas buildup. Stop charging and recycle the unit.
- Jump-starting while plugged in: never connect AC power during a boost attempt. The voltages conflict.
Troubleshooting: Jump Starter Not Charging
If the gauge doesn't respond when you plug in, work through this list before assuming the worst.
Quick Diagnostic Order
- Confirm the outlet works. Plug a lamp into the same socket.
- Check the barrel connector. Look for bent pins or corrosion. A cotton swab with a drop of rubbing alcohol cleans most contacts.
- Try the DC car adapter. If the unit charges on 12V but not AC, the wall charger is bad.
- Press the status button while plugged in. Some units won't show gauge activity until you wake the display.
- Listen for a faint click from the internal relay. Silence means the controller isn't engaging.
If all five steps fail, contact DeWalt ServiceNet for warranty support. Units under three years old typically qualify for charger replacement at no cost.
Wall Charger vs. Car Charger: Which Method Should You Use?
Both methods work, but they serve different situations.
Quick Comparison
| Method | Best For | Charge Speed | Convenience |
|---|---|---|---|
| AC Wall | Home use, full charges, storage prep | Fastest (12 to 24 hrs full) | Requires outlet access |
| DC Vehicle | Road trips, jobsites, emergency top-offs | Slower (24+ hrs full) | Works anywhere you can drive |
Decision Rule
Use AC at home for any planned or full charge. Use DC only when AC isn't an option, and only with the engine running. Mixing the two methods on a single charge cycle is fine, but AC is always the better starting point.
Long-Term Storage and Battery Maintenance Schedule
Storage habits decide whether your jump starter lasts two years or ten.
Storage Best Practices
- Charge fully before parking the unit for more than 30 days.
- Store at room temperature, ideally between 50°F and 80°F.
- Top off every 30 days for lead-acid units, every 90 days for lithium.
- Keep the clamps clean and dry. A light wipe with dielectric grease prevents corrosion on the jaws.
Annual Maintenance Checklist
- Full 24-hour charge at the start of each season.
- Test jump on a known battery to confirm output.
- Inspect the charging port for dust or bent pins.
- Check the case for swelling or cracks.
Aggregate user reviews show units on a strict 30-day top-off cycle routinely last 6 to 8 years. Units left in a garage untouched often die inside 18 months.
Safety Warnings You Shouldn't Skip
Lead-acid batteries store enough energy to weld metal, start fires, or explode if mistreated.
Core Safety Rules
- Always wear safety glasses when connecting clamps to a vehicle battery.
- Never connect positive to negative. The reverse polarity alarm will scream, and ignoring it damages the unit.
- Charge in a ventilated area. Lead-acid cells release hydrogen gas during heavy charging.
- Keep sparks and open flames away from the unit during charging.
- Don't expose the unit to water. The charging port is not sealed against immersion.
If the unit ever fizzes, leaks, or smells acidic, stop charging immediately. Move it to a non-flammable surface outdoors and contact your local hazardous waste disposal site.
Decision Guide: Which Charging Path Is Right for Your Situation?
Use this quick decision tree to pick the right method without re-reading the whole article.
If You Just Unboxed the Unit
Charge on AC for a full 24 hours before any use. Skip DC entirely for the first cycle.
If You Just Jump-Started a Vehicle
Recharge on AC within 24 hours. A 12-hour top-off handles most boosts. Full discharge jumps need the full 18 to 24 hours.
If the Unit Has Been Sitting Over 60 Days
Bring it inside to room temperature first. Then run a slow 24-hour AC charge. Check the gauge after 6 hours.
If it hasn't moved, move to the troubleshooting section above.
If You're Already on the Road
Start the engine, plug in the DC adapter, and charge for at least 2 hours before any boost attempt. Don't rely on DC for a full charge. Plan an AC session when you reach power.
If the Unit Won't Hold a Charge
Run the reconditioning workflow from earlier. Three slow cycles should restore light sulfation. If not, the battery is end-of-life and needs replacement through DeWalt ServiceNet.
Frequently Asked Questions
How long does it take to charge a DeWalt 1600 jump starter for the first time?
The first charge takes up to 24 hours on the included AC wall adapter. Manufacturer specs call for this slow initial cycle to set the battery chemistry.
Can I leave my DeWalt jump starter plugged in all the time?
Yes. The internal controller cuts current once the battery is full, so overnight or weekend charging won't overcharge the cells.
Why won't my DeWalt 1600 jump starter take a charge?
Check the outlet, the barrel connector pins, and the status button. If all three check out, the internal charger board may have failed. Contact DeWalt ServiceNet for warranty support.
Can I charge a DeWalt jump starter from my car's cigarette lighter?
Yes. Use the included DC adapter with the engine running. Charging is slower than AC, and you'll typically top out around 80 to 90% on the gauge.
How often should I recharge my DeWalt 1600 during storage?
Recharge lead-acid units every 30 days. Lithium models can go 90 days between top-offs without damage.
What charger do I need for a DeWalt 1600 jump starter?
Use only the included DeWalt AC wall charger or DC car adapter. Third-party 12V adapters can overvolt the cells and void the warranty.