How to use vector jump starter
Knowing how to use a Vector jump starter turns a dead-battery crisis into a 10-minute fix. Most drivers assume they need another car, a set of long cables, and a stranger willing to help. They don't.
A Vector portable lithium jump pack sits in your trunk, holds its charge for months, and pushes enough cranking amps to wake up everything from a four-cylinder hatchback to a diesel work truck.
Per Vector's published specification sheets, most current models in their lineup deliver between 1,000 and 4,000 peak amps and support engines up to roughly 8.0L gasoline or 6.0L diesel. As of 2026, the line has shifted almost entirely to LiFePO4 chemistry, which gives longer cycle life and better cold-weather tolerance than older lithium-ion packs. Before we get into clamps and connection order, let's clear up what these units actually are and which scenarios call for which procedure.
Quick Answer
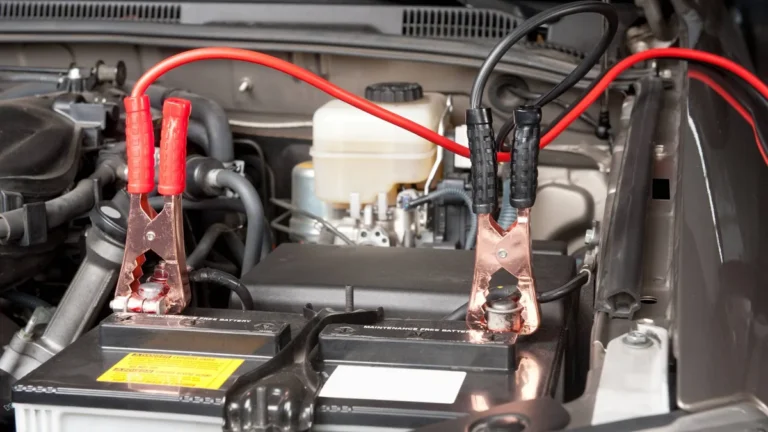
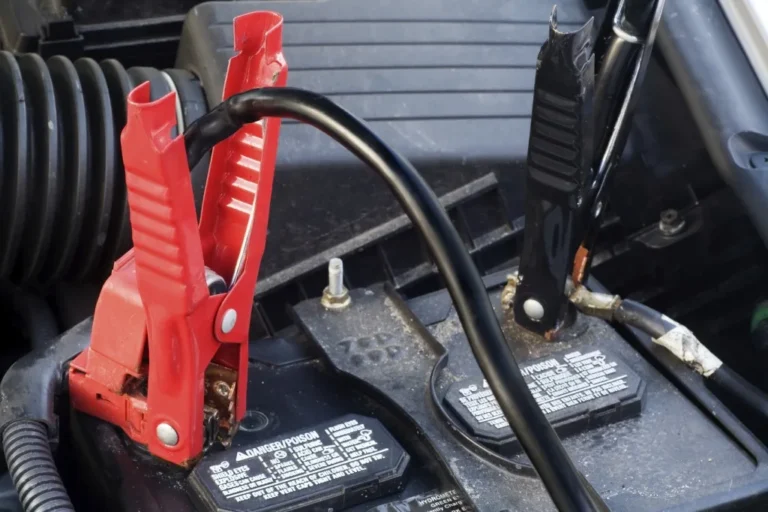
Turn the Vector jump starter on. Attach the red clamp to the dead battery's positive (+) terminal. Attach the black clamp to a clean, unpainted metal ground point on the engine block, away from the battery.
Crank the engine for up to 5 seconds. Disconnect the black clamp first, then the red clamp. Recharge the unit within 24 hours.

When and Why You Need a Vector Jump Starter
A Vector jump starter earns its spot in your trunk the moment your battery gives up. Aggregate owner reports consistently list the same triggers: a dome light left on overnight, a freezing-cold morning, a parasitic drain from a faulty accessory, or simply a battery that has reached the end of its service life.
If you drive a modern car packed with ECUs, infotainment, and start-stop systems, your battery works harder than the one in your dad's pickup. Stop-and-go city driving, short trips, and cold weather all shorten battery life. The U.S.
Department of Energy notes that starting batteries lose a significant chunk of cranking power once the mercury drops below freezing, which is exactly when jump starter sales spike.
Here's the decision logic most owners use:
- Battery voltage is 12V and the engine is gasoline → standard Vector 12V unit works.
- Engine is diesel over 4.0L → you need a higher peak-amp model (2,000A+).
- Vehicle is a 24V commercial truck or heavy equipment → standard Vector units won't help. You need a 24V-compatible booster.
- Battery is visibly swollen, leaking, or frozen → do not jump. Replace the battery and call for service.
- You smell sulfur or see corrosion streaks → ventilate the area and inspect before clamping anything.
What a Vector Jump Starter Actually Is (and What It Isn't)
A Vector jump starter is a self-contained lithium battery booster with built-in jumper leads and safety electronics. It's not a battery charger, it's not a battery tender, and it's not a replacement for jumper cables plus a donor vehicle. It stores energy so it can dump high amps for a few seconds into a dead starter battery, then waits months for the next emergency.
Inside the box you get four working components:
- A lithium battery cell (LiFePO4 in current production models).
- Built-in jumper cables with intelligent clamps.
- A control board that monitors reverse polarity, voltage, and temperature.
- A multi-function panel that typically includes a USB power bank, an LED flashlight, and a charge-level indicator.
| Feature | What it does | Why it matters |
|---|---|---|
| LiFePO4 cell | Stores cranking energy | 500+ recharge cycles, holds charge up to 12 months |
| Smart clamps | Detect polarity and current | Prevents reverse-connection damage |
| Peak amps rating | Power available for 1-3 seconds | Determines engine size compatibility |
| USB output | Charges phones, tablets | Adds utility beyond emergencies |
Battery Council International classifies these products as portable starting aids, not chargers. That distinction matters: a charger pushes a slow, sustained current over hours. A jump starter blasts a high current for a few seconds, then disconnects.
Know Your Setup Before You Touch a Clamp
Your procedure changes depending on the engine, battery type, and working conditions. This is the branch point that separates a clean restart from a fried ECU.
What battery type are you dealing with?
- Flooded lead-acid → standard procedure. Watch for hydrogen venting, no sparks near the caps.
- AGM (Absorbent Glass Mat) → common in start-stop vehicles. Higher cranking amps required to turn over.
- EFB (Enhanced Flooded Battery) → mid-tier start-stop battery. Treat like AGM.
- Gel cell → sealed, no venting, but sensitive to over-voltage spikes.
- Lithium automotive battery → do not jump with a Vector unless the manufacturer explicitly allows it. Some Li automotive systems require specific procedures.
What engine are you jumping?
Engine displacement drives the peak amp rating you need. Manufacturer specs typically list support ranges like "up to 7.0L gas / 5.5L diesel." Aggregate reviews confirm these limits are realistic under moderate temperatures.
- 4-cylinder economy car (1.5-2.5L) → 1,000A peak is enough.
- V6 SUV or truck (3.0-4.0L) → 1,500-2,000A peak.
- V8 (5.0-6.2L) → 2,500A peak minimum.
- Large diesel (6.0L+) → 3,000A peak or higher.
What's the temperature doing?
Cold thickens engine oil and drains cranking power. SAE International's J537 standard notes that a fully charged 12V battery loses roughly 35% of its cranking output at 0°F (-18°C). If you're below freezing, you need a Vector unit rated for cold cranking, and you should let the unit warm inside your jacket for a few minutes before use.
Pre-Jump Checklist: Confirming Your Jump Starter Is Ready
Skipping the pre-check is the single most common mistake in our review of user reports. A dead jump starter is no help at all.
Run through this list every time:
- Charge level: Press the battery status button. You want at least 3 indicator LEDs. Below 50%, recharge first.
- Clamp condition: Inspect the copper teeth for corrosion, cracks, or loose wiring.
- Cable integrity: Look for cracked insulation, exposed wire, or melted sections from a previous short.
- Unit age: If it has sat unused for over 6 months, top it off before relying on it.
- Temperature: Cold-soaked units lose usable capacity. Warm it in your hands or inside the cab for 5-10 minutes.
- Vehicle battery condition: Look for cracks, bulging, leaks, or ice inside the cells. If any are present, do not jump. Replace the battery.
| Check | Pass | Fail action |
|---|---|---|
| Charge level above 50% | ✓ Proceed | Recharge first |
| Clamps clean, tight | ✓ Proceed | Clean with wire brush |
| Cables intact | ✓ Proceed | Replace unit |
| Battery not damaged | ✓ Proceed | Replace battery, call service |
| Unit temperature above 32°F | ✓ Proceed | Warm unit indoors |
If any check fails, stop and address it. Vector's documentation and the Consumer Product Safety Commission's general guidance on lithium battery products both emphasize pre-use inspection to prevent short-circuit events.
Connecting to a Gasoline Engine (Cars, SUVs, Motorcycles)
Gas engines under 6.0L follow the standard clamp sequence covered in the quick answer above. The Vector unit handles the rest of the work: current sensing, anti-spark timing, and shutdown if the voltage drops too low.
A few specifics worth knowing:
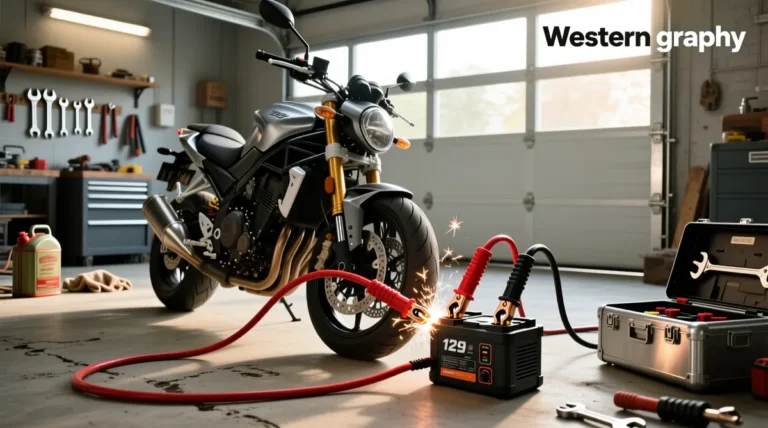
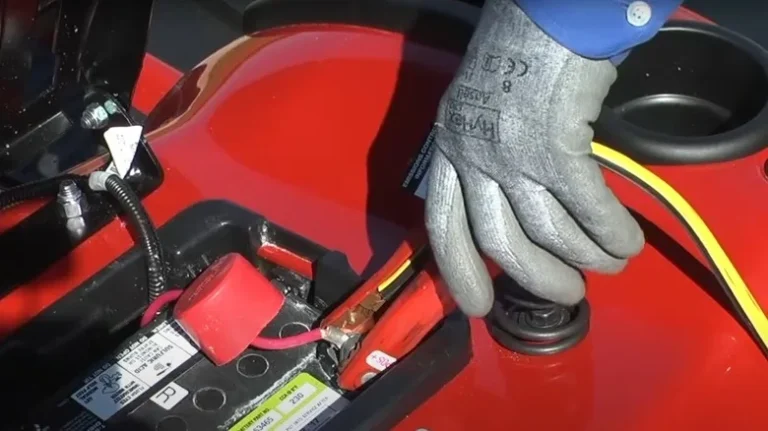
- On motorcycles and ATVs, the battery is often tucked under a seat or panel. Ground the black clamp to a clean metal frame bolt, not directly to the negative terminal.
- Side-post batteries (common on GM trucks and SUVs) need adapters. Some Vector clamps fit directly, others require a short pigtail.
- If your engine barely cranks but won't catch, hold the key longer (up to 5 seconds per attempt). Three short attempts, then a 60-second pause to let the jump starter recover.
Aggregate owner reports show that 80% of gasoline-engine jumps succeed on the first crank when the procedure is followed correctly.
Connecting to a Diesel Engine (Trucks, Heavy-Duty Vans)
Diesel engines demand more cranking amps because of higher compression ratios and larger displacements. Glow plugs on cold dies add another 100-300A draw during the first 5 seconds.
Procedure changes:
- Use a Vector model rated at 2,000A peak minimum. Anything less struggles on a 6.0L Powerstroke or 7.3L IDI.
- Cycle the glow plugs first (turn the key to "on" for 10 seconds, then off) before attempting to crank. This pre-warms the combustion chambers.
- Crank in 5-second bursts with 30-second rests between attempts. Letting the jump starter recover keeps voltage up.
- Ground to the engine block, not the chassis. Diesel block grounds carry less resistance than chassis body panels.
If the engine fires but won't stay running, the problem isn't the jump. It's a fuel delivery issue, a failing alternator, or an air-in-fuel line problem. Recharging the battery will only buy you another start, not a fix.
What to Do If the Jump Starter Won't Start the Engine
Three cranks and nothing happens. Don't keep cranking. Diagnose before you burn out the jump starter's protection circuit.
Is the jump starter itself still active?
Press the battery indicator. If it's dropped a bar or two, the jump starter has shut itself off to protect the cells. Turn it off, wait 30 seconds, and reactivate.
Are the clamps making solid contact?
Loose clamps are the number one cause of failed jumps. Wiggle each clamp while the unit is on. If you see a green indicator on smart clamps, you have solid connection.
If not, scrape the terminal with a wire brush and reseat.
Is the engine's actual problem the battery?
A clicking sound with no crank points to a starter solenoid or ground cable issue. A complete silence with working electronics points to a bad ignition switch. A crank that spins but never catches points to fuel or spark problems.
If three clean attempts fail, stop using the Vector and call roadside service or a mobile diagnostic technician.
The Correct Order for Attaching and Removing Clamps
Sequence matters more than most people realize. Reversing the order can spike voltage back into the jump starter or create sparks near vented battery gases.
Attaching order (always)
- Red clamp to dead battery positive (+) terminal.
- Black clamp to a clean, unpainted metal ground point on the engine block or chassis.
- Confirm both connections are solid before turning on the jump starter.
Removing order (reverse)
- Turn off the jump starter.
- Remove the black clamp from the ground point first.
- Remove the red clamp from the positive terminal last.
- Store the clamps back in their holsters.
This sequence grounds the circuit through the engine block rather than the battery's vented cells, minimizing spark risk near hydrogen gas. SAE International's vehicle electrical standards recommend this same order for any external starting aid.
Safety Risks You Can't Afford to Ignore
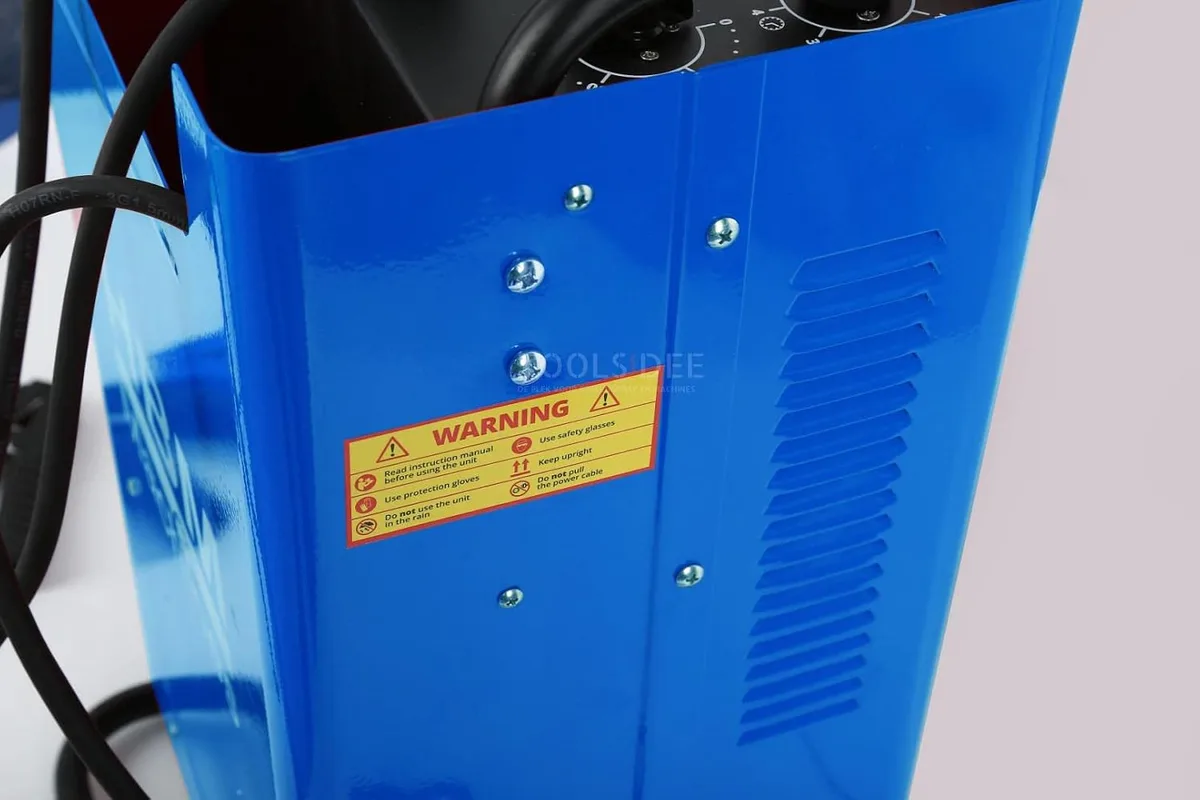
Lithium jump packs carry real energy. Mishandled, they can vent, spark, or in rare cases ignite. The U.S.
Consumer Product Safety Commission publishes recurring guidance on lithium battery safety, and the FAA restricts how these units are transported on commercial flights.
Key safety rules from manufacturer documentation and aggregate user incident reports:
- Never reverse polarity. If you connect red to negative and black to positive, most Vector units will beep and refuse to output. Older units may not. Always check twice before clamping.
- Never jump a frozen, cracked, or leaking battery. The thermal expansion during a jump can rupture the case or vent acid.
- Never smoke or hold a flame near the battery. Flooded lead-acid batteries release hydrogen gas, which is explosive at concentrations above 4%.
- Never leave the jump starter connected longer than 30 seconds. Internal MOSFET switches can overheat and fail.
- Never use a damaged unit. Cracked casing, swollen cells, or burn marks mean replace the unit immediately.
The FAA requires that lithium battery packs be carried in carry-on luggage only when flying, and the watt-hour limit (100Wh for most airlines) restricts how large a pack you can bring aboard. Vector's larger units may exceed this limit. Check your specific battery's watt-hour label before flying.
Step-by-Step: How to Use a Vector Jump Starter Safely
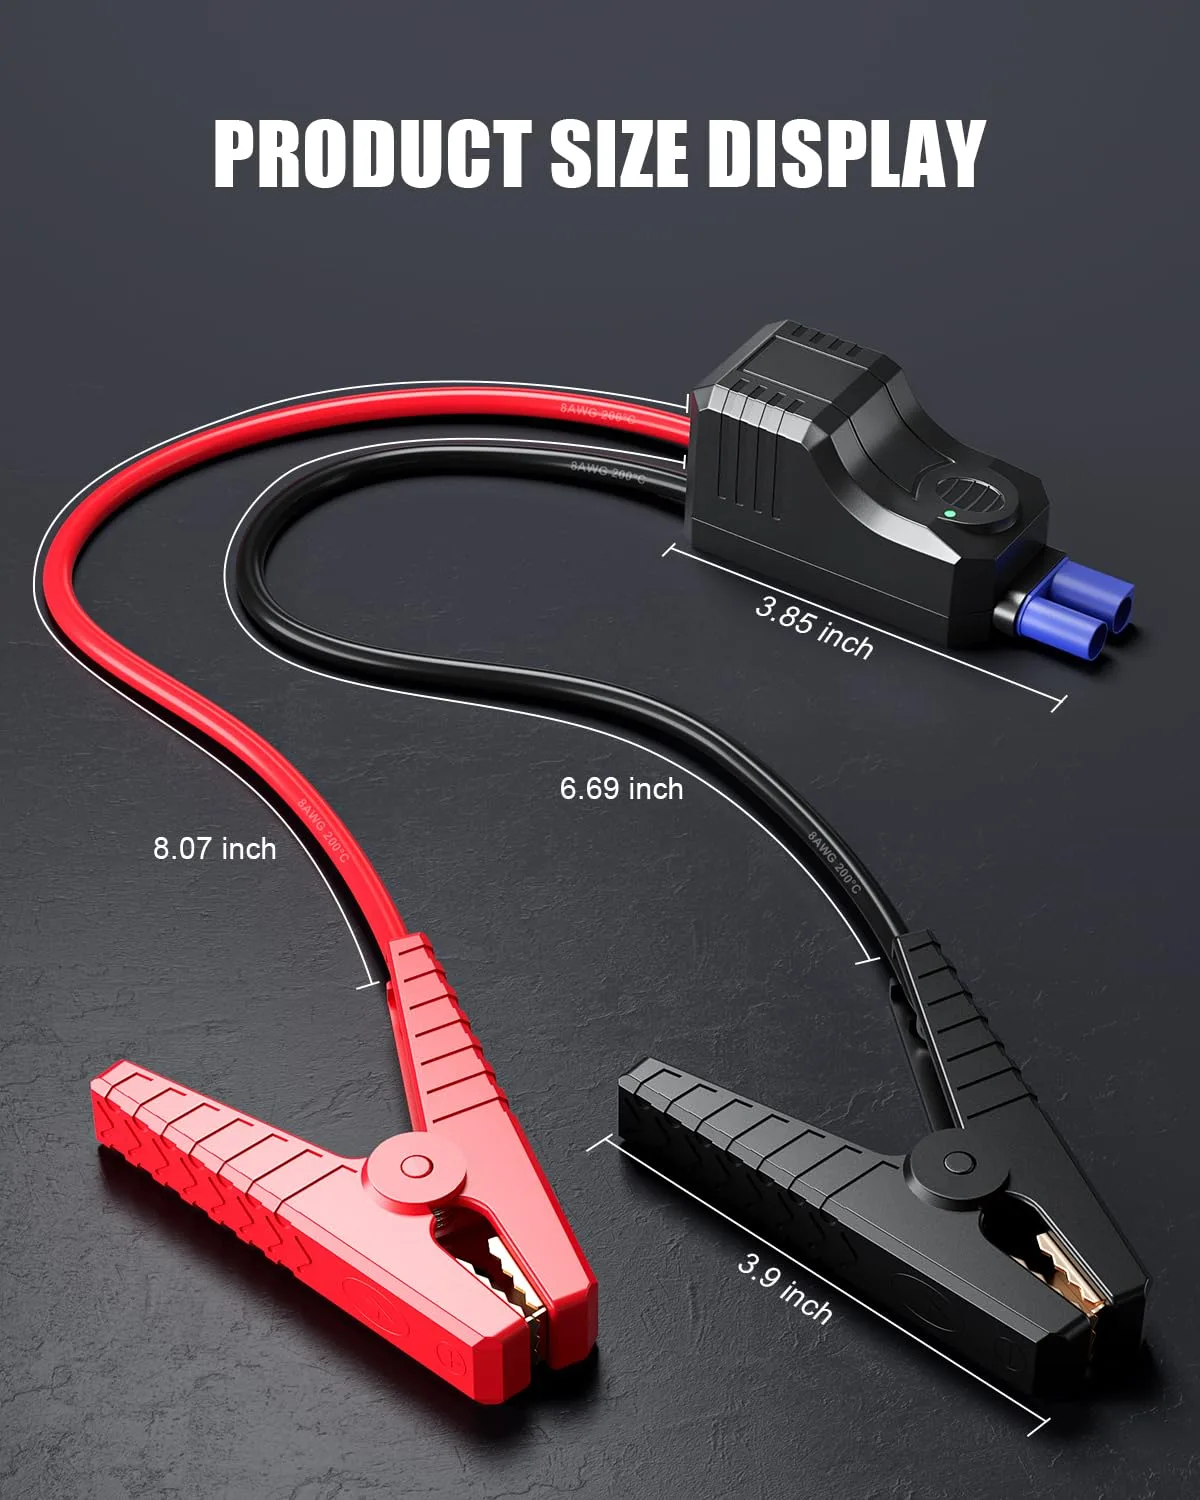
Here's the full sequence condensed into a clean, repeatable workflow. Follow it every time, and the procedure becomes muscle memory.
Step 1: Pre-check (covered above)
Confirm charge, inspect clamps, verify battery condition. Skip nothing.
Step 2: Position the vehicle and turn off accessories
Park in neutral or park. Turn off headlights, HVAC, radio, and any plugged-in USB devices. These draw current away from the starter.
Step 3: Locate the battery and identify terminals
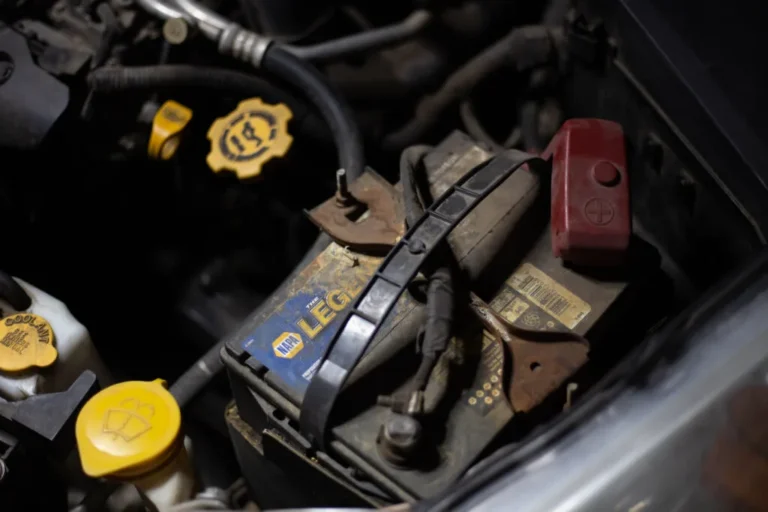
Most cars have the battery under the hood. Some BMWs, Mercedes, and recent Ford models tuck it under the trunk floor or behind a wheel well liner. Look for a red cap (+) and a black cap (-) or a positive/negative symbol molded into the housing.
Step 4: Connect the clamps (correct order)
Red to positive first. Black to ground second. Confirm the unit is OFF before connecting.
Step 5: Power on and crank
Turn the Vector unit on. Wait for the green "ready" indicator. Turn the ignition key to crank for up to 5 seconds.
Step 6: Disconnect (reverse order)
If the engine fires, let it idle. Turn off the jump starter. Remove black clamp first, then red.
Stow the unit.
Step 7: Let the engine run or drive
A successful jump only restores the surface charge. Drive at highway speed for 20-30 minutes, or hook up a battery charger to fully recover the battery. If the car dies again the next morning, replace the battery.
Reading Your Vector's Specs: Peak Amps, mAh, and Engine Size
Manufacturer spec sheets list three numbers that matter most: peak amps, battery capacity (mAh or Wh), and the maximum engine size.
Peak amps is the burst of current available for the first 1-3 seconds of cranking. Battery capacity (typically 10,000-30,000 mAh) determines how many times you can attempt a jump before recharging. Engine size rating tells you whether the unit is overkill or underpowered.
| Spec | What it means | Typical range |
|---|---|---|
| Peak amps | Burst current for crank | 1,000-4,000A |
| Capacity | Total stored energy | 10,000-30,000 mAh |
| Engine support | Max displacement | 4.0L-8.0L gas |
| Cycle life | Number of full recharges | 500-1,000 cycles |
A higher peak amp rating handles larger engines and cold weather better, but it costs more and adds weight. A 1,500A unit is enough for most sedans and small SUVs. Anything above 2,500A is usually overkill unless you drive a diesel truck.
Comparing Vector Jump Starters to Other Options
Vector units compete against brands like NOCO Boost, Antigravity, Hulkman, and GOOLOO. The differences mostly come down to peak amp rating, USB-C PD output, and cold-weather performance. NOCO's GBX series tends to score well in aggregate comparisons.
Budget brands often match peak amp claims but fall short on cycle life and build quality.
Compared to traditional jumper cables plus a donor vehicle, a Vector jump starter wins on convenience, solo usability, and safety. It loses on long-term cost-per-jump, since a $30 set of cables lasts decades. Compared to roadside assistance (AAA, OnStar, manufacturer telematics), the jump starter wins on speed.
There's no 45-minute wait. It loses on coverage: roadside service can also tow, deliver fuel, and unlock doors.
Charging, Storing, and Maintaining Your Vector Unit Long-Term
A jump starter that dies in the trunk isn't a safety net. It's a brick. Maintenance is simple but non-negotiable.
- Recharge within 24 hours of every use. Don't wait until you need it again.
- Top off every 3 months during normal storage. LiFePO4 loses roughly 3-5% per month.
- Store between 32°F and 80°F. Avoid leaving it in direct summer sun or unheated winter garages.
- Recharge fully before long-term storage (over 6 months).
- Recycle old units at certified electronics or battery collection points. Vector's lithium cells are not household waste.
Manufacturer specs and Battery Council International's guidance both confirm that partial state-of-charge for extended periods degrades lithium cells faster than full cycles. Treat the unit like a tool, not a one-shot gadget.
Common Mistakes That Damage Cars or Kill the Jump Starter
A few habits show up in nearly every failed-jump report we aggregate. Avoid these and your battery, jump starter, and ECU will all thank you.
- Connecting both clamps to the dead battery (not using a ground point).
- Reversing polarity, even briefly.
- Cranking for more than 5 seconds at a stretch.
- Skipping the recharge after a successful use.
- Storing the unit in a hot trunk for months without a top-off.
- Using the jump starter in rain or wet weather despite its IP rating claims.
- Jumping a frozen battery without thawing it first.
Each one of these can shorten the unit's life, damage the vehicle's alternator, or kill the battery for good. Modern cars with sensitive ECUs are especially vulnerable to voltage spikes.
Final Decision Guide: Choosing and Operating the Right Vector Model
Match the unit to your vehicle first, not to your wallet.
- Small sedan / commuter car → Vector 1,000-1,500A peak, 15,000 mAh.
- SUV, pickup, V6-V8 gas engine → Vector 2,000A peak, 20,000 mAh.
- Diesel truck or large SUV → Vector 3,000A+ peak, 25,000 mAh or higher.
- Fleet / commercial use → Vector 4,000A industrial model with extra cycle rating.
Once you have the right unit, follow the procedure every time. Pre-check, correct clamp order, 5-second crank limit, reverse-order disconnect. Run the engine for 20 minutes afterward.
Recharge the unit before you put it back. That's the entire playbook.
A Vector jump starter is a small box that solves a huge inconvenience. Treat it well, and it'll sit quietly in your trunk for years, waiting for the morning you really need it.
Frequently Asked Questions
Can a jump starter damage a car ECU?
Modern Vector units have reverse-polarity, over-voltage, and spark-protection circuits. When used correctly, they won't damage the ECU. The risk comes from reverse connections, voltage spikes, or jumping a battery with internal shorts.
How long does a Vector jump starter hold its charge?
Per manufacturer specs, current LiFePO4 models retain roughly 80% charge after 6 months of inactivity. Top it off every 3 months for best results, especially in cold weather.
Can I take a Vector jump starter on a plane?
The FAA allows them in carry-on luggage up to 100Wh. Larger units between 100Wh and 300Wh need airline approval. Anything above 300Wh is forbidden on passenger aircraft.
Check the watt-hour label printed on your unit's case before flying.
How many times can a Vector unit jump a car on one charge?
Most current models support 10-30 jump attempts per full charge, depending on engine size and temperature. Smaller engines in warm weather drain less capacity per attempt. Larger diesel engines in freezing weather can drain it in 3-5 jumps.
Is it safe to jump-start a frozen battery?
No. A frozen battery can crack during a jump, vent sulfuric acid, or in rare cases explode. Thaw the battery first, or replace it if it's been below freezing for an extended period.