How to fit a dash cam: Honest Review
If you've just bought a dash cam and you're staring at the box, you're not alone. Figuring out how to fit a dash cam cleanly, without wires dangling across the dashboard, is the part that catches most people. The good news: the job is genuinely beginner-friendly, and the whole thing takes around 20 to 45 minutes for a standard plug-in install, or roughly an hour if you hardwire it.
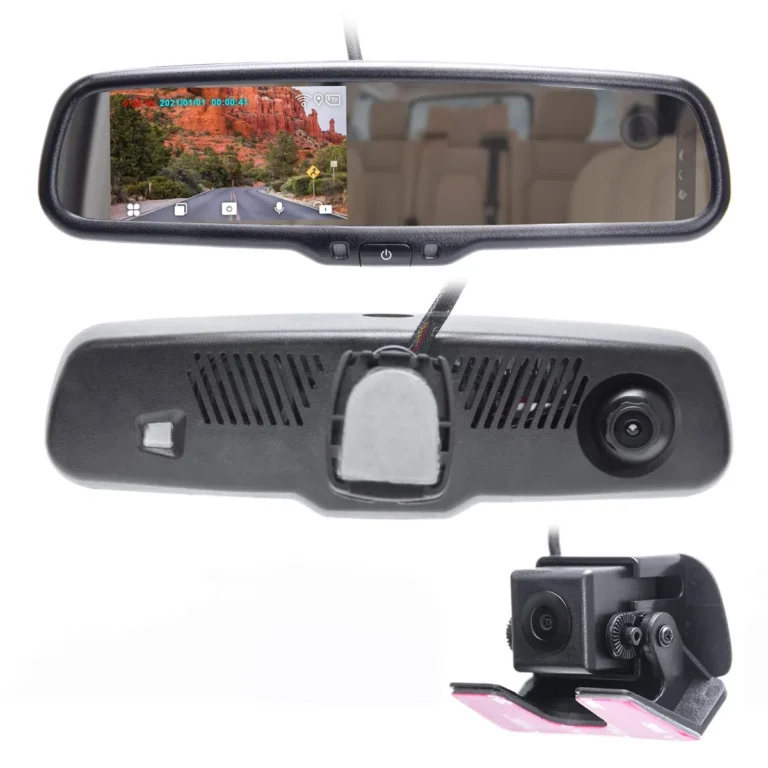
The most common pitfalls come down to placement and cable routing, both of which decide whether your footage actually holds up when you need it. Most front-only dash cams run on a 12V cigarette-lighter lead, while a hardwired setup uses a fuse-tap kit so the camera can stay on in parking mode without flattening your battery. According to manufacturer guidance from major brands like Nextbase and Viofo, a clean install lands behind the rearview mirror, with the lens sitting inside the swept wiper zone and well clear of airbag curtains.
Quick Answer
Mount a dash cam behind your rearview mirror, high on the windshield, inside the wiper-swept area. Clean the glass with isopropyl alcohol, stick the adhesive mount, then route the cable along the headliner, down the A-pillar, and to either a 12V socket or fuse box. Format a high-endurance microSD card, set the time and date, then test drive.
The full install takes 20 to 45 minutes.
Why Most Dash Cam Installs Fail (And What You're Really Signing Up For)
Most bad installs aren't a cabling disaster. They're a placement mistake. Get the mount slightly off and you block the driver's view, miss half the lane footage, or worse, end up right where the airbag curtain pops out in a crash.
The other thing people underestimate is how a dash cam behaves after the install. It runs in a hot windshield, writes constantly to a tiny memory card, and (if hardwired) sleeps guarding your car overnight. Treat it as a piece of mission-critical kit and it just works.
Bolt it on like a sat-nav from 2012 and you'll be troubleshooting forever.
We've seen three patterns that cause 90% of headaches:
- Mounted too low. The lens sits on the dashboard or low on the glass, catching hood glare and missing the road ahead.
- Cable left dangling. Loose wires catch on the sun visor, get yanked when you adjust the mirror, or interfere with the curtain airbag in a crash.
- Wrong power source. A cigarette-lighter lead on a switched socket means parking mode is dead. A constant-on fuse with no voltage cutoff means a flat battery in three days.
Manufacturer service notes from brands like BlackVue and Thinkware all flag the same trio. Fix those three things and you've already beaten most DIY installs.
What You Actually Need Before You Start
Before you peel a single sticker, gather everything in one place. Reaching across the cabin mid-install is what makes people skip steps.
Tools and Materials
| Item | What to look for | Why it matters |
|---|---|---|
| Dash cam kit | Confirm lens angle, resolution, mount type | Different mounts need different prep |
| MicroSD card | High-endurance, Class 10 / U3 / V30 | Standard cards fail under constant write cycles |
| Isopropyl alcohol (70%+) | A small bottle and a lint-free cloth | Grease stops adhesive from bonding |
| Trim removal tool (plastic) | Nylon spudger, not a screwdriver | Avoids scratching A-pillar trim |
| Cable clips or 3M VHB tape | Small adhesive-backed clips | Secures cable along the headliner |
| Multimeter or fuse tester | Auto-ranging, 12V capable | Identifies switched vs constant fuses |
| Hardwire kit (optional) | Includes low-voltage cutoff | Required for parking mode without flat battery |
For hardwiring you'll also want an add-a-fuse (mini or micro blade depending on your fuse box), a small crimp or solder joint, and roughly 3 to 5 meters of cable depending on where the fuse box sits.
A dash cam is classified as a low-power automotive electronic under FCC Part 15 rules for radio frequency devices, which is one reason Wi-Fi models ship with that little compliance label.
Choosing Your Mounting Spot: The 30-Second Decision That Matters Most
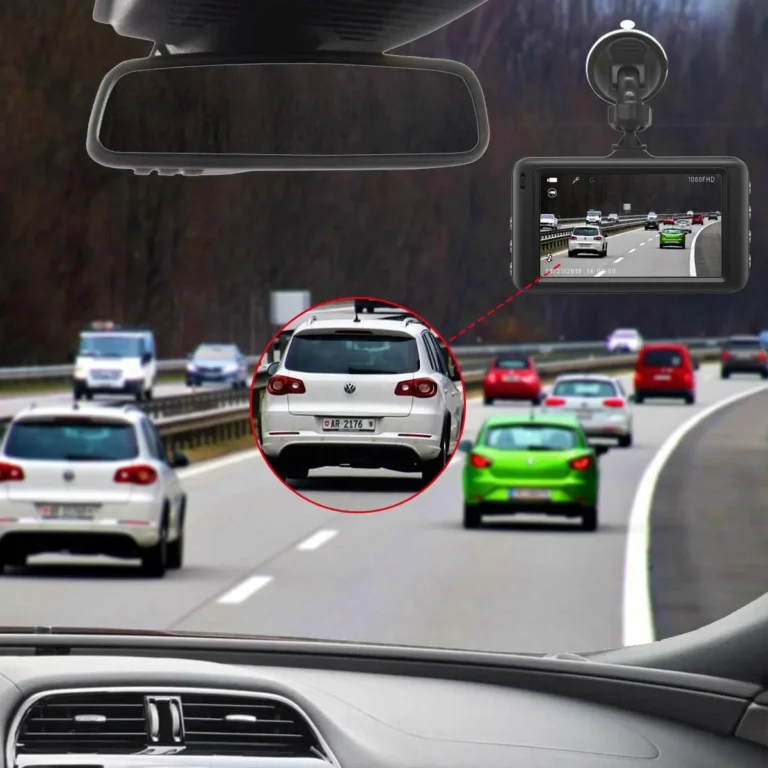
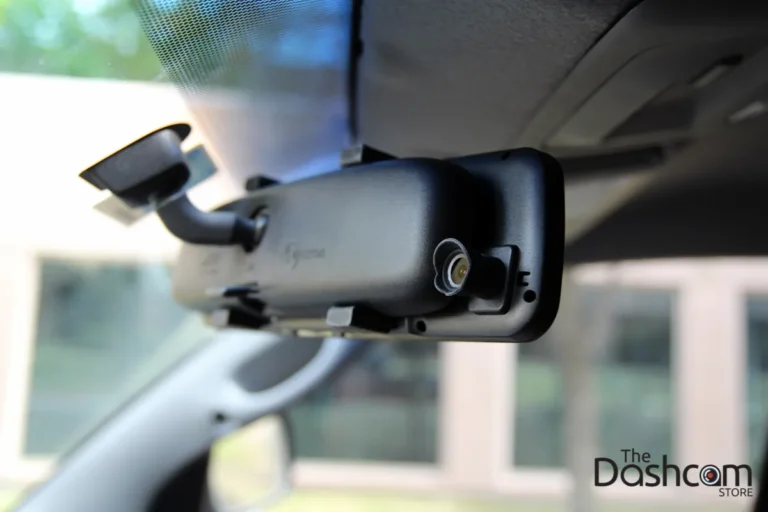
The single best spot is directly behind the rearview mirror, biased slightly to the passenger side so the lens clears the mirror housing. This puts the camera up and out of your line of sight, inside the wiper-swept area, and right where it can capture both lanes plus the hood for context.
Why this spot beats the alternatives
- Driver-side mount. Blocks your forward vision and sits in the airbag deployment path on most cars.
- Centered low on the glass. Catches glare from the dashboard, films half the hood, and looks like an afterthought.
- Passenger-side high mount. Looks fine, but shifts footage to one side and is harder to reach when adjusting.
Per manufacturer mounting guides from Nextbase and Viofo, the lens should sit inside the swept area of the wipers. Outside that zone and rain or snow will smudge exactly what you're trying to film.
For UK drivers, the DVSA's windscreen obstruction guidance makes clear that anything mounted within the swept wiper area must not protrude more than 40mm into the zone swept by the driver-side wiper. Most adhesive pads run around 25 to 30mm thick, so you stay compliant by mounting high and tight.
Quick check before you stick it
Sit in the driver's seat. Can you see the lens housing without moving your head? If yes, slide it another inch toward the headliner.
Is the lens pointed at the road with about 60% sky and 40% road in frame? Perfect.
Suction vs Adhesive: Which Mount Should You Actually Use?
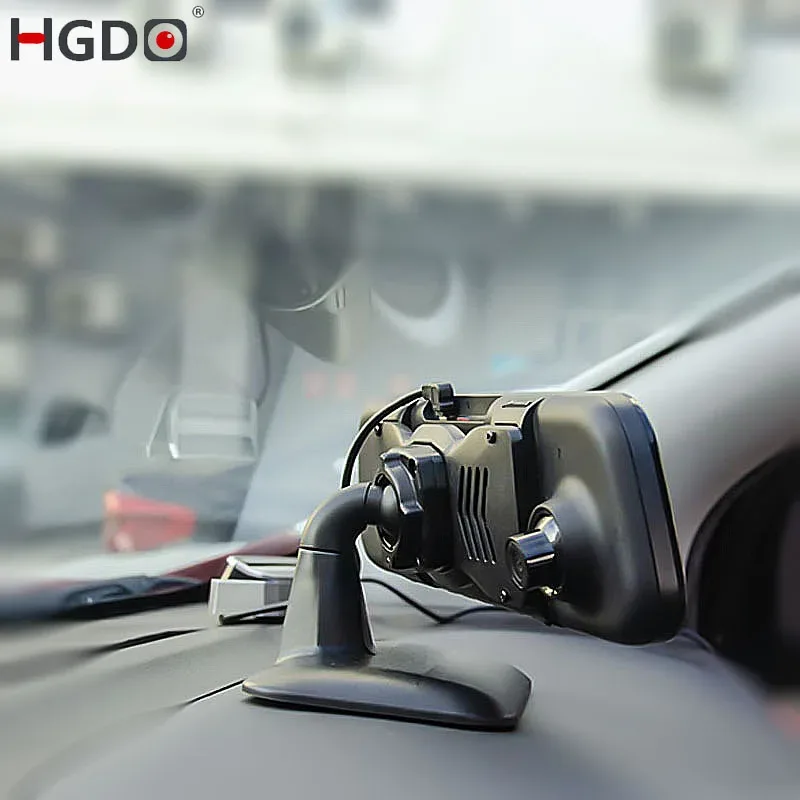
Suction mounts are reusable, repositionable, and easy to swap between cars. Adhesive mounts, usually 3M VHB tape, are permanent-ish, but they hold stronger in heat and cold.
| Mount type | Best for | Trade-off |
|---|---|---|
| Suction cup | Rental cars, temporary installs, cold climates where adhesive won't cure | Loses grip in direct summer sun above ~50°C |
| 3M VHB adhesive | Daily-driver installs, hot climates, any car you own | One-shot. Once stuck, removing it takes heat and patience |
In aggregate user reviews, suction complaints cluster around hot summers and curved windshields. Adhesive complaints cluster around first-time installers who skipped the alcohol wipe.
If you're choosing between the two for a permanent install: pick adhesive. The 3M VHB tape has a 24-hour full-strength cure window, so mount it, then don't touch it for a day. The hold is genuinely stronger than suction once cured, and the low profile looks cleaner.
If you're choosing for a leased car or you switch vehicles often: suction is fine. Just give the cup a quick palm-press after every long drive, and expect to remount it weekly.
Step-by-Step: Fitting a Dash Cam with Cigarette Lighter Power
The 12V socket route is the easiest way to fit a dash cam and the right starting point if you've never installed one before. No fuses, no multimeter, no commitment.
- Format the SD card in your phone or computer. Don't skip this. A card straight from the package uses a generic file system the dash cam may not like. Format it as exFAT for cards 64GB and up, FAT32 for 32GB and under.
- Insert the card, slot the cam into the mount, and power it on briefly. Confirm the lens works before you stick anything to the glass. Five seconds of video is enough.
- Clean the mounting spot with isopropyl alcohol. One swipe, one dry cloth, ten seconds of patience. Any grease or dust under the mount is what makes it fall off in August.
- Stick the mount. Peel the backing, press the pad flat against the glass for 30 seconds, then attach the camera. If you're using a suction cup, dampen it, press, and twist the locking lever.
- Route the cable along the headliner. Tuck it into the gap between the headliner and the windshield, working your way toward the A-pillar.
- Down the A-pillar. Most cars let the cable slip behind the rubber door seal. Use a plastic trim tool to gently lift the seal, slide the cable in, and let the seal close over it.
- Across to the 12V outlet. Run the cable along the door sill or under the passenger footwell trim, then up to the cigarette lighter socket.
- Plug in, power on, and check the angle. Use the live view on the app (Wi-Fi models) or the cam's screen. The horizon should sit at the center of the frame, with the hood visible at the bottom edge.
The whole thing lands somewhere between 20 and 45 minutes for a first-timer. The cable-routing step eats most of that.
Step-by-Step: Hardwiring a Dash Cam to Your Fuse Box
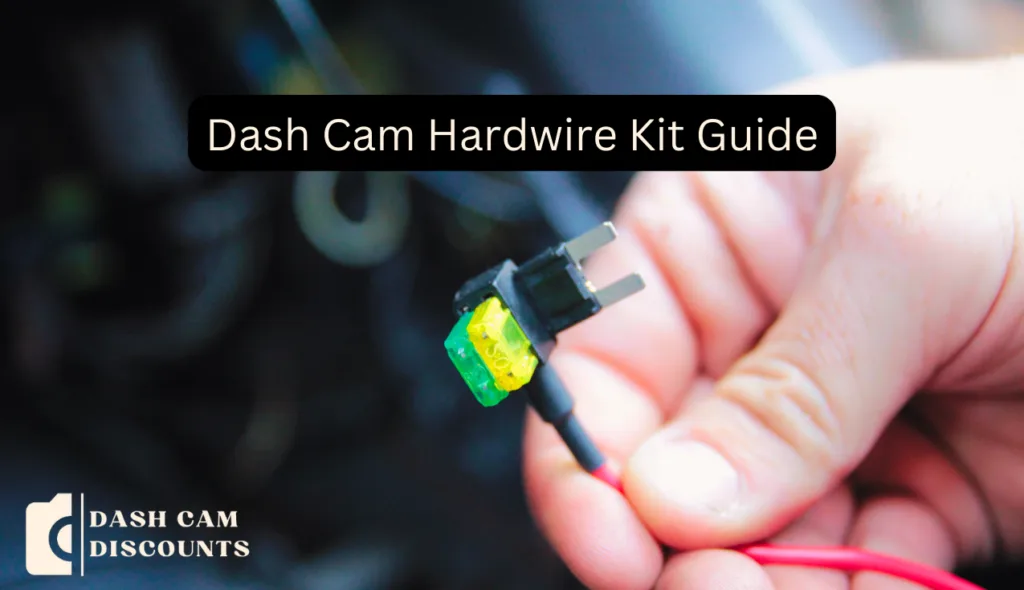
Hardwiring is what unlocks parking mode. It also gets rid of the cable draped across the dashboard and frees up your 12V socket for a phone charger. The job is doable at home with a fuse tester and an add-a-fuse tap.
- Find your fuse box. Most cars have at least two. One under the hood, one inside the cabin, usually behind a kick panel or under the steering wheel. The cabin fuse box is the one you want.
- Pick two fuse slots. You need one that's switched (only live when the key is on) and one that's constant (always live). Switched powers the dash cam when you drive. Constant powers parking mode.
- Identify them with a fuse tester. A constant fuse lights the tester whether the car is on or off. A switched fuse only lights when the key is in the run position. The cigarette lighter and audio head unit are usually switched. The dome light and horn are usually constant.
- Pull the fuses, add-a-fuse them in. Each add-a-fuse tap has two slots: keep the original fuse in the lower (protected) slot, and put the dash cam's included fuse in the upper (tap) slot. Match the amp rating to what's already there.
- Route the hardwire kit's red wire to the switched fuse. Black wire to a chassis ground bolt, usually a 10mm nut somewhere on the metal kick panel. Snug is enough; don't reef on it.
- Connect the dash cam end of the kit, tuck the cable, and test. The cam should power up with the ignition and drop into parking mode after the timeout you set in the app.
A good hardwire kit includes a low-voltage cutoff that kills the camera when the battery drops to around 11.8V on a 12V system, or 23.6V on a 24V system. That's the spec most major brands ship by, including BlackVue and Thinkware. Without that cutoff, you will eventually need a jump start.
Cable Routing: How to Hide Wires Along the Headliner and A-Pillar
The cleanest installs look factory. That means no cable visible from the driver's seat, no slack hanging near the A-pillar, and no wires pressing on the curtain airbag path.
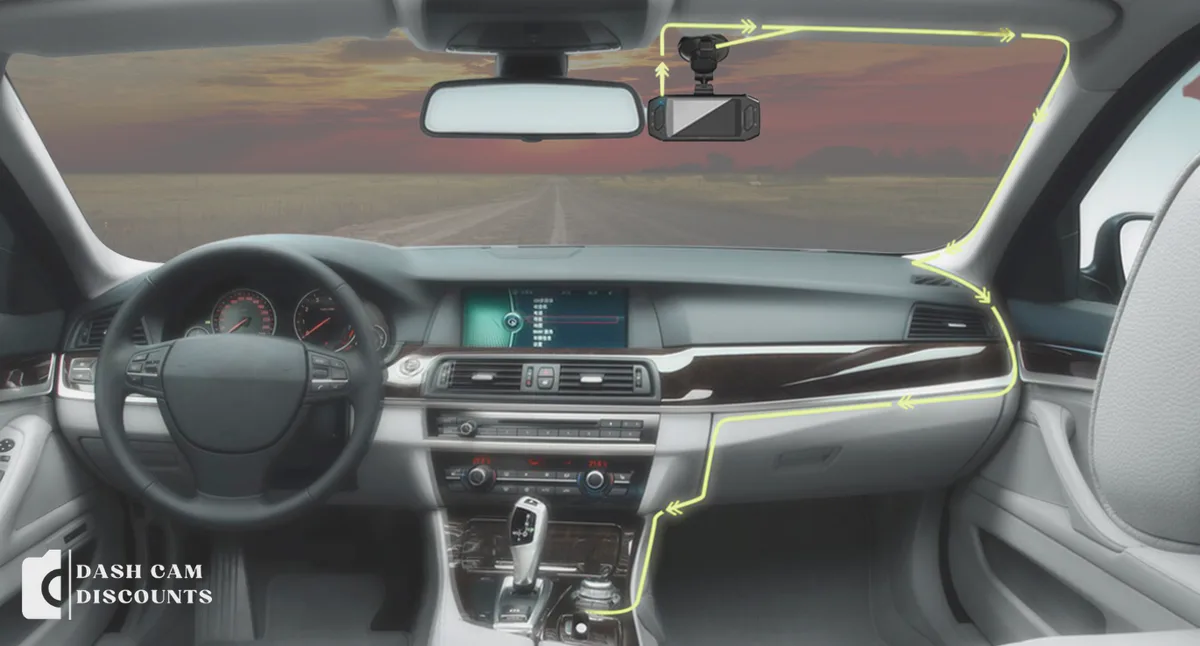
The standard route is headliner, A-pillar, door seal, sill, fuse box. Let the existing gaps in the car do the hiding.
Start at the camera. Press the cable into the headliner gap with your fingers. The foam backing usually has just enough give to grip the wire.
Work across the top of the windshield toward the passenger-side A-pillar.
At the A-pillar, things get specific to your car. Some pillars let you pop the trim panel off with a plastic spudger. Others hide a rubber gasket you can lift and tuck the cable behind.
The golden rule: route the cable behind the airbag label, not in front of it. The airbag deploys from front to back along that pillar, and a cable in its path becomes a strap cutter in a crash.
Down at the door, slip the cable into the rubber door seal. It closes around the wire and holds it without clips. From there, run along the door sill or under the passenger footwell carpet to the fuse box.
Identifying the Right Fuse: Switched vs Constant Power
Pick the wrong fuse and you either kill parking mode or drain the battery overnight. The rule is simple: switched for "drive", constant for "park".
The cigarette lighter is almost always switched. So is the radio, the heated seats, and most anything tied to the infotainment system. Test with the car off, then again with the key in the run position.
If the tester lights only the second time, it's switched.
The interior dome light, the alarm fuse, and the trunk release are usually constant. These stay live 24/7, which is exactly what you want for parking mode, but only if the hardwire kit has a low-voltage cutoff.
A safe bet if you're nervous: use fuse slots that already match the dash cam's draw. Most dash cams pull under 0.5A in parking mode, so a 10A or 15A circuit (window, mirror, accessory) is plenty of headroom.
Setting Up Parking Mode Without Draining Your Battery
Parking mode runs the dash cam on motion or impact detection while the car is parked. It eats roughly 0.2 to 0.5 amps depending on the model, which sounds tiny until you leave the car for a week.
Three settings make or break this feature:
- Motion sensitivity. Too high and trees blowing in the wind fill the card overnight. Too low and someone walks past your bumper without triggering a clip. Start at medium.
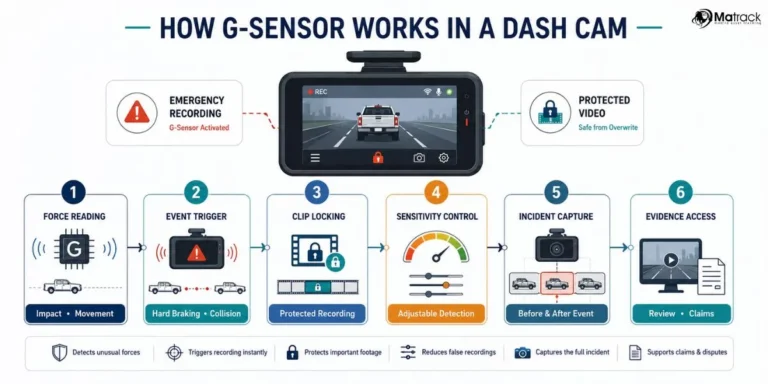
- Impact (G-sensor) threshold. This is what catches bumpers, doors, and shopping carts. Set it to one or two notches above the lowest setting. Anything lower and potholes start saving files you don't need.
- Low-voltage cutoff. 11.8V is the typical setting for a 12V lead-acid battery. The cam will shut off before your car can't start in the morning.
Time-lapse parking mode is a fourth option some brands offer. It records one frame per second instead of buffering full video, which uses less power and storage. If your card is 128GB or smaller, time-lapse is the smarter pick.
Where to Aim the Lens (and Why Most People Get This Wrong)
The most common framing mistake is filming the dashboard. Half the frame is hood, the road is way up high, and the impact that actually matters happens off-screen.
Aim for roughly 60% sky and 40% road. The horizon line should sit just above the center of the frame. The hood should appear as a thin sliver at the bottom.
This gives the camera enough sky to read license plates on hills and enough road to capture what's directly ahead.
Most mounts let you rotate the lens by hand, no tools required. Adjust it after you sit in the driver's seat, not before. The angle changes once you're in normal driving position.
If you've mounted behind the mirror correctly, you won't see the lens housing in the mirror's reflection. If you do, the cam is too far forward and needs to slide another inch toward the headliner.
SD Card Setup: Which Card to Buy and How to Format It
Buy a high-endurance microSD card, not a regular one. Standard cards are built for phones and burst photos, not 24/7 video writes. SanDisk High Endurance and Samsung Pro Endurance are the two most-cited names in owner forums, and both ship in 32GB to 512GB sizes.
Match the card to the resolution you record at. 1080p at 30fps eats around 4GB per hour. 4K at 30fps eats closer to 15GB. For most installs, 128GB gives you a comfortable 12 to 30 hours of looped footage before the camera starts overwriting.
Format the card in the dash cam's app, not in your computer. The app writes the right cluster size and folder structure, which the camera relies on for clean loop recording.
Common Installation Mistakes That Void Footage or Damage Your Car
- Mounting on the dotted black frit band. The camera can confuse the dot pattern with movement and save useless files. Stay inside the clear glass.
- Skipping the alcohol wipe. Grease stops the adhesive from bonding. The mount looks fine for a week, then drops on the freeway.
- Routing the cable across the airbag. The curtain airbag runs along the A-pillar. A cable in its path becomes a hazard in a crash.
- Using a non-endurance SD card. Standard cards fail within months under constant writes. Loop recording stops saving, and you only find out when you need the footage.
- Forgetting to format after a card swap. A different camera or phone won't always recognize the file system. Always format in the new cam.
- Skipping the fuse tester. Guessing switched vs constant fuses is how batteries go flat. A $10 fuse tester saves you a $200 jump start.
Dash Cam Laws: Where You Can and Can't Mount One
UK rules from the DVSA allow mounting in the swept wiper area, but anything protruding more than 40mm into the zone swept by the driver-side wiper is a fail. Most adhesive pads sit at 25 to 30mm, so high-and-tight placement stays compliant.
US rules vary by state. California Vehicle Code §26708 forbids anything that obstructs the driver's clear view, and officers can pull you for a windshield-mounted phone or camera that's deemed obstructive. Most states are less specific, but the rule of thumb is the same: stay high, stay small, stay behind the mirror.
Australia splits by state. New South Wales and Victoria allow mounting in the upper 10% of the windshield without issue. Other states have stricter wording.
The same logic applies across the board.
GDPR in the EU doesn't ban dash cams, but it does limit what you can publish. Recording outside the vehicle is fine for personal use. Posting identifiable footage of strangers online without blurring faces or plates is not.
How Long It Really Takes (and What Makes It Longer)
A clean cigarette-lighter install takes 20 to 45 minutes. A hardwired install takes 45 to 90 minutes the first time, faster once you've done it twice. Most of the time goes into cable routing, not the wiring itself.
Slow it down by an extra 15 minutes if you need to remove A-pillar trim. Plan on a full hour if you've never used a fuse tester before. Don't rush the adhesive cure.
The mount needs 24 hours of undisturbed contact to hit full bond strength.
Frequently Asked Questions
Do I need to hardwire a dash cam?
No, a cigarette-lighter lead works fine for normal driving. You only need to hardwire if you want parking mode or a clutter-free cabin.
Where is the safest place to mount a dash cam?
Behind the rearview mirror, biased toward the passenger side, inside the wiper-swept area. This keeps the lens clear of the airbag path and out of your line of sight.
Will a dash cam drain my battery?
Only if it's hardwired without a low-voltage cutoff. Most modern hardwire kits cut power at 11.8V on a 12V system, which protects the battery from going flat.
Can a dash cam get a ticket?
It depends on the jurisdiction. In the UK, anything over 40mm protruding into the driver-side swept area can fail an MOT. In the US, mounting that obstructs the driver's clear view can earn a fix-it ticket.
How long does 3M tape take to cure?
Twenty-four hours for full bond strength. Avoid pulling on the mount or driving on rough roads during that window.