How to jump start a car with battery charger: Easy guide
Learn how to jump start a car with battery charger by attaching the red clamp to the positive post, the black clamp to a grounded metal surface, and powering up the charger before you try the ignition. Most dead 12V car batteries sit at around 11.9 to 12.2 volts, well below the 12.6V a rested, fully charged cell should hold, so a charger with the right amperage setting is usually all you need to get rolling again. Manufacturer specs for chargers like those from CTEK, NOCO, and Schumacher confirm a standard 12V lead-acid battery can often start in 15 to 30 minutes on a 10A setting, while a deeply discharged unit may need a few hours on a lower amperage.
Quick Answer
Yes, you can jump start a car with a battery charger. Connect the red clamp to the battery's positive (+) terminal. Connect the black clamp to a grounded metal part of the engine block.
Set the charger to the correct voltage and amperage. Wait for enough charge to build before turning the key. Disconnect in the reverse order once the engine runs.
What "Jump Starting" With a Charger Actually Means
Using a battery charger to jump start a car is not quite the same as the classic "booster cables to a friend's SUV" routine. With cables, you're pushing live current from a donor vehicle straight into your dead battery. With a charger, you're delivering controlled electrical current from a wall outlet (or a built-in lithium pack) into your battery first, then cranking the engine once enough voltage builds.
Two main approaches fall under this umbrella:
- Charging then starting. You leave the charger connected for a set period (anywhere from 15 minutes to a few hours), then attempt to start the vehicle. This is the safer, more common method.
- Boost mode start. Some higher-amperage chargers (40A and up) offer an engine-start assist that delivers a surge designed to crank the starter immediately. Think of it as a middle ground between slow charging and traditional jumper cables.
If your charger only puts out 2A to 10A, you're firmly in the "charge then start" camp. If it has a 40A or higher boost setting, you can skip ahead to a much faster start, provided your battery is in decent shape.
Before You Plug In: Check Your Battery and Charger
A few quick checks save you a lot of headaches. Skipping them is the single most common reason people think their charger "doesn't work."
Battery Inspection
Pop the hood and look at the battery before anything else. You want a clean visual:
- No cracks or bulging in the case. A swollen battery has likely frozen or shorted internally. Don't try to charge it.
- No green or white corrosion caked around the terminals. If you see it, scrape it off with a wire brush or a battery cleaning tool before connecting anything.
- No fluid leaking. If the battery is wet around the base, do not charge it. Replace it.
- Battery voltage reading with a multimeter, if you have one. Below 11.8V = deeply discharged. Around 12.0, 12.2V = needs a charge. 12.4V+ = probably not your starting problem.
Charger Inspection
Confirm the charger's voltage matches your battery. Most cars and light trucks run a 12V system, but some older equipment or diesel trucks use 24V. Using the wrong voltage will at best do nothing, and at worst damage the electrical system.
Confirm the charger's amperage rating. Common consumer units run anywhere from 2A (trickle) to 50A+ (boost). Match the rating to how fast you want to start (covered in the next section).
Confirm the charger has reverse polarity protection if you're not confident with clamp placement. Most modern smart chargers do. It's a small feature that prevents fried ECUs if you cross the cables.
Quick Pre-Charge Checklist
| Check | What to Look For | Action If Not OK |
|---|---|---|
| Battery case | No cracks, swelling, or leaks | Replace battery, do not charge |
| Terminals | Clean, no heavy corrosion | Clean with wire brush |
| Resting voltage | 11.8V to 12.6V | Below 11.8V = deeply discharged |
| Charger voltage | Matches battery (usually 12V) | Wrong charger for the job |
| Charger amperage | 2A to 50A+ available | Pick setting to match urgency |
Tools and Charger Types You Can Use to Start a Dead Battery
Not every charger does the same job. The right one for you depends on how dead the battery is, how fast you need to drive, and what kind of battery your car has.
Trickle Chargers (1A to 2A)
These deliver a slow, steady charge over many hours or even a full day. They're built for maintenance, not urgency. If your battery is only mildly discharged and you have all night, a trickle charger is gentle on the plates and won't overheat.
They're not great for jump starting unless you have hours to wait.
Standard Automatic Chargers (4A to 15A)
This is the sweet spot for most home garages. They sense when the battery is full and switch to a float or maintenance mode automatically. A 10A charger will usually bring a dead-but-recoverable battery up enough to start within an hour or so.
As of 2026, multi-stage smart chargers from brands like NOCO, Battery Tender, and CTEK dominate this category.
Heavy-Duty Boost Chargers (40A to 200A+)
Workshop-grade units with a "start" or "boost" button. They push enough current to crank a starter motor almost immediately, similar to jumper cables. These work great but require careful handling.
Reverse polarity protection is a must. They're typically only needed if you drive larger engines (diesel trucks, work vans) or you regularly deal with deeply discharged batteries.
Portable Lithium Jump Starters
These aren't chargers in the strict sense. They're battery packs designed to deliver a quick starting surge, then recharge from a wall outlet later. If your car died in a parking lot with no wall socket nearby, this is your best friend.
They're different from what most people mean when they ask how to jump start a car with battery charger, but worth knowing the option exists.
What's Inside a Smart Charger
Most modern chargers run through three or more charging stages:
- Bulk stage: Max current until the battery hits about 80% full. This is the fastest part of the charge.
- Absorption stage: Voltage held steady, current tapering down. Battery fills the last 20%.
- Float / maintenance stage: Voltage drops to a safe resting level. Battery can stay connected indefinitely.
If your charger has a desulfation mode (a higher-voltage pulse cycle), it can sometimes recover a sulfated battery that refuses to hold a charge. Don't rely on it for a battery that's clearly failed, but it's a useful feature.
Safety First: Hydrogen Gas, Fails, and What Can Seriously Go Wrong
Lead-acid batteries are full of sulfuric acid and give off hydrogen gas during charging. Both are reasons to treat the process with respect. Most jump-start jobs go fine, but a few mistakes can cause real damage.
Hydrogen Gas Buildup
When a battery charges, it releases hydrogen. Hydrogen is flammable. A spark near the battery while it's gassing can ignite the gas and crack the case.
Charge in a ventilated space. Don't smoke near the battery. Connect the charger before plugging it in (or before switching it on) to avoid sparking at the terminals.
Reverse Polarity
This is the big one. Red goes to positive (+). Black goes to negative (−) or to a grounded metal part of the chassis.
If you swap them, you'll see sparks, possibly hear a pop, and risk frying the charger's internal circuitry or the car's ECU. Newer chargers with reverse polarity protection will refuse to start. Older or cheaper units may not.
If you hear a solid click or a buzz when you try to start charging, the clamps are on wrong.
Damaged or Frozen Batteries
Never try to charge a battery that is cracked, leaking, visibly frozen, or swollen. A frozen battery can explode when current flows through it. If your battery is more than 5 to 7 years old and won't hold a charge, charging is usually wasted effort.
Replace it.
Eye and Skin Protection
A pair of basic safety glasses is worth the minute it takes to put them on. Battery acid on skin or in eyes is a medical issue. Gloves aren't mandatory but they're cheap insurance.
Per OSHA battery handling guidance, eye protection is recommended any time you work around a lead-acid battery.
Electronic System Risk
Modern cars run dozens of control modules, infotainment systems, and sensors. A voltage spike from a reversed connection can destroy them. The fix costs more than the tow truck would have.
This is the single biggest reason to use a smart charger with built-in protection instead of an old manual unit.
Quick Safety Recap
| Risk | What Causes It | How to Avoid It |
|---|---|---|
| Hydrogen explosion | Spark near charging battery | Connect clamps before powering on |
| Acid splash | Tilting or cracking battery | Inspect before charging |
| ECU damage | Reverse polarity | Red +, black − or chassis ground |
| Battery rupture | Charging a frozen battery | Don't charge below freezing |
| Charger damage | Wrong voltage setting | Confirm 12V vs 24V first |
How to Jump Start a Car With a Battery Charger: Step-by-Step
Once you've done the pre-checks, the actual process is straightforward. Work through these steps in order, and don't skip ahead.
Step 1: Position the Charger and Vehicle
Park on a flat surface. Make sure the charger is on a stable, dry surface, not on the battery itself. Switch off the ignition, all lights, and any accessories (radio, climate fan, phone chargers).
They draw current and slow the charge.
Step 2: Identify the Terminals
Positive (+) is almost always red, slightly larger in post size, and marked with a + symbol. Negative (−) is black and marked with a −. If the markings are worn off, the positive post has more cables running to it.
Step 3: Connect the Red Clamp First
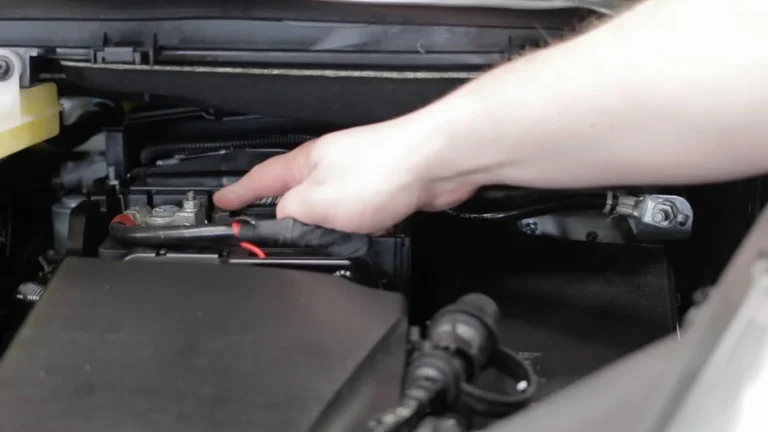
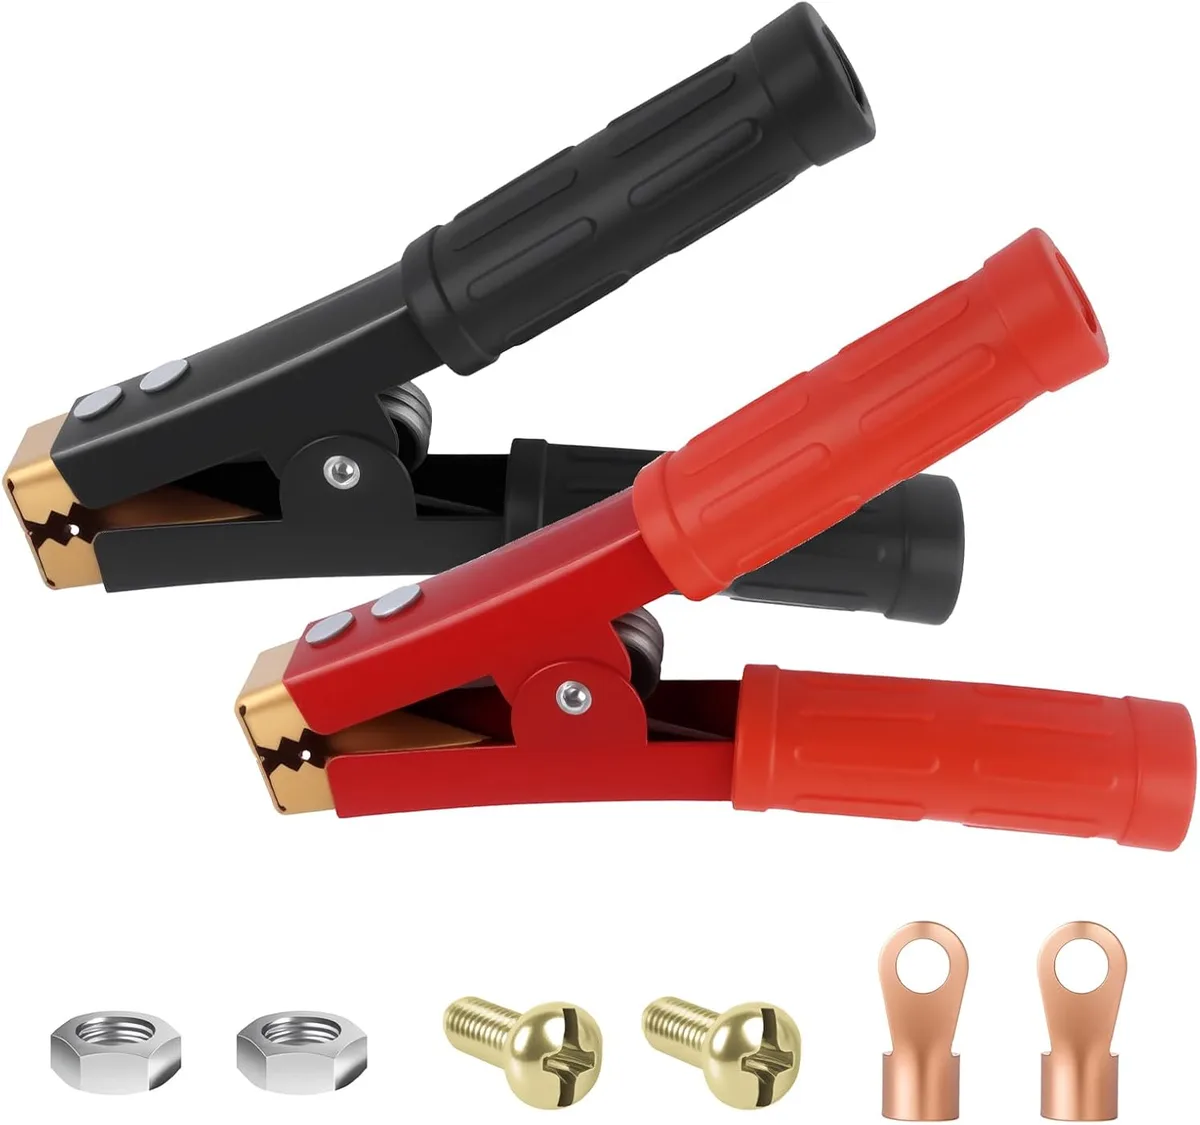
Attach the red (positive) clamp to the positive (+) battery post. Wiggle it gently to confirm a tight metal-to-metal grip. Make sure the clamp is not brushing the chassis or any other terminal.
Step 4: Connect the Black Clamp
For modern vehicles with computer systems, connect the black clamp to a solid, unpainted metal part of the engine block or chassis, away from the battery, fuel lines, and moving parts. This is the "ground" connection. Connecting directly to the negative post works too, but the engine block reduces spark risk at the battery.
Step 5: Plug In and Power On
Plug the charger into the wall outlet (or switch on the unit). Set it to the correct voltage (12V for cars) and amperage (covered in the next section). Most smart chargers will indicate they're charging with an LED or display readout.
Step 6: Wait for Sufficient Charge
Time varies by amperage setting and battery state. A 10A charger usually needs 30 minutes to an hour to get a dead battery ready. A 2A trickle charger might need 6 hours or more.
If you have a boost setting, you can try cranking after 5 to 10 minutes.
Step 7: Try to Start the Vehicle
Turn the key or push the start button. If the engine turns over, let it run. If it clicks but doesn't crank, give it more charging time.
If nothing happens at all, the battery is likely beyond recovery.
Step 8: Disconnect in Reverse Order
Switch off and unplug the charger first. Remove the black clamp from the chassis ground (or from the negative post if you attached it there). Remove the red clamp from the positive post.
Keep the clamps from touching each other during removal.
Step 9: Keep the Engine Running
Drive or idle the vehicle for at least 20 to 30 minutes. The alternator needs time to top the battery back up. Short trips won't do it.
Per AAA battery maintenance guidance, a longer drive is recommended to ensure a healthy state of charge.
What Setting Should You Use: 2A, 10A, 40A, or Boost Mode?
The right amperage depends on how dead the battery is and how fast you need to drive. Match the setting to the situation.
2A Trickle Setting
Best for deeply discharged batteries that have been sitting for weeks. Slow and gentle, but it can take 12 to 24 hours to deliver enough charge to start. Use this if you're not in a rush.
10A Standard Setting
The all-around best choice for most home users. Brings a dead battery up enough to start within 30 minutes to an hour. Doesn't overheat the battery or stress the electrical components.
Default to this unless you have a reason not to.
40A Boost Setting
Designed for quick engine starting in workshops. Delivers enough current to crank the starter immediately, much like traditional jumper cables. Only use this on a battery you've confirmed is in good shape.
A weak or failing battery can overheat or even rupture under a 40A surge.
100A+ Engine Start Mode
Only found on heavy-duty shop chargers. Some portable lithium jump starters deliver this kind of surge for short bursts. Use sparingly.
The high current can damage sensitive electronics if the battery is old.
Decision Helper
| Situation | Best Setting | Approximate Wait Time |
|---|---|---|
| Battery sat for weeks, no rush | 2A trickle | 12 to 24 hours |
| Standard dead battery, drive today | 10A | 30 to 60 minutes |
| Need to start fast, good battery | 40A boost | 5 to 15 minutes |
| Heavy-duty / diesel engine | 100A+ start | Immediate start attempt |
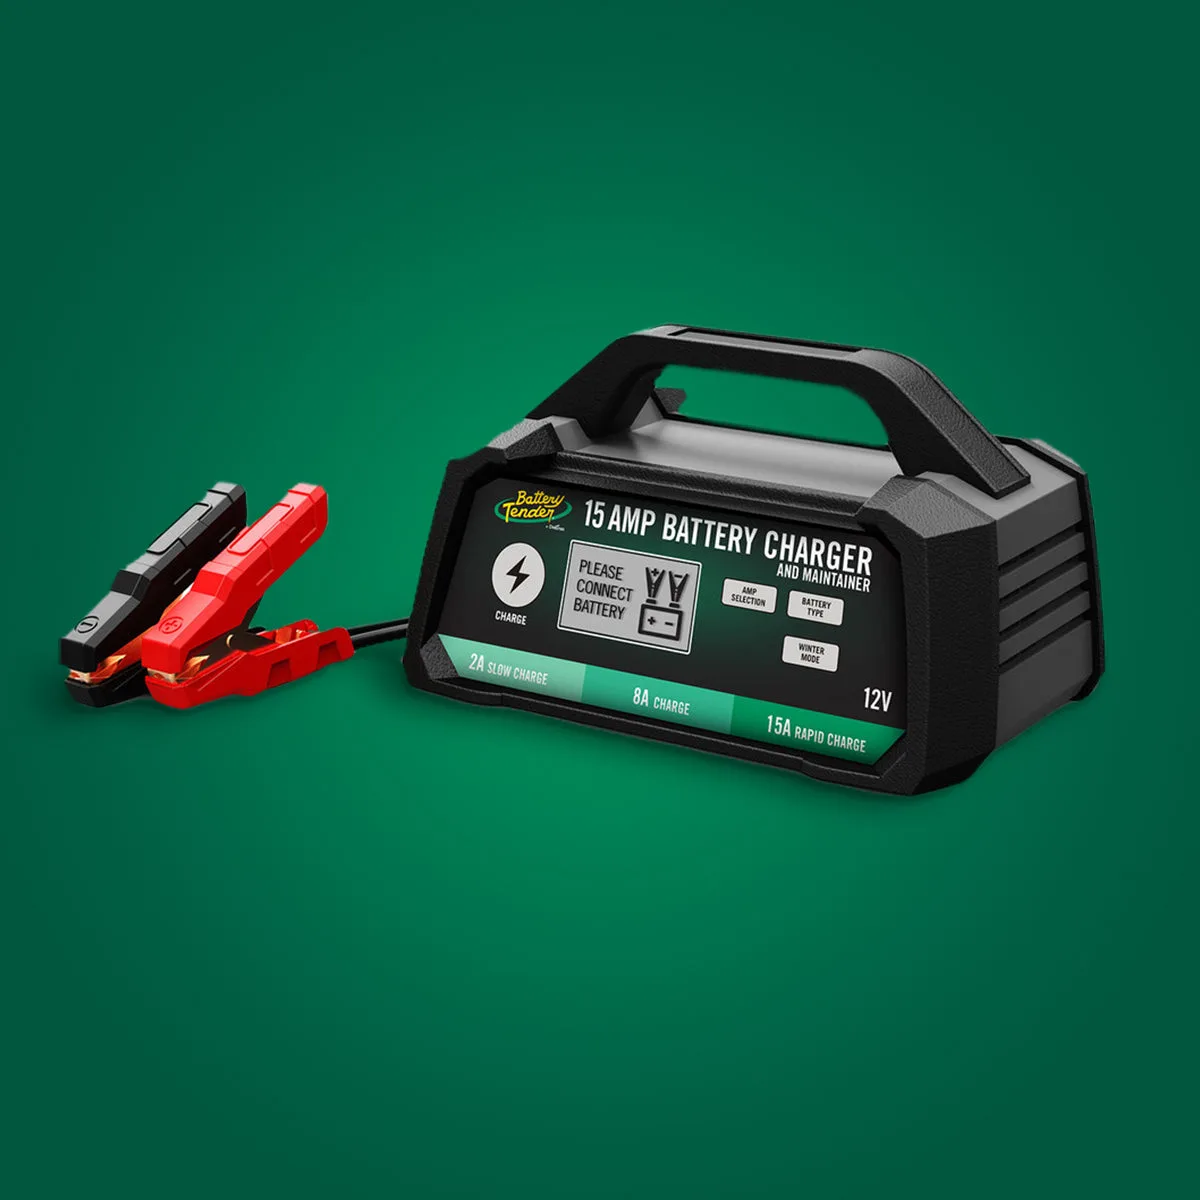
How Long Does It Take to Charge a Dead Car Battery?
Time depends on three factors: the charger's amperage, the battery's capacity (in amp-hours), and how deeply discharged it is. A typical car battery holds 40 to 80 Ah. A fully dead battery at 12.0V needs roughly 50% of its rated capacity replaced to start the engine, so a 50 Ah battery needs about 25 Ah returned.
Rough Time Estimates
| Charger Amperage | Time to Reach Starting Voltage |
|---|---|
| 2A trickle | 8 to 12 hours |
| 6A standard | 3 to 5 hours |
| 10A fast | 1 to 2 hours |
| 40A boost | 15 to 30 minutes |
| 100A engine start | Immediate start attempt |
Cold weather slows the chemistry down. In freezing temperatures, charging takes about 20 to 30% longer. If you're in a rush in winter, bump up the amperage or expect a longer wait.
Battery Charger vs. Jumper Cables: Which Should You Use?
Both methods get you going, but they're built for different situations.
Battery Charger Wins When
- You have access to a wall outlet. Garages, driveways, parking lots with power.
- You're not in a hurry. The charger is safer and more controlled.
- You want to extend battery life. Slow charging is gentler on plates.
- You don't have a second vehicle available.
Jumper Cables Win When
- You're stranded away from power. Roadside, parking garage, remote area.
- You need to drive right now. Cables deliver immediate starting current.
- Another vehicle is available and safely positioned nose-to-nose.
Risks to Compare
| Method | Risk Level | Best For |
|---|---|---|
| Battery charger | Low (controlled) | Planned recovery, no second car |
| Jumper cables | Moderate (spikes possible) | Emergency roadside start |
| Portable lithium jump starter | Low (sealed unit) | Solo, off-grid starting |
Common Mistakes That Can Fry Your Alternator or ECU
Most charging jobs go fine. A few don't, and those usually involve one of these errors.
Reversing the Clamps
Red to negative, black to positive. This is the mistake that costs the most money. Modern ECUs can run $800 to $2,000 to replace.
Always double-check polarity before powering on.
Skipping the Battery Inspection
Charging a frozen, cracked, or swollen battery can cause it to rupture. A 5-second visual check saves a costly mess.
Charging With the Engine Running
The alternator fights the charger and confuses the voltage readings. Either charge with the engine off, or let the alternator handle it once the engine is running.
Pulling the Clamps While the Charger Is On
Always switch off or unplug the charger before removing the clamps. A live clamp touching the chassis can spark or short.
Forgetting to Tighten the Clamps
A clamp sitting loosely on the post will arc, build heat, and may not deliver full current. Twist the clamp slightly after attaching to bite into the lead post.
Overcharging an Old Battery
A battery past its service life won't accept charge properly. It may heat up, vent acid, or refuse to hold a charge. Don't keep pumping current into a battery that's clearly failing.
Using a Battery Charger on AGM, Gel, and Lithium Batteries
Not every battery charges the same way. The chemistry inside determines what voltage the charger should deliver, and using the wrong setting can shorten battery life fast.

Standard flooded lead-acid is the most forgiving. AGM (Absorbent Glass Mat) and gel batteries need slightly higher voltage tolerances, but most modern chargers have a dedicated mode. Lithium car batteries (12V LiFePO4) are different entirely.
They need a charger with a lithium mode, or the battery management system will block the charge.
Pick the mode before connecting anything. Most smart chargers detect battery type automatically. Manual chargers require you to choose, and choosing wrong can overheat a gel cell or undercharge an AGM.
When a Charger Won't Bring Your Battery Back: Signs to Replace It
Sometimes the battery is just done. Charging won't fix internal shorts, dead cells, or a battery past its service life. Watch for these signs.
Voltage climbs during charging but crashes the moment you disconnect the charger. That's a dead cell. The engine turns over slower than usual even after a full charge.
Cold cranking amps (CCA) have dropped below the manufacturer's rating. The battery case is swollen or smells like rotten eggs. Any of these mean replacement, not charging.
A typical car battery lasts 4 to 6 years. Per Battery Council International guidance, batteries that fail a load test below 50% of their rated CCA should be replaced.
Best Battery Chargers for Jump Starting a Dead Car
Most charger brands do the same job well. Differences come down to safety features, build quality, and how many battery types they handle.
For home garages, mid-tier smart chargers in the 10A range deliver the best mix of speed, safety, and price. Look for spark-proof clamps, AGM compatibility, and a desulfation mode if your battery is older. As of 2026, top-rated brands across consumer reviews include NOCO, CTEK, Schumacher, and Battery Tender.
For workshop or fleet use, heavier 40A+ units make sense. For occasional emergency use, a portable lithium jump starter in the trunk is hard to beat.
Pro Tips From Mechanics: Getting a Faster Start Without Damage
Mechanics have a few habits that home users often skip. They keep the battery clean. A quick wire-brush scrub of the terminals before connecting improves contact and charge speed.
They match the charger to the battery type every time. They never charge a frozen battery. They let the engine idle for at least 20 minutes after a jump to give the alternator time to recover.
And they always disconnect the negative clamp first when removing the charger, to avoid a spark at the positive post.
Frequently Asked Questions About Charging a Dead Car Battery
Can a battery charger really jump start a car?
Yes, in most cases. If the battery is in reasonable condition and the charger delivers enough amperage (5A or higher), the engine will crank within an hour. For faster starts, a boost setting does the job in minutes.
Is it safe to leave a battery charger on overnight?
For smart chargers with automatic float mode, yes. They drop to a maintenance voltage once the battery is full. For older manual chargers, no.
Overcharginga battery overnight can warp the plates or boil off the electrolyte.
Can I use a car battery charger on a completely dead battery?
If "completely dead" means below 8 volts, some chargers will refuse to start. A deeply discharged battery may need a manual mode or a second battery in series to wake up. If your charger has a "force" or "repair" mode, try that first.
What if my car still won't start after charging?
Three possibilities remain. The battery is too far gone to hold a charge. The alternator is failing and not replenishing the battery.
Or the starter motor itself is bad. A quick voltage test after charging tells you which one you're dealing with.
Do I need to remove the battery from the car to charge it?
No. You can charge the battery in place with the engine off. Disconnecting the negative terminal first is a good idea if you plan to charge for many hours, but for a quick top-up it's not required.