How do you install a dash cam: Complete Guide
If you've just unboxed a new dash cam, you're probably staring at a tangle of cables wondering how do you install a dash cam without turning your interior into a spaghetti mess. The good news is that almost every modern dash cam installs with basic tools, no mechanic required.
The actual path you take depends on three things: where you want the camera mounted, how you want it powered, and whether you need parking mode. As of 2026, most consumer dash cams draw between 150 and 300 milliamps in standby, which is why a hardwire kit with a low-voltage cutoff (default around 11.8 volts) is the go-to for parking surveillance. Let's walk through the decision tree so you end up with a clean install that actually works when you need it.
Quick Answer
You install a dash cam in four stages: mount it on the windshield, route the power cable to your power source, connect to power, then configure settings. Most DIY installs take 20 to 60 minutes. The three power options are 12V cigarette lighter, fuse box hardwire, and OBD-II adapter.
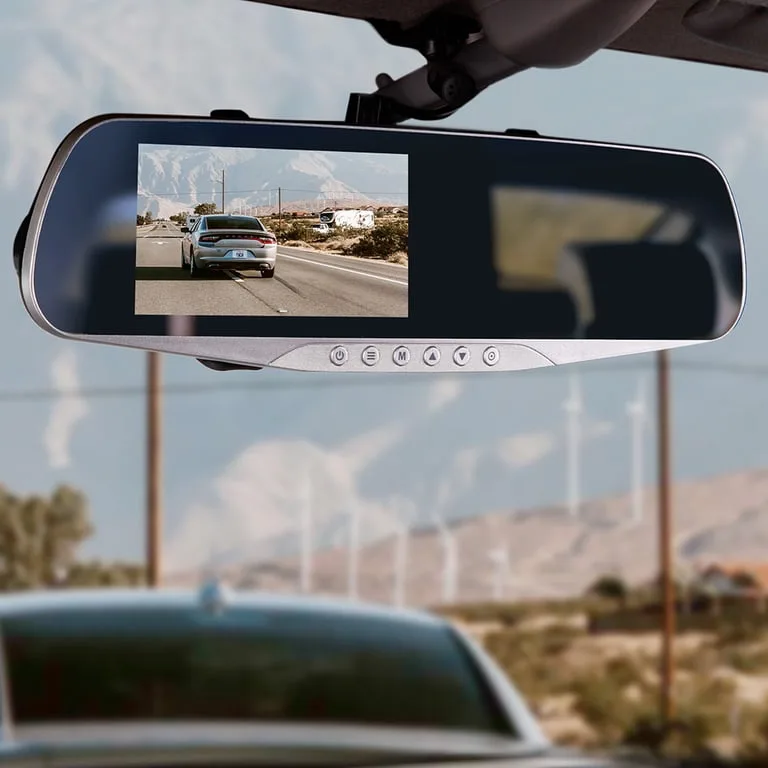
What Decides How You'll Install Your Dash Cam
Before you touch a cable, you've got three decisions to make, and each one narrows the install path significantly. Skip this step and you'll likely end up redoing the cable run twice.
The first decision is power source. A cigarette lighter plug is the fastest install but only powers on with the ignition, so parking mode won't work. A hardwire kit connected to the fuse box gives you constant and switched power, which is what parking mode needs.
An OBD-II adapter sits in the middle, easier than hardwiring but limited in some vehicles.
The second decision is camera configuration. A single front-facing camera is a 15-minute job. A front and rear system doubles the cable routing work and may need a longer harness.
A three-channel interior camera is mostly the same as a two-channel but adds an interior lens to position.
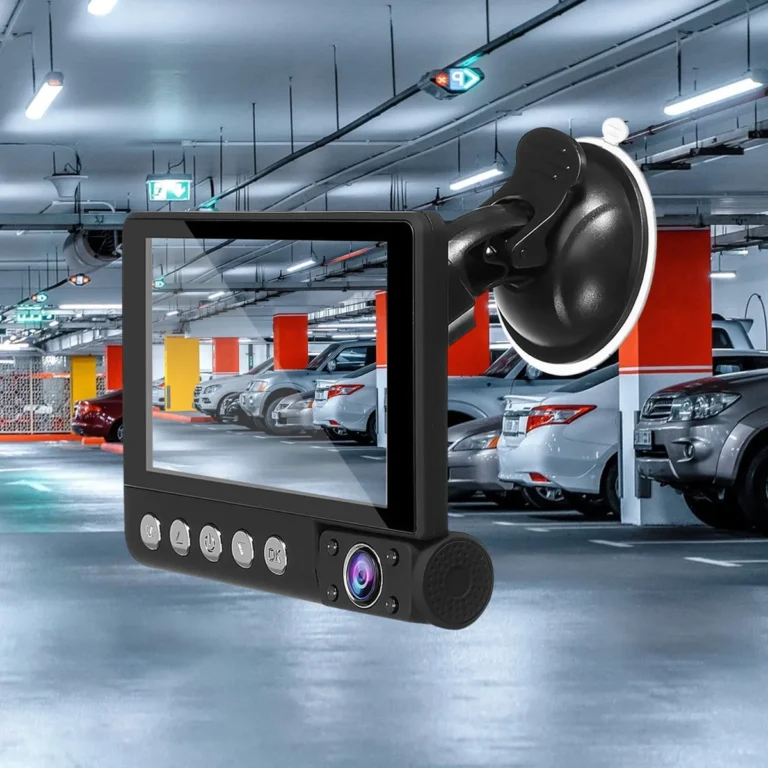
The third decision is mounting style. Suction cup mounts are removable, great for rentals or test fits, but they fall off in summer heat above roughly 60°C. Adhesive mounts using 3M VHB tape hold firm through heat cycles but are essentially permanent once cured.
Here's how the decision tree typically branches:
| Your Situation | Best Install Method | Why |
|---|---|---|
| Rental car, temporary use | Suction mount + 12V plug | No permanent modifications, fully removable |
| Daily driver, want parking mode | Adhesive mount + hardwire kit | Constant power for surveillance, secure hold |
| Rideshare driver, interior recording | Adhesive mount + hardwire kit | Reliable power for long shifts, no battery swap |
| Truck, van, or long-wheelbase SUV | Adhesive mount + hardwire + extended rear cable | Standard harnesses are too short for big vehicles |
| Lease vehicle, can't modify | Suction mount + OBD-II adapter | No drilling, no fuse box tampering |
Tools and Parts You'll Need (For Any Method)
The parts list scales with the install method, but a few items show up on every job. Manufacturer specs for major brands like Garmin, Viofo, and Thinkware recommend similar tool kits, and the components overlap heavily.
Here's the core kit that covers all three install methods:
- Dash cam unit (with included mount)
- MicroSD card, U3 or V30 rated, 64GB to 256GB
- Power cable (included, usually 3.5m for front, 6m for rear)
- Cable routing tool or trim removal pry tool (plastic, not metal)
- Microfiber cloth and isopropyl alcohol (90%+)
- Zip ties or adhesive cable clips
- Phone with the manufacturer's app installed
Add these for a hardwire install:
- Hardwire kit with low-voltage cutoff (most cams include one)
- Add-a-fuse taps (one for constant, one for switched if parking mode)
- Wire crimper or pliers
- 10mm socket or wrench for the ground bolt
- Multimeter (helpful but not required)
A few things to skip. Don't buy a cheap unbranded MicroSD card. Standard cards fail within months under constant write cycles, and corrupted footage is worse than no footage.
Use a high-endurance card labeled "endurance" or "max endurance" from SanDisk or Samsung. These are rated for dash cam use and typically last 2 to 3 years before needing replacement.
Before You Start: Plan the Mounting Location and Power Path
Most failed installs happen because someone skipped the planning step and ended up with a cable that doesn't reach or a fuse that drains the battery. A five-minute dry run saves an hour of redoing.
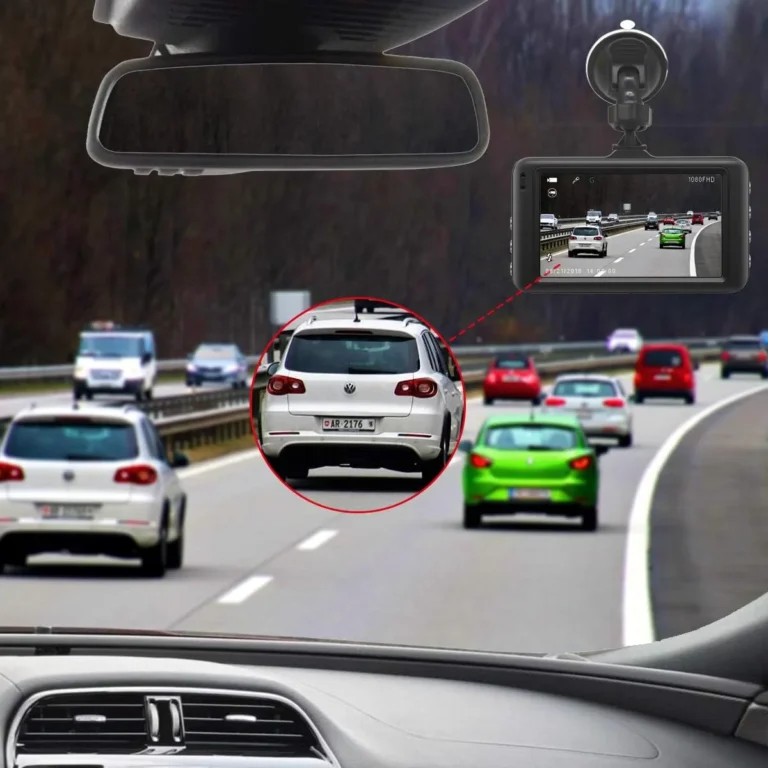
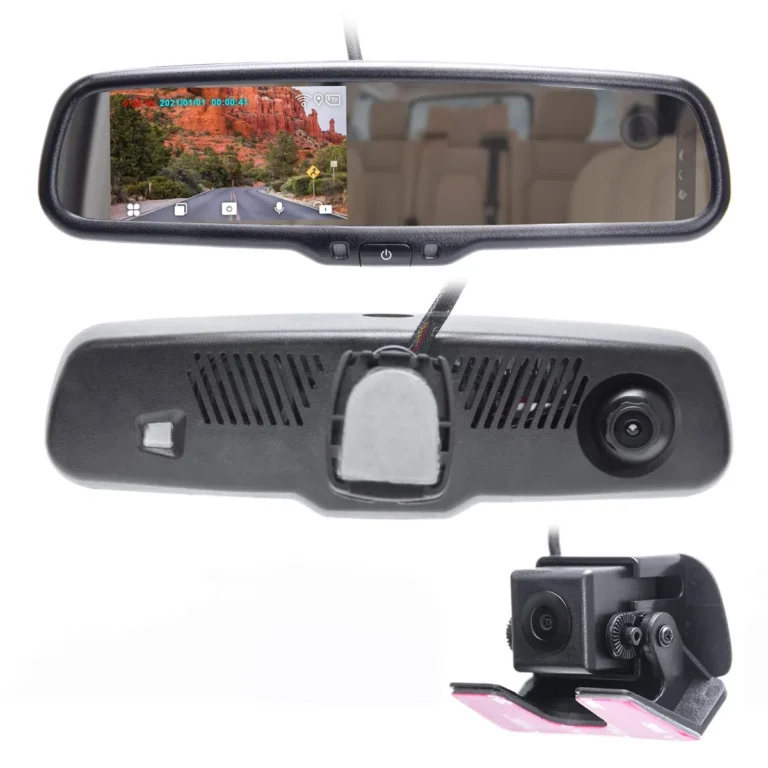
The mount location matters more than people think. The sweet spot is directly behind the rearview mirror, offset to the passenger side. From there, the camera has a clear forward view, sits in the wiper sweep zone, and stays out of the driver's line of sight.
Check your state's windshield obstruction rules before committing, since some states restrict where devices can sit in the glass.
For the power path, identify these things before cutting any zip ties:
- Where the fuse box is (driver-side kick panel in most cars, passenger side in some)
- Which fuse positions are accessory (switched, on with ignition) and which are constant (always live)
- Where a clean ground bolt exists on the chassis nearby
- How long the cable needs to run from mount to fuse box
To find a good ground point, look for an existing bolt attached to bare metal near the fuse box. A seat belt anchor bolt, kick panel bracket, or factory ground strap works. Sand off any paint under the ring terminal so the metal-to-metal contact is solid.
Lay the camera and cable in position without sticking anything yet. Power it on temporarily to confirm the angle captures the hood line and the road ahead. Adjust now, not after the adhesive cures.
Method 1: Plug-In Install Using the 12V Cigarette Lighter
This is the beginner-friendly path and what most people mean when they ask how do you install a dash cam for the first time. It's the same process the box instructions describe, and it works in nearly every vehicle.
Best For
- New dash cam owners testing the waters
- Rental cars or leased vehicles
- Anyone who doesn't need parking mode
Step-by-Step
- Mount the camera behind the rearview mirror using the suction cup or adhesive pad.
- Plug the power cable into the camera.
- Route the cable up into the headliner, across to the A-pillar, and down to the 12V outlet.
- Tuck the cable into the headliner seam with your fingers or a trim tool.
- Plug the 12V adapter into the cigarette lighter socket.
- Start the car and confirm the camera powers on.
- Format the MicroSD card in the camera's settings menu.
- Set the time, date, and resolution.
Drawbacks
The 12V socket is usually always live, meaning the camera stays on even when the car is off, which can drain your battery in a few days. Some cars cut power to the 12V socket with the ignition, which is better but means no parking mode. You also have a visible cable dangling down to the dashboard outlet, which is the opposite of a clean install.
If the cable is too long, don't coil it. Coil cables create electromagnetic interference that can show up as banding in footage. Bundle it loosely with a zip tie and tuck it behind the dash instead.
Method 2: Hardwire Install Using the Fuse Box
This is the install most enthusiasts end up doing, and it's what parking mode requires. It looks intimidating, but it's really just three wires going to three places.
Best For
- Anyone who wants parking mode
- Daily drivers, rideshare, fleet
- Long-term clean installations
Step-by-Step
- Locate the fuse box (check the owner's manual for the exact location).
- Identify an accessory fuse (powered only when ignition is on) using a multimeter or the fuse box diagram.
- Identify a constant fuse (always powered) for parking mode.
- Remove those fuses and insert add-a-fuse taps in their place, with the original fuse in the outer slot.
- Crimp the hardwire kit's yellow wire (constant) to one add-a-fuse, red wire (accessory) to the other, and black wire (ground) to the ground bolt.
- Tighten the ground bolt to 8 to 10 foot-pounds.
- Route the hardwire kit's output cable up through the dash, along the A-pillar, and to the camera mount.
- Test by turning the ignition on and off. The camera should boot with the car and shut down within 30 seconds of turning off.
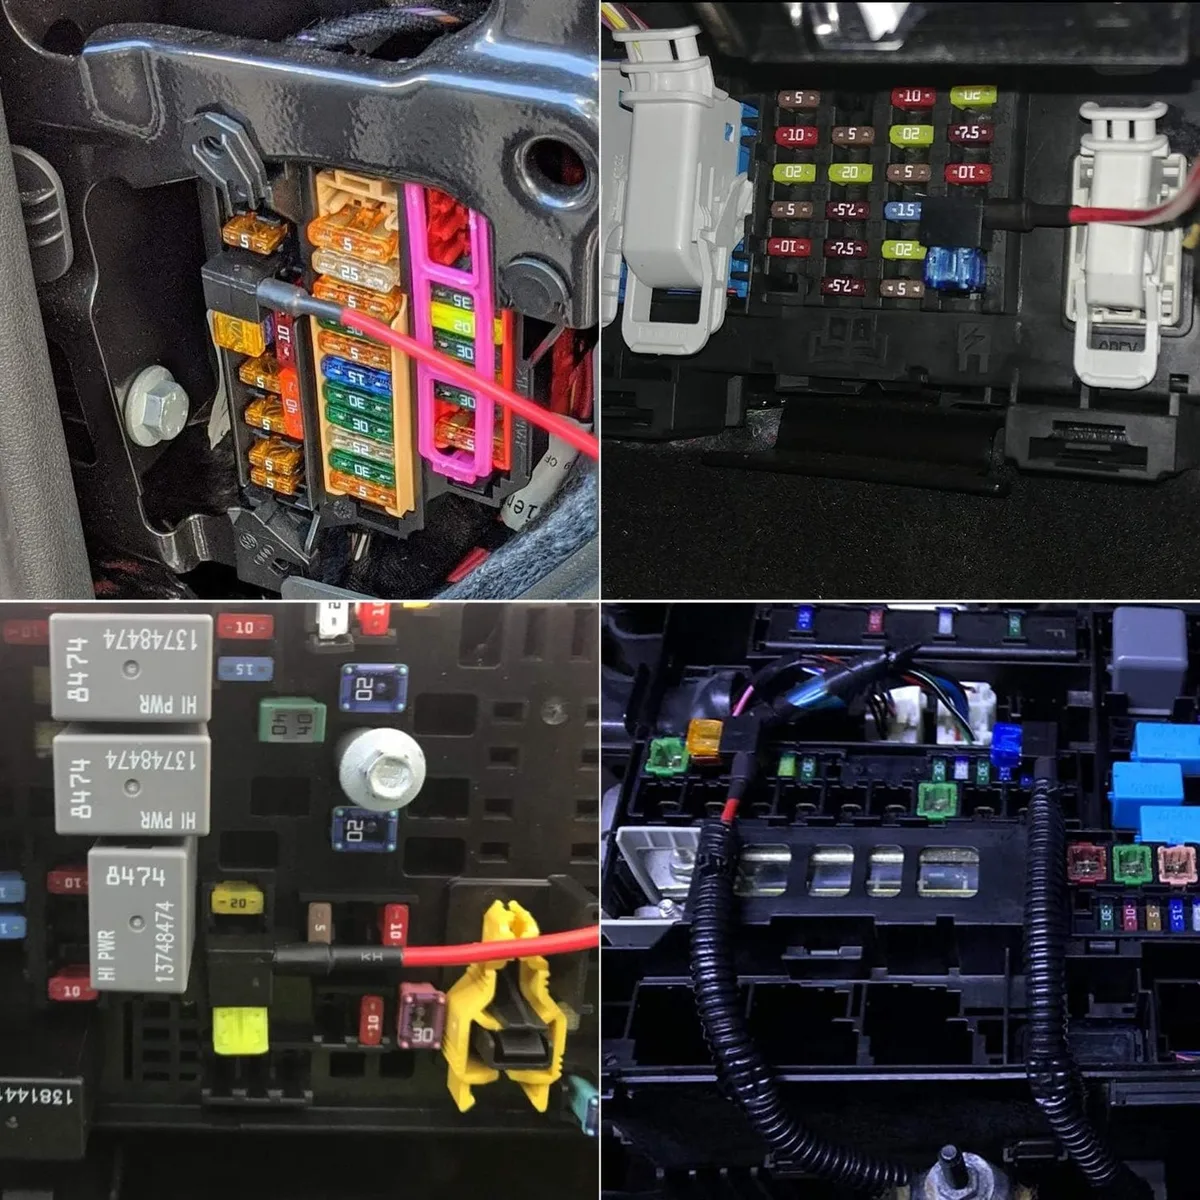
How to Pick the Right Fuse
Fuse selection trips up most first-timers. Two rules make it simple:
- Match the amperage of the original fuse. If the slot had a 10A fuse, use a 10A add-a-fuse.
- Pick a non-critical circuit. Avoid airbags, ECU, fuel pump, and ABS. Stick to circuits like the radio, power windows, or lighter (if not used for power).
The fuse box diagram inside the lid or in the owner's manual labels every circuit. Cross-reference before pulling.
Connecting the Ground Wire
A bad ground is the most common cause of mysterious reboots and parking mode failures. Find a bolt attached to bare metal, scrape any paint off under the terminal, and tighten it down firmly. Don't ground to a plastic bracket or a bolt that's just holding trim in place.
Method 3: OBD-II Power Install
OBD-II sits in the middle of the difficulty scale. It looks like a hardwire install from the outside, but you skip the fuse box entirely and draw power from the diagnostic port under the dash.
Best For
- Drivers who want parking mode without touching the fuse box
- Lease vehicles where modifications are restricted
- Quick installs that still deliver always-on power
Step-by-Step
- Locate the OBD-II port, usually under the dash on the driver side.
- Plug the OBD-II power adapter into the port until it clicks.
- Route the cable up the kick panel, along the A-pillar, and into the headliner.
- Connect to the camera and test.
- Configure parking mode settings in the app.
Drawbacks vs. Hardwiring
OBD-II adapters work well, but they have a few quirks. The port stays live even when the car is off, so the camera keeps drawing power. Most OBD adapters have a built-in low-voltage cutoff, but the threshold is sometimes fixed and not adjustable like a quality hardwire kit.
The port itself is also often left exposed, which some drivers don't like visually.
Hardwiring to the fuse box gives you more control, a cleaner look, and finer voltage cutoff settings. OBD-II is a solid middle ground when the fuse box feels too involved.
Mounting the Camera: Suction vs. Adhesive
The mount choice decides whether your camera survives August. We've seen aggregate owner reports consistently show suction mounts failing in sustained heat above 60°C, which is routine in parked cars in Texas, Arizona, and the Middle East.
Where to Place It on the Windshield
The mount should sit within the wiper sweep zone, behind the rearview mirror, on the passenger side. This keeps it out of the driver's primary sight line and ensures rain doesn't obstruct the lens. Avoid the dotted frit band at the top of the windshield, since GPS signals can interfere with recordings when the camera sits behind it.
Cleaning and Prep
Wipe the glass with isopropyl alcohol, not glass cleaner. Glass cleaner leaves a residue that kills adhesion. Let the alcohol flash off for 30 seconds before applying the mount.
Letting the Adhesive Cure
Press the mount firmly for 30 seconds, then leave the car parked for 24 to 72 hours before driving. Heat and pressure during the cure window improve bond strength. Aggregate user reviews show mounts that skipped the cure window failed within weeks, while those that cured properly lasted the life of the camera.
Routing the Cable So It's Hidden and Safe
A clean cable run is the difference between a pro-looking install and a hack job. The good news is that modern cars are designed with hidden channels that make this easier than it looks.
Along the Headliner
Tuck the cable into the gap between the headliner and the windshield. Use a plastic trim tool, never a screwdriver or metal object, since metal can puncture the headliner fabric. Push the cable in with your finger as you work along the seam.
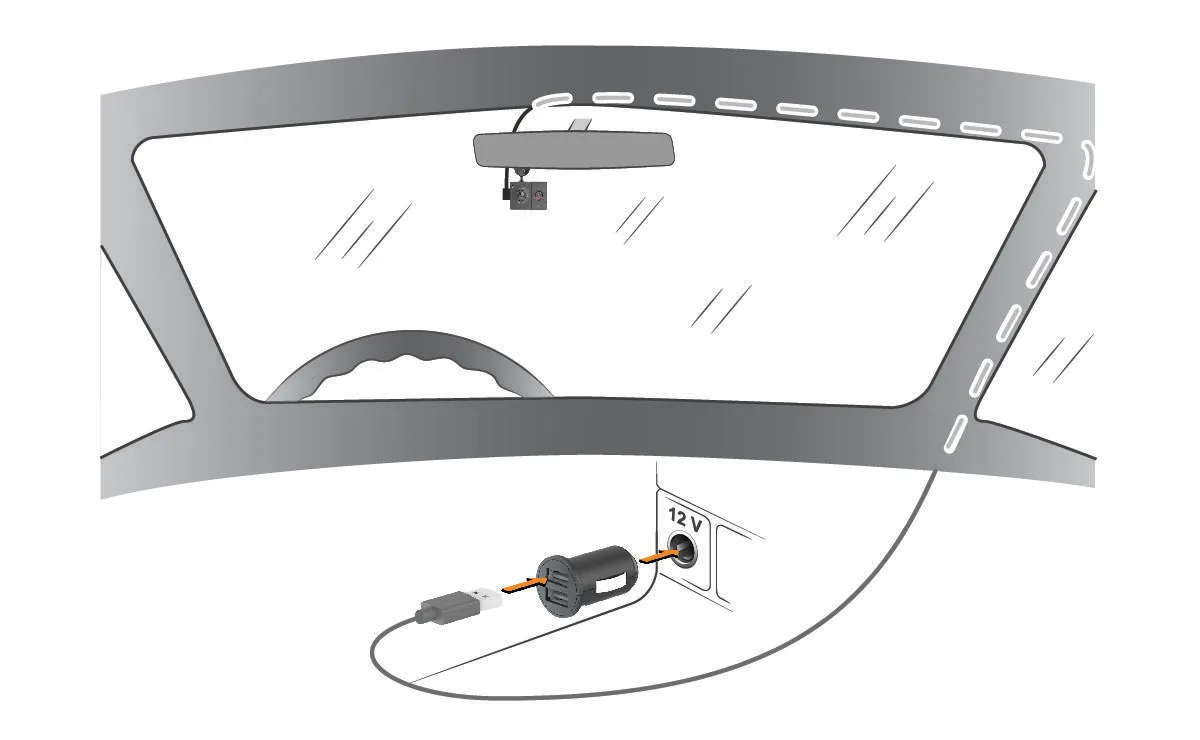
Down the A-Pillar (Without Hitting the Airbag)
The A-pillar looks empty, but most vehicles have a side curtain airbag running inside it. Manufacturer service documentation from brands like Toyota, Honda, and Ford warns against routing cables in front of the airbag path, since a deploying airbag can snap the cable and send debris into the cabin.
The safer route is to tuck the cable behind the A-pillar trim on the door side, not the windshield side. Remove the A-pillar trim panel carefully with a plastic pry tool, lay the cable in the channel, and snap the panel back on. This keeps the cable out of the airbag's deployment zone.
Through the Door Rubber Seal
For the gap between the A-pillar and the dashboard, route the cable into the door's rubber weatherstripping. Pull the rubber back slightly, press the cable in, and let the seal close over it. The cable disappears completely and stays protected from snags.
Installing a Rear Camera (If You Have One)
Rear cameras extend coverage to tailgaters, rear-end collisions, and hit-and-runs in parking lots. The install mirrors the front, but the cable run is longer and the routing path depends heavily on vehicle type.
Cable Routing for Sedans
In a sedan, route the rear camera cable along the headliner, down the B-pillar on the passenger side, across the rear parcel shelf under the trim, and to the back window. The included rear cable is usually 6m, which fits most sedans.
Cable Routing for SUVs, Trucks, and Vans
For larger vehicles, the standard 6m harness often falls short. You'll need an extended cable, typically 9m to 12m, sold separately. Route it along the headliner, down the D-pillar or C-pillar (depending on body style), and into the rear hatch rubber conduit.
The flexible rubber boot between the body and hatch carries the cable without pinching it when the hatch opens.
Mount the rear camera high on the back window, centered, with the lens facing slightly downward to capture the road behind and a bit of the bumper for context.
Connecting to Your Phone and First-Time Setup
Once the camera is mounted and powered, the last step is configuring it. Most modern dash cams pair with a smartphone app over Wi-Fi or Bluetooth.
App Pairing
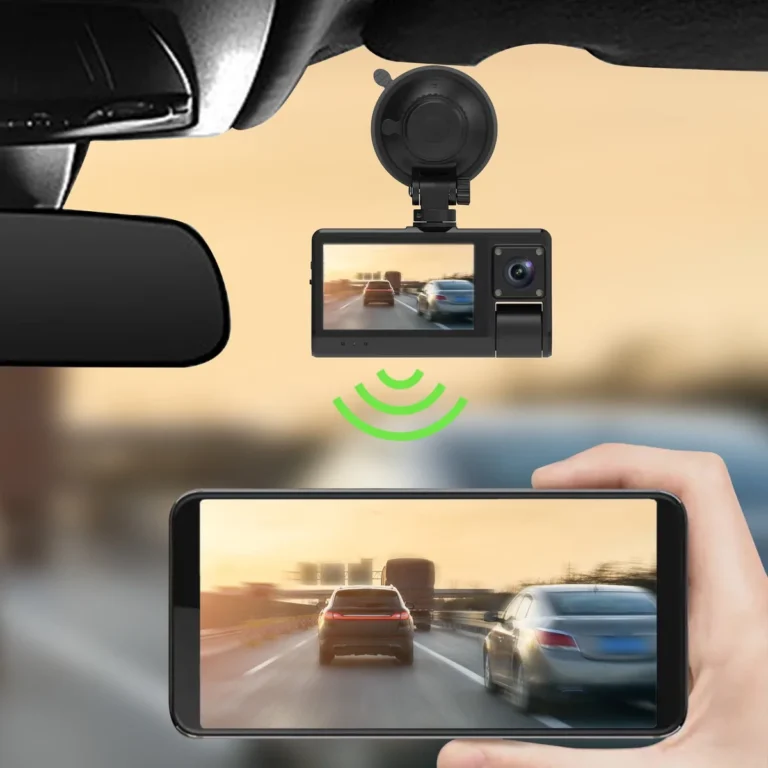
Open the manufacturer's app, create an account if needed, and tap "Add Device." The camera broadcasts a Wi-Fi signal (usually 2.4GHz). Connect your phone to it directly, then return to the app. Pairing usually takes under a minute.
Resolution, Loop Recording, and G-Sensor Settings
Set the resolution to the highest the camera supports, 1080p minimum, 1440p or 4K if available. Set loop recording to 3-minute segments, which balances file size with usable clip length. The G-sensor should be set to medium sensitivity.
High sensitivity fills the SD card with parked-car vibrations.
Formatting the MicroSD Card
Format the card in the camera, not on a computer. The camera creates the proper file structure. Format once a month to keep the card healthy, or set the camera to auto-format if the option exists.
Parking Mode Setup and Low-Voltage Cutoff
Parking mode is what separates a basic dash cam from a real surveillance system. It records when the car is off, capturing hit-and-runs, vandalism, and curb hits.
What It Does
In parking mode, the camera stays in a low-power standby. When the G-sensor detects an impact or the motion sensor detects movement, the camera wakes up and records a clip. Some cameras use time-lapse instead, recording continuously at 1 frame per second to save storage.
How to Set the Cutoff Voltage
The hardwire kit's low-voltage cutoff protects your battery from draining too low to start the car. Set it based on your climate:
| Climate | Recommended Cutoff |
|---|---|
| Hot summers (battery holds less charge in heat) | 12.2V |
| Moderate climate | 11.8V |
| Cold winters (battery needs more juice to crank) | 12.0V |
If you're unsure, leave it at the default 11.8V and adjust if you notice starting issues.
Common Mistakes That Cause Failed Installs
Most failed installs come from the same handful of issues. Avoid these and you'll be ahead of most first-timers.
- Mounting over the dotted frit band, which interferes with GPS.
- Using a non-endurance SD card that dies within months.
- Routing the cable through the airbag deployment path in the A-pillar.
- Choosing a constant fuse instead of switched for ignition power, draining the battery.
- Skipping the 24 to 72 hour adhesive cure window.
Windshield Obstruction Laws by State and Country
US states vary on where you can mount devices. California Vehicle Code Section 26708 limits devices to a 5-inch square in the lower corner or a 7-inch square in the upper corner of the windshield, behind the rearview mirror. Most other states follow similar logic.
The UK Highway Code Rule 30 requires that devices not obstruct the driver's view. Australia and most EU countries allow dash cams but prohibit mounting within the wiper sweep zone on the driver's side. Always check local rules before committing to a position.
Manufacturer installation guides for brands like Garmin and Nextbase reference these regulations in their documentation.
Cost Breakdown: DIY vs. Professional Install
The DIY route costs almost nothing beyond the dash cam itself. You're looking at $10 to $30 for a hardwire kit, $3 to $10 for add-a-fuse taps, and $10 to $40 for a high-endurance MicroSD card. Total added cost: roughly $25 to $80.
Professional installation runs $50 to $150 in labor, on top of the parts above. That cost buys you the peace of mind that comes with someone who knows where the airbag runs, which fuses are safe to tap, and how to hide every inch of cable. For a complex install in a luxury vehicle with a heads-up display, rain sensors, and a tight headliner, it's worth every dollar.
For a basic hardwire in a daily commuter, it's optional.
When to Skip the DIY and Hire a Pro
Most installs are well within DIY territory, but a few situations call for a professional. If your vehicle has a complex airbag system in the A-pillar, like some Mercedes, BMW, and Tesla models, the cable routing becomes risky without a service manual. If the fuse box is buried deep in the kick panel or under the passenger seat, an auto electrician will get it done faster.
Another reason to hire out is the warranty. Some manufacturers void the electrical warranty if the fuse box has been tampered with. A professional installer knows which circuits are safe and can document the work if questions come up later.
Maintenance So It Keeps Recording When It Matters
A dash cam is a set-it-and-forget-it device, until it isn't. Three things keep it reliable over time.
SD Card Replacement Schedule
High-endurance cards last roughly 2 to 3 years under constant use. Set a calendar reminder to swap the card. A failing card is the number one cause of lost footage, and it usually fails silently.
You'll think the camera is recording, but the files are corrupt or unwritable.
Checking Adhesive and Mount
Once a year, give the mount a firm push. If the adhesive has softened from heat cycles, re-secure it with a fresh 3M VHB pad. Don't wait for it to fall on a freeway.
Firmware Updates
Manufacturers release firmware updates that fix bugs, improve parking mode behavior, and occasionally add features. Check the app or manufacturer website every 6 months. Updates take 5 minutes and are worth it.
Real-World Scenarios: Which Install Fits Your Life
A rideshare driver in Chicago running 12-hour shifts needs parking mode, hardwiring, and an interior camera. A weekend road-tripper in a sedan can get away with a suction mount and 12V plug. A contractor with a work van should hardwire with a high-endurance card rated for vibration and heat.
Match the install to the use case, not the other way around.
When to Skip the Dash Cam Altogether
Skip it if your vehicle already has a built-in dash cam or 360-degree camera system, common in newer Teslas, Rivians, and some luxury models. Skip it if you park exclusively in a private garage with no theft risk. Skip it if your daily driving is less than 5 miles, since the wear on the SD card outweighs the marginal benefit.
Final Checklist Before You Hit Record
Mount secure, cable hidden, fuse chosen correctly, ground bolt tight, SD card formatted, time and date set, parking mode tested. Take a 30-second test drive, then review the footage on your phone. If the video is clear, the angle is right, and the timestamp is accurate, you're done.
Anything less and you have one more adjustment to make.
Frequently Asked Questions
How long does it take to install a dash cam?
A 12V plug-in install takes 15 to 20 minutes. A hardwire install takes 45 to 60 minutes for first-timers. Add another 20 to 30 minutes for a rear camera.
Will a dash cam drain my car battery?
Only if it's powered while the car is off without a low-voltage cutoff. A quality hardwire kit with the cutoff set to 11.8V or higher prevents this. The camera draws 150 to 300mA in standby.
Can I install a dash cam in a leased car?
Yes, using a suction mount and OBD-II adapter or 12V plug. These are fully reversible and leave no permanent modifications. Avoid adhesive mounts and fuse box hardwiring in leased vehicles.
Do dash cams work when the car is off?
Only with parking mode enabled and a constant power source. That means either a hardwire kit connected to a constant fuse or an OBD-II adapter. The standard 12V plug usually cuts power with the ignition.
Where should I not mount a dash cam?
Avoid the driver's primary sight line, the dotted frit band at the top of the windshield, and anywhere outside the wiper sweep zone. These positions cause either legal issues, GPS interference, or rain-obstructed footage.
Do I need a professional to install a dash cam?
No for plug-in or OBD-II installs. For hardwiring on vehicles with complex airbag systems or warranty concerns, a professional installer at a 12V shop or auto electrician is worth the $50 to $150.