How to setup dash cam: Complete Guide
Most drivers tape a dash cam to the windshield, run the cable down to the cigarette lighter, and call it done. That's the easy way, and it works until parking mode drains your battery, the cable dangles across the airbag, or the mount falls off in summer heat. As of 2026, more than 40% of new dash cam buyers end up hardwiring within the first year, which tells you the socket-only setup has real limits.
The hardwire install isn't hard once you understand the decisions behind it: constant vs. switched fuse, parking mode cutoff voltage, and where exactly to route the cable without crossing an airbag. This guide walks through those decision points one at a time, so your setup is clean, safe, and ready to record the moment you turn the key.
Quick Answer
Mount the dash cam behind the rearview mirror. Route the cable along the headliner and A-pillar. Power it through a hardwire kit tapped into your fuse box.
Use a switched fuse for ignition-only recording, or a constant fuse if you want parking mode. Set voltage cutoff between 11.8V (12V cars) and 23.6V (24V trucks). Format a high-endurance microSD card before first use.
Dash Cam Mounting Basics: Where and How to Place It
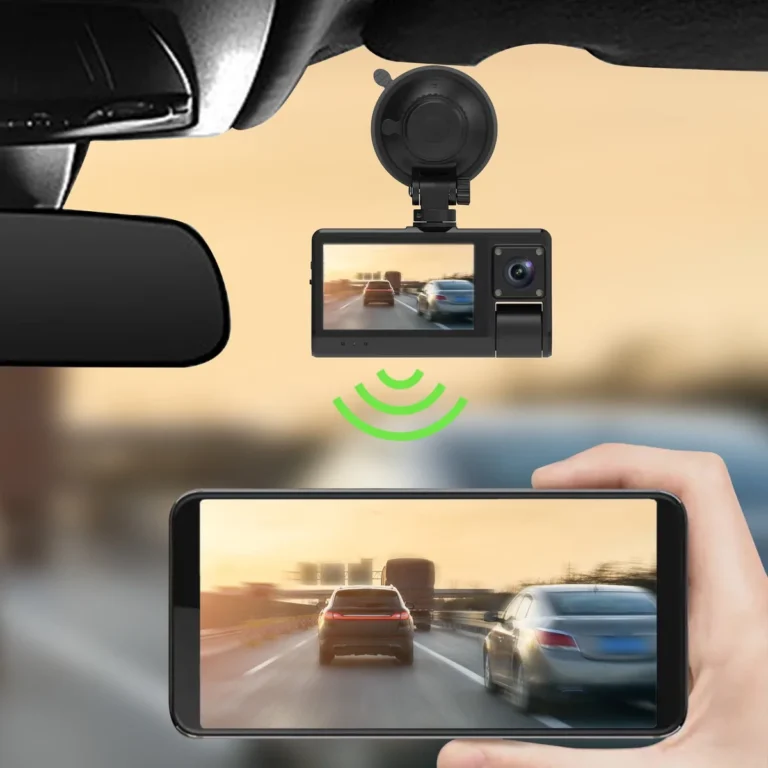
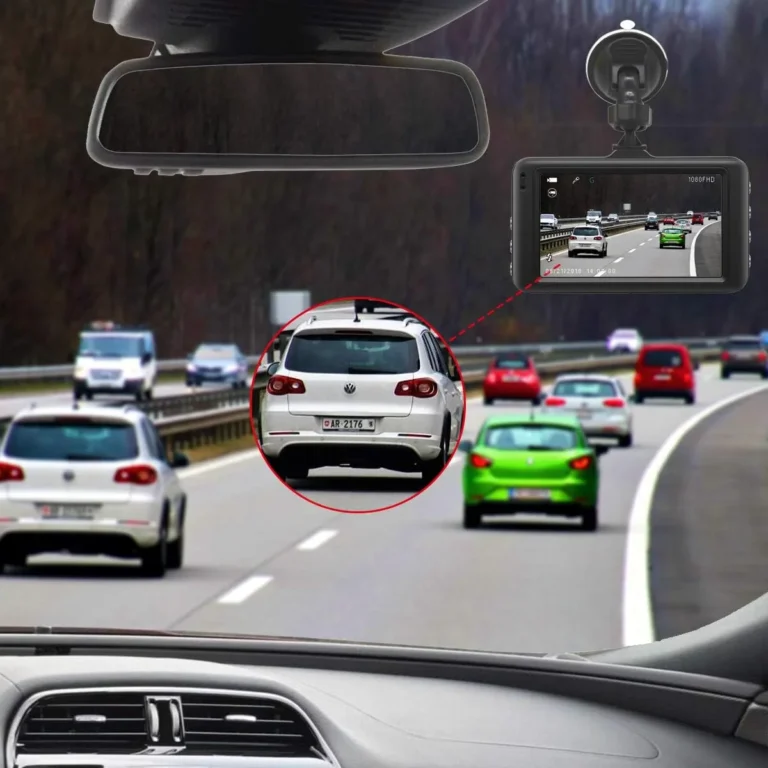
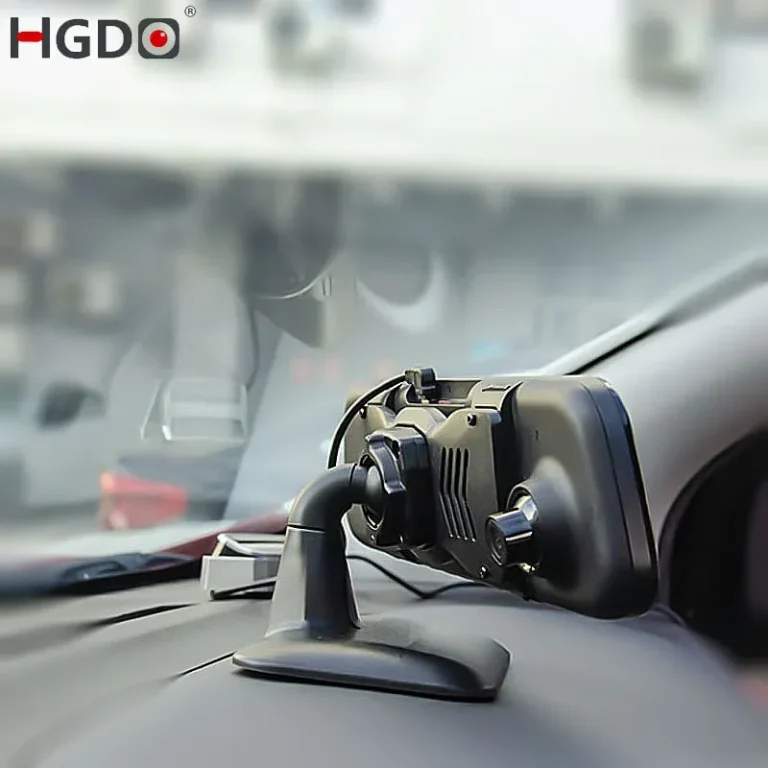
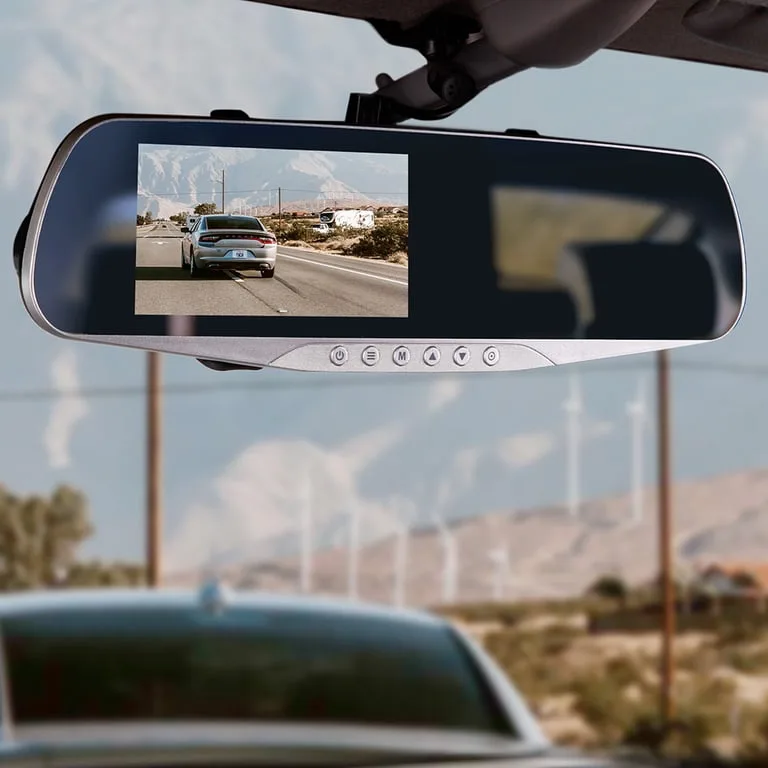
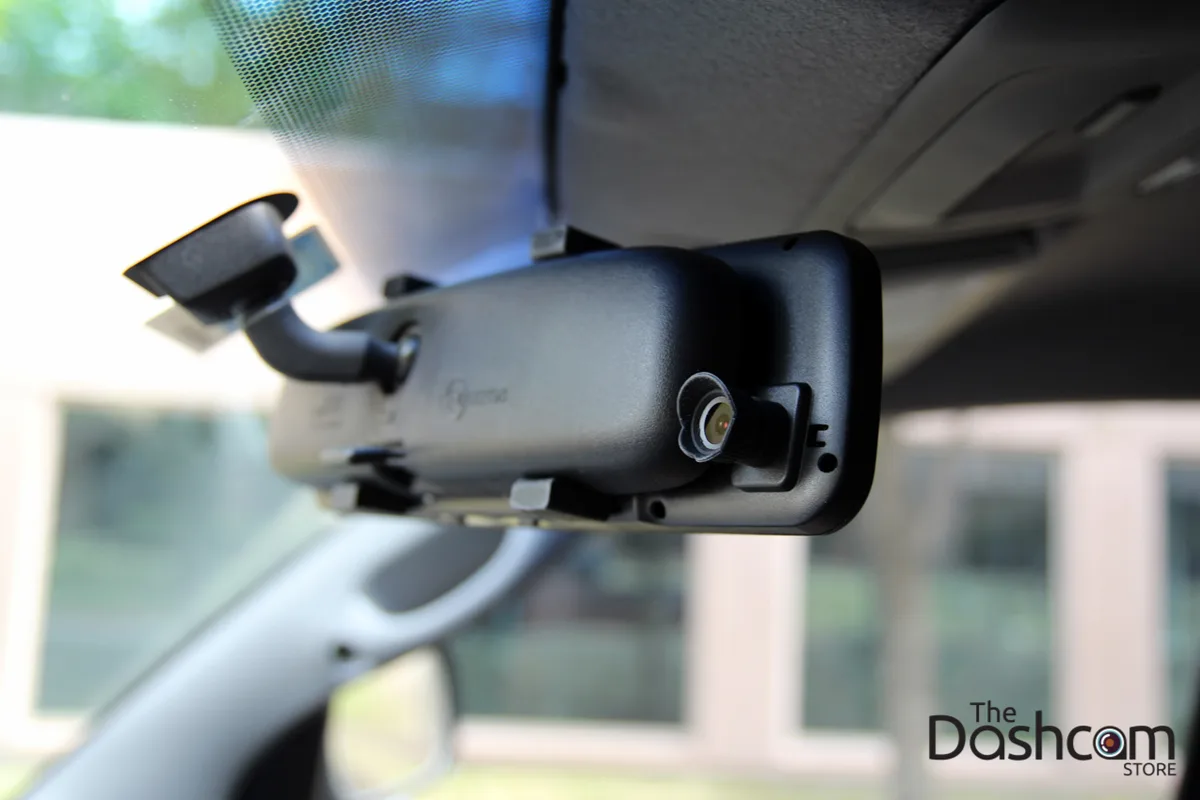
The single best spot is behind the rearview mirror, slightly to the passenger side. That position keeps the lens centered on the road, out of the driver's sightline, and tucked under the mirror housing so it's barely visible from outside. Mounting too low blocks your view.
Mounting too far left or right skews the footage.
Two mount types dominate the market:
- Suction cup: reusable, repositionable, but fails in heat. Reviews of budget mounts consistently show failures above 50°C.
- Adhesive pad (3M VHB): stronger, heat-resistant, and vibration-free. Once it's stuck, it's stuck. Plan your angle before pressing.
Mounting Rules Most People Skip
Clean the glass with isopropyl alcohol first. Dust under the pad causes slow detachment. Stay inside the wiper sweep zone.
Otherwise rain smears across your footage. Check your state law. California, for example, restricts objects in the lower 5 inches of the windshield or the driver's side corner.
The NHTSA windshield obstruction guidance is the federal baseline most states reference.
A good mount test: drive 50 mph over a speed bump. If the camera shifts, remount it.
Choosing Your Power Source: 12V Socket vs. Hardwire
This is the first real decision in your setup, and it changes everything downstream.
| Option | Best For | Pros | Cons |
|---|---|---|---|
| 12V cigarette lighter | Beginners, renters, leased vehicles | Plug-and-play, no wiring knowledge needed | Always-on socket drains battery, no clean parking mode, cable dangles |
| Hardwire kit | Daily drivers, parking surveillance users | Hidden cable, true parking mode, voltage cutoff protects against drain | Requires fuse tap, ground bolt, basic electrical comfort |
If you only drive during the day and park in a safe garage, the 12V socket is fine. If you want 24/7 protection or hate the visible cable, hardwire. The rest of this guide assumes you're hardwiring, since that's where the real decisions live.
Tools and Gear You'll Need Before You Start
Most installers overbuy tools. You don't need a soldering station or a multimeter. Here's the actual minimum kit:
- Hardwire kit with low-voltage cutoff (VIOFO, BlackVue, and Thinkware all make reliable ones)
- Add-a-fuse taps sized to your fuse slots (usually mini or micro2)
- Fuse puller (often included with the car, or $2 at any auto parts store)
- Trim removal tool (plastic, not metal, to avoid scratching panels)
- 10mm wrench or socket for the ground bolt
- High-endurance microSD card: SanDisk Max Endurance or Samsung Pro Endurance, 64GB or larger
- Isopropyl alcohol + microfiber cloth for the windshield
- Zip ties or electrical tape for cable management
That's it. Budget about $25 to $60 beyond the camera itself if you're starting from scratch.
Step 1: Find the Right Spot Behind the Rearview Mirror
Park somewhere flat and shaded. Turn off the engine. Sit in the driver's seat and adjust your mirror to its normal driving position.
Hold the camera where you want it and check three things:
- Does it block your forward view? If yes, move it lower or farther behind the mirror.
- Does the lens capture the full hood line and a bit of sky? If not, tilt it down or up slightly.
- Is it reachable for the SD card slot? You'll be pulling that card occasionally.
Mark the spot with a small piece of painter's tape. Most adhesive mounts give you one shot. Once the pad touches glass, repositioning means a new pad.
Take your time here.
Step 2: Mount the Camera and Adjust the Angle
Clean the marked spot with isopropyl alcohol and the microfiber cloth. Let it dry for 30 seconds. Any moisture or residue weakens the adhesive bond.
Peel the backing off the 3M pad. Press the mount firmly against the glass and hold for 30 seconds. Heat from your hand helps the adhesive cure faster.
Wait another 5 minutes before attaching the camera so the bond sets.
Now slide the camera onto the mount. Don't lock it in until you've checked the angle. Power the camera temporarily with the 12V socket so the screen is live.
Tilt the lens so the horizon sits about one-third from the top of the frame. The hood should appear as a thin strip at the bottom, with most of the frame showing road.
Once the angle looks right, lock the camera into the mount. Most brackets have a small screw or twist-lock. Don't overtighten.
Plastic threads strip easily.
Step 3: Route the Power Cable Along the Headliner and A-Pillar
Cable routing is where most installs either look factory-clean or look like a hack job. The goal is to hide the cable entirely, with no visible sag and zero contact with airbag deployment zones.
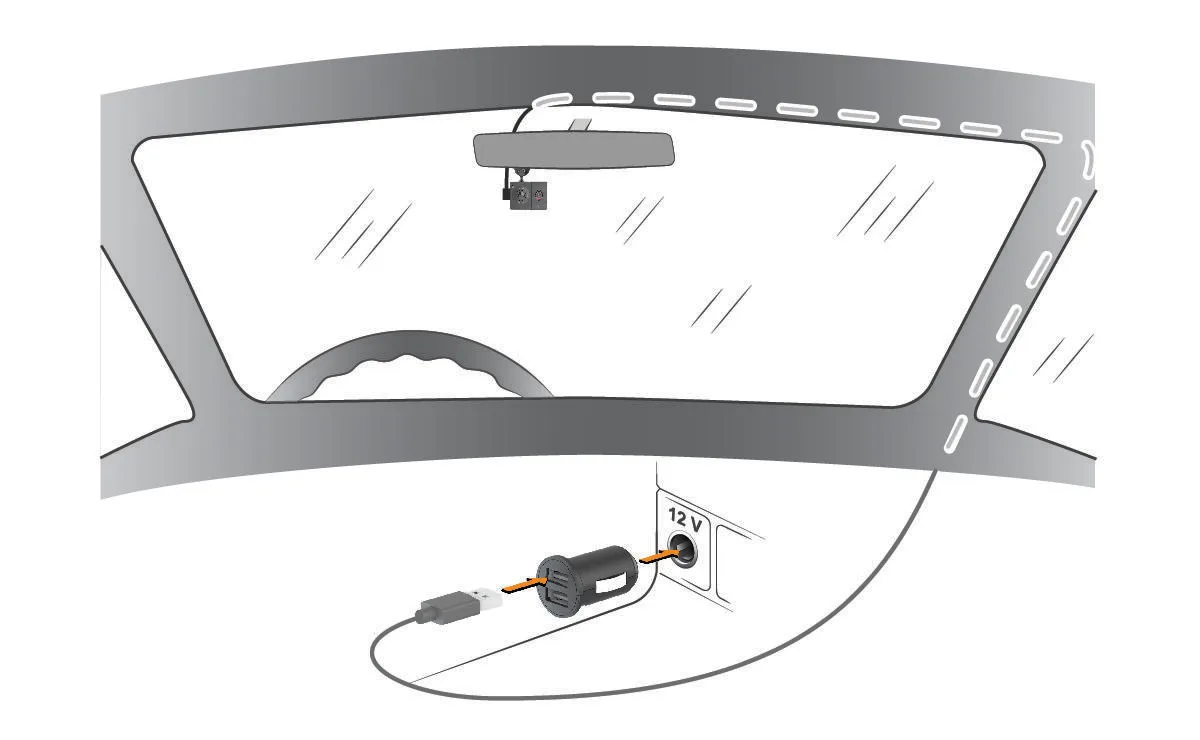
Start at the camera. Tuck the cable into the headliner gap with your fingers or the trim tool. Work toward the A-pillar (the vertical trim between the windshield and the side window).
Most headliners have just enough give to wedge the cable in without removing any panels.
When you reach the A-pillar, stop and read this carefully:
- Do not route the cable in front of the airbag. Most cars have a side curtain airbag hidden behind the A-pillar trim. If the airbag deploys with a cable in its path, the cable becomes a projectile.
- Route behind the airbag if possible. Many installers tuck the cable along the existing wiring harness that runs down the pillar. The airbag sits in front of this harness.
Pull the A-pillar trim back gently with the plastic trim tool. Don't yank it. There's usually a clip or two holding it.
Slide the cable down behind the trim, then press the trim back into place.
Continue routing the cable down to the footwell, then across to the fuse box. Tuck the excess length behind carpet or under the kick panel. You don't want loose cable under the pedals.
Step 4: Locate Your Fuse Box and Identify the Right Fuse Slot
Most cars have two fuse boxes: one under the hood and one inside the cabin, usually on the driver's side footwell or behind a side panel. The cabin fuse box is where you'll work. Check your owner's manual for the exact location.
Once you open the panel, you'll see rows of fuses in two main types:
- Constant (always-on): stays powered even when the car is off. Examples include the hazard lights, horn, and interior dome light. Use this slot for parking mode.
- Switched (ACC): only powered when the key is in the accessory or run position. Examples include the radio, cigarette lighter, and wipers. Use this slot for ignition recording only.
The fuse box cover or your owner's manual labels each slot. Look for a fuse rated between 10A and 30A. Anything lower might not handle the dash cam's draw (typically 0.2 to 0.5A), and anything higher means more current than your tap is designed for.
If You Want Both Recording Modes
You'll need a hardwire kit with three wires: constant, switched, and ground. Plug the constant wire into an always-on fuse, the switched wire into an ACC fuse, and the ground to a chassis bolt. The kit's internal circuitry handles the rest, switching automatically between ignition recording and parking mode.
Step 5: Connect the Hardwire Kit (Add-a-Fuse + Ground)
Turn off the car and remove the key. Pull the chosen fuse from the slot using the fuse puller. Note its amperage rating printed on top.
Take your add-a-fuse tap. It has two slots: one for the original fuse (preserves the circuit's original function) and one for a new fuse that powers your dash cam. Insert both fuses into the tap, then plug the tap into the fuse slot.
Repeat for the second fuse if you're using a three-wire hardwire kit.
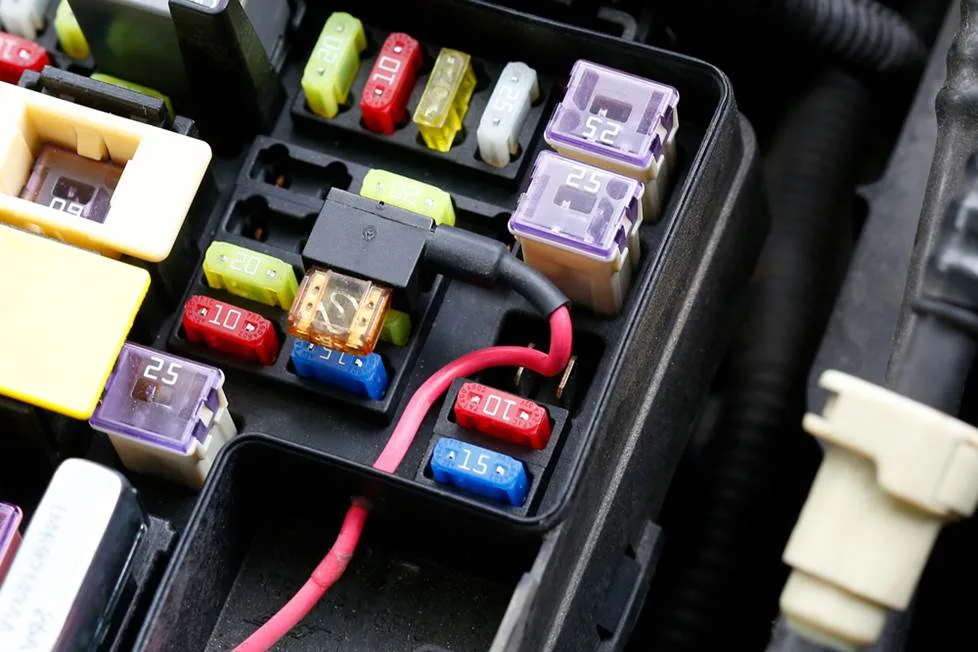
Now find a ground point. Any bare metal bolt attached to the chassis works. The factory ground points near the fuse box are easiest.
Loosen the bolt with your 10mm wrench, slide the hardwire kit's ring terminal under it, and retighten. The terminal should be snug against metal with no paint, rust, or powder coating in between. Bare metal contact is what completes the circuit.
Plug the hardwire kit's output into the dash cam. Turn the key to accessory. If the camera powers on, your wiring is correct.
If it doesn't, reverse the fuse tap (they're directional) and check the ground.
Step 6: Set Up the Rear or Cabin Camera (Dual-Channel Systems)
If your system includes a rear camera or interior cabin camera, mount it first before running its cable forward.
For the rear camera, mount it high on the rear windshield, centered if possible. Run the cable along the headliner of the rear cabin, down the B-pillar or C-pillar (the vertical trim pieces between doors), and forward to the front camera's main unit. Most kits use a single long cable with connectors on both ends.
For a cabin-facing camera (common in rideshare setups), mount it on the windshield facing inward, usually near the rearview mirror. The cable is short and plugs directly into the main unit.
Test both cameras before snapping any trim back into place. Live view should show clear footage from each lens. Adjust angles now.
Once trim is reinstalled, rerouting becomes a chore.
Step 7: Insert and Format the microSD Card
Power off the camera. Insert the microSD card into the slot until it clicks. Use a high-endurance card rated for continuous write cycles.
SanDisk Max Endurance and Samsung Pro Endurance are the two most recommended lines for dash cam use as of 2026.
Now power the camera back on and format the card through the settings menu. Do not skip this. A card formatted in another device can cause write errors or "card error" loops.
Formatting sets the file system the camera expects (usually FAT32 for cards 32GB and under, exFAT for larger).
Set your loop recording interval. Most installers prefer 3-minute clips. Shorter intervals create more files, which can wear the card faster.
Longer intervals risk losing more footage if the card corrupts mid-write.
Step 8: Configure Resolution, Loop Recording, and G-Sensor
Walk through the settings menu and confirm these basics before your first drive:
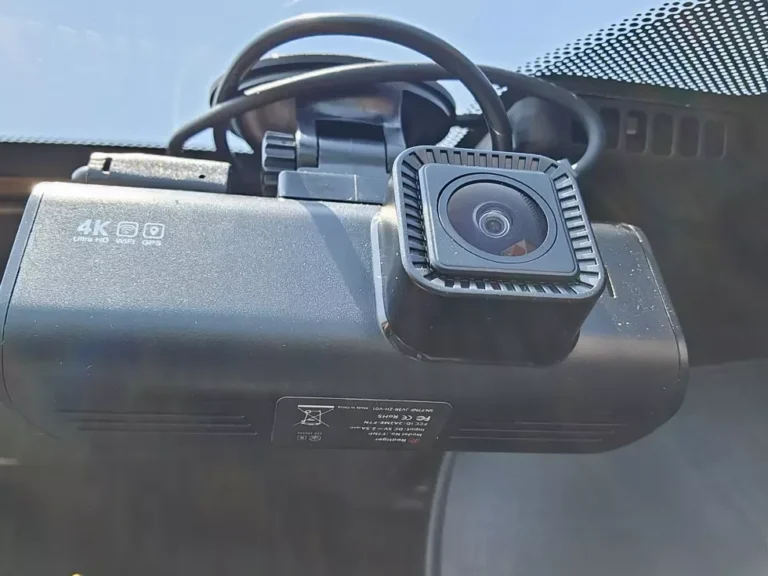
- Resolution: 1080p is the sweet spot for most users. 4K captures sharper detail (license plates at distance) but fills the card 2x to 3x faster and can cause overheating in direct sun.
- Frame rate: 30fps is standard. 60fps is smoother but doubles file size.
- G-sensor sensitivity: medium is the default for most cameras. High sensitivity triggers on every bump. Low sensitivity misses real impacts. Test by tapping the camera firmly while recording. The file should lock and move to the protected folder.
- Date and time stamp: turn this on. Without it, footage loses evidentiary value in many courts.
- Audio recording: optional. In two-party consent states, recording cabin audio without passenger permission can violate wiretap laws. Check local rules if you drive rideshare.
Parking Mode Setup: Motion, Time-Lapse, and Voltage Cutoff
Parking mode is where a hardwired dash cam earns its keep. It records while the engine is off, capturing hit-and-runs in parking lots. But it also drains the battery, which is why voltage cutoff exists.
Three parking mode styles dominate:
- Motion-only: camera wakes and records when it detects movement. Saves power but misses the lead-up to an impact.
- Time-lapse: continuous low-frame-rate recording (usually 1 to 5 fps). Fills less space, easy to scrub through.
- Buffered: camera constantly buffers video but only saves when an event triggers. Best protection, highest power draw.
Set your voltage cutoff based on your battery:
| Battery Type | Recommended Cutoff |
|---|---|
| Standard 12V lead-acid | 11.8V |
| AGM 12V | 12.0V |
| Lithium 12V | 11.5V |
| 24V truck systems | 23.6V |
Cutoff too low and your battery dies. Cutoff too high and parking mode shuts off after a few hours. The values above preserve enough cranking power to start the engine.
Cable Routing Mistakes That Can Break Your Car (or Your Footage)
Most failed installs trace back to one of these five errors:
- Routing across the airbag path. The cable becomes a high-speed whip on deployment. Always route behind the airbag.
- Taping over the wiper sweep. The cable gets caught and yanked loose. Route above the sweep arc.
- Using the wrong fuse amperage. A 30A circuit with a 5A fuse tap can overload the wiring if the dash cam shorts. Match the fuse rating to the circuit.
- Bad ground connection. Paint, rust, or a loose bolt under the ring terminal causes flickering, random shutdowns, or no power at all. Sand to bare metal if needed.
- Leaving slack near the pedals. Excess cable in the footwell can catch a shoe. Tuck it behind the kick panel.
Airbag Zones, Windshield Laws, and Legal Stuff to Know
Dash cam footage is generally admissible in US courts if it meets three criteria: it's authentic, relevant, and recorded in a place where privacy isn't expected. That said, several restrictions apply:
- Windshield mounting laws vary by state. California, Minnesota, and a handful of others restrict where you can mount objects. Check your state DMV for specifics before drilling or sticking anything to the glass.
- Side curtain airbags live behind the A-pillar trim. If your car has them, route the cable behind, not in front.
- Audio recording falls under wiretap laws. Eleven US states require two-party consent. If you drive for Uber or Lyft, this matters.
- Recording on private property can raise trespass issues in some jurisdictions. A parking lot isn't always fair game for audio capture.
When in doubt, leave the audio off and keep the mount within your state's windshield rules.
Dash Cam Settings Checklist Before Your First Drive
Run through this list before you hit the road:
- Date and time correct (including timezone)
- Resolution and frame rate confirmed
- Loop recording interval set (3 minutes recommended)
- G-sensor sensitivity tested
- microSD card formatted in-camera
- Parking mode enabled (if hardwired)
- Voltage cutoff set to match your battery type
- GPS lock acquired (if your model supports it)
- Live view checked from both front and rear cameras
- One short test drive completed and footage reviewed on a computer
If everything checks out, you're done. The camera now records every time you drive and (if configured) every time you're parked.
Fixing Common Dash Cam Issues (Card Error, No Power, Glare)
Even clean installs hit snags. Here are the fixes for the problems we see most often:
Card error loop: the card is failing or wasn't formatted in-camera. Replace the card with a high-endurance model and reformat.
Camera won't power on after hardwiring: reverse the fuse tap direction, check the ground bolt for bare metal contact, and confirm the fuse isn't blown.
Glare and reflection in footage: most lenses pick up the dashboard reflection at night. Enable HDR or WDR if your camera supports it. A CPL filter also cuts reflection but reduces low-light performance slightly.
Camera falls off in heat: the adhesive pad failed. Use a 3M VHB replacement pad, or switch to a suction mount if you live in a hot climate and reposition often.
Footage is blurry at distance: the lens is dirty or the resolution is too low. Clean the lens with a microfiber cloth and consider stepping up to 1440p or 4K.
Time and date keep resetting: the internal battery (or supercapacitor) is dead. Capacitor models don't hold a charge for long, but if the time resets every drive, the battery backup has failed. Replace through the manufacturer.
Long-Term Maintenance: Keeping the Setup Healthy
Format the microSD card once a month. Dash cams write and rewrite constantly, and formatting clears fragmented files that slow the card over time. Replace the card every 12 to 18 months if you drive daily.
High-endurance cards last longer, but they still wear out.
Wipe the lens with a microfiber cloth every few weeks. Dust and pollen build up on the inside of the windshield too, especially near the rearview mirror. A quick pass keeps footage sharp.
Check the mount adhesion seasonally. Heat cycles weaken adhesive pads faster than cold does, but winter defrost cycles can shake a marginal mount loose. If the camera shifts, remount before you lose evidence of an incident.
Update the firmware when the manufacturer releases it. Most 2026-era dash cams push updates through a companion app or via the SD card. Firmware updates fix bugs, improve parking mode behavior, and occasionally add codec support.
When to Seek a Professional Installer
If the fuse box is buried behind panels you can't safely remove, or if you drive a vehicle with complex airbag systems (some late-model European cars, for instance), paying a professional makes sense. Most car audio or tint shops handle dash cam hardwiring for $80 to $150.
That's worth it if you don't want to risk a trim clip, a warranty issue, or an airbag routing mistake. A bad install can cost more to undo than the install fee itself.
Quick Troubleshooting Reference
| Symptom | Likely Cause | Fix |
|---|---|---|
| Random shutdowns | Loose ground or low voltage cutoff too high | Re-seat ground, lower cutoff to 11.8V |
| Footage missing timestamps | Battery backup dead | Replace via manufacturer service |
| Card error after a few weeks | Card worn out or wrong type | Replace with high-endurance card |
| Parking mode won't engage | Wired to switched fuse only | Add constant fuse tap |
| Glare at night | Dashboard reflection | Enable HDR/WDR, add CPL filter |
FAQs: Quick Answers Most Beginners Ask
How long does it take to hardwire a dash cam?
For a first-timer, plan 60 to 90 minutes. The physical cable routing is the slow part. Experienced installers do it in 30 minutes.
If you're not confident with fuse taps, budget more time and read your hardwire kit's manual twice before starting.
Can I use any microSD card in a dash cam?
No. Dash cams write continuously, which kills consumer-grade flash memory in weeks. Use a high-endurance card rated for continuous write cycles.
SanDisk Max Endurance, Samsung Pro Endurance, and similar lines are built for this workload.
Do I need a hardwire kit if I only drive during the day?
No. If parking surveillance doesn't matter to you and you don't mind the cigarette lighter being occupied, the 12V socket works fine. The hardwire kit's only real advantage is parking mode and a clean install with no visible cable.
Will hardwiring drain my car battery?
Only if you set the voltage cutoff too low or skip the cutoff entirely. Every reputable kit has a low-voltage cutoff that shuts the camera off before your battery drops below cranking power. With a proper cutoff, a healthy battery can run parking mode for 12 to 48 hours depending on the camera's draw.
Is dash cam footage admissible in court?
Generally yes in the US, provided it's authentic and relevant. Some judges weigh it more heavily than others, but insurance companies almost always accept it. Timestamp your footage and keep the original file.
Edited or copied clips lose evidentiary weight.
Can a dash cam drain a battery when the car is off?
Only if it's wired to a constant fuse without a voltage cutoff, or if the cutoff is set below the safe threshold. A properly configured hardwire kit with cutoff at 11.8V (12V battery) protects against deep discharge. If your battery is old or weak, even a correct cutoff may drain it faster than it can recharge.
Final Recommendation: The Setup That Works for Most Drivers
After walking through every decision point, here's the configuration we recommend for the majority of daily drivers as of 2026:
- Mount: adhesive pad, behind the rearview mirror, passenger-side bias.
- Power: hardwire kit with three-wire connection (constant + switched + ground).
- Fuse slots: switched ACC for ignition recording, constant for parking mode.
- Voltage cutoff: 11.8V for standard 12V batteries.
- Storage: 128GB high-endurance microSD, formatted in-camera.
- Recording: 1080p at 30fps, 3-minute loops, medium G-sensor.
- Parking mode: buffered or motion-only, depending on how often you park in busy lots.
If you only need basic coverage and don't want to touch a fuse box, the cigarette lighter still works. But if you want parking surveillance, a clean install, and footage that holds up to scrutiny, hardwiring is the path. The whole job takes an afternoon, costs under $60 in parts beyond the camera, and once it's in, you stop thinking about it.
That's the goal. A dash cam should record when you need it and disappear when you don't.